How to Sync Music Libraries Across Streaming Services
July 8, 2026

Transferring an extensive playlist across streaming services can quickly become a logistical headache for tech-savvy collectors and DJs. With more than 80 million American users switching music platforms each year, the risk of losing hard-earned playlists is real. Keeping your growing global library intact takes more than guesswork. This straightforward guide will help you migrate playlists efficiently, saving both rare tracks and your sanity no matter where your collection is stored.
Table of Contents
- Step 1: Prepare Your Accounts and Devices
- Step 2: Install and Launch the Free Your Music App
- Step 3: Connect Source and Destination Music Services
- Step 4: Select Playlists for Synchronization
- Step 5: Verify Successful Library Sync
Quick Summary
| Key Takeaway | Explanation |
|---|---|
| 1. Verify Account Access | Ensure all streaming service credentials are correct and functional to prevent any issues during migration. |
| 2. Use Free Your Music App | Download the Free Your Music app to facilitate easy transfer of playlists across platforms. |
| 3. Connect Streaming Accounts | Link your source and destination music accounts in the app, granting necessary permissions for data transfer. |
| 4. Select Desired Playlists | Carefully choose which playlists to transfer, ensuring you include only the music you want to retain. |
| 5. Confirm Successful Transfer | After migration, check playlists on both platforms for accuracy and completeness to maintain music integrity. |
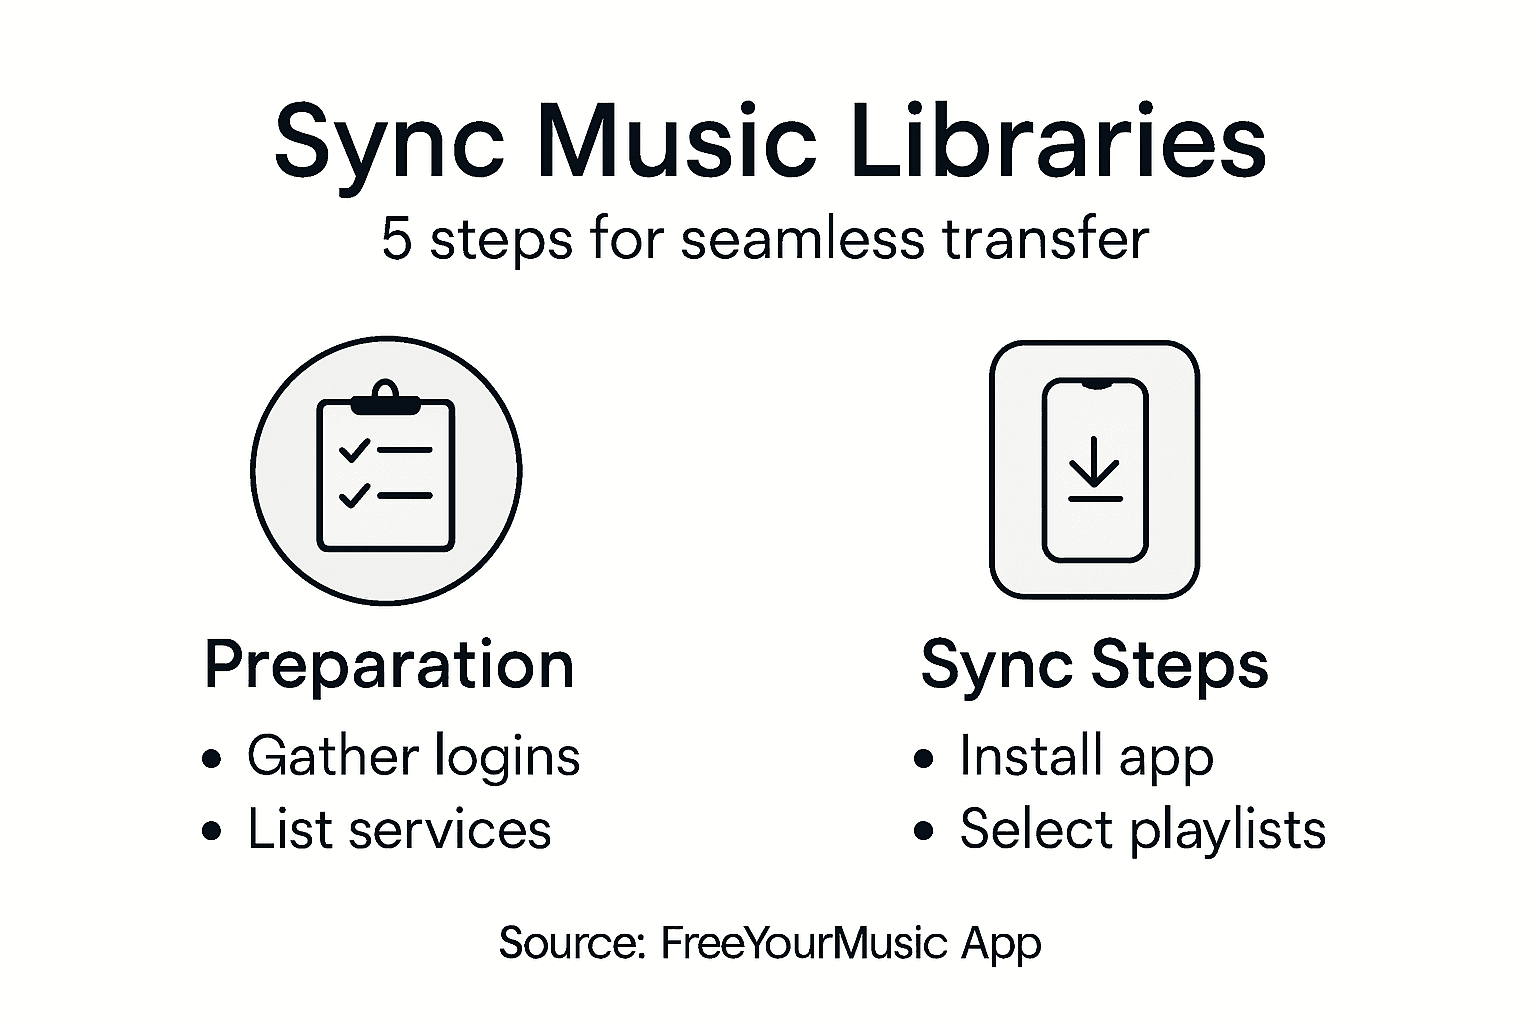
Step 1: Prepare Your Accounts and Devices
Preparing your music streaming accounts is the critical first step in successfully migrating your music library. You will want to confirm complete access and verify the functionality of all accounts from which you plan to transfer playlists.
Start by gathering your login credentials for each streaming service. Open each platform and ensure you can access your full music library. This means checking that all playlists are visible and playable. Verify account access before beginning the transfer process to prevent potential content loss. Pay special attention to accounts you might not have used recently the login details could be forgotten or expired.
If you have multiple accounts on a single platform or use different email addresses for music services take extra time to collect and organize these credentials. Having everything ready streamlines the entire playlist migration workflow and reduces potential complications during the transfer.
Pro Tip: Create a secure digital password manager or spreadsheet to track your music streaming account credentials and keep them organized for easy reference during the migration process.
Here's a summary of common challenges and solutions during music streaming account preparation:
| Challenge | Cause | Solution |
|---|---|---|
| Forgotten credentials | Infrequent account usage | Use a password manager for storage |
| Expired password | Lack of recent logins or password changes | Reset password before migration |
| Multiple accounts confusion | Different emails for various platforms | Track email-service pairings carefully |
| Account access issues | Connectivity problems or outdated info | Test each account before transfer |
Step 2: Install and Launch the Free Your Music App
Now that you have prepared your accounts, it is time to download and install the Free Your Music application. This step will help you transfer your music libraries across different streaming platforms with minimal effort.
Begin by downloading the app from the official website, ensuring you select the version compatible with your specific operating system Windows, macOS, Android, or iOS. The installation process is straightforward most users can complete it within a few minutes. After downloading, run the installer and follow the on screen prompts to complete the setup.
Once installed, launch the Free Your Music app and log in using the credentials for the streaming services you want to transfer playlists between. Take a moment to familiarize yourself with the user interface and locate the playlist transfer section. The app is designed to be intuitive, allowing you to select source and destination streaming platforms with just a few clicks.

Pro Tip: Before initiating any large playlist transfers, create a backup of your existing playlists to ensure you have a safety net in case of any unexpected synchronization issues.
Step 3: Connect Source and Destination Music Services
Connecting your source and destination music streaming services is a crucial step in migrating your music library. This process enables the Free Your Music app to transfer your playlists seamlessly across different platforms.
In the Free Your Music app, look for the account connection section where you can link music streaming accounts. You will need to sign into each streaming service individually and grant the necessary permissions. This typically involves clicking an "Connect Account" or "Authorize" button for each platform. Select the source platform where your current playlists are stored and then choose the destination platform where you want to transfer your music.
Pay close attention to the authorization process. Some streaming services might require you to log in through their official website or use two factor authentication. Ensure you have your login credentials readily available and that you are using the same email or username associated with each streaming account.
Pro Tip: Double check your internet connection and log out of any active sessions on other devices to prevent potential synchronization interruptions during the account linking process.
Step 4: Select Playlists for Synchronization
Selecting the right playlists for synchronization is a critical moment in your music library migration journey. This step determines exactly which songs and collections will make the transition to your new streaming platform.
In the Free Your Music app, navigate to the playlist selection screen where you can carefully choose music collections for transfer. Most migration tools offer flexible options including transferring entire libraries, specific playlists, or even individual albums. Take time to review each playlist and confirm you are transferring exactly what you want. Look for checkboxes or selection toggles that allow you to include or exclude specific playlists.
Consider the size and complexity of your music library during this process. If you have hundreds of playlists, you might want to prioritize your most frequently played or most meaningful collections. Some users prefer to transfer everything at once, while others prefer a more curated approach moving only their top playlists.
Pro Tip: Create a quick inventory or screenshot of your existing playlists before starting the transfer to help you verify that all desired music has been successfully migrated.
Step 5: Verify Successful Library Sync
Verifying that your music library has been successfully transferred is the final critical step in ensuring your playlists have migrated completely and accurately across streaming platforms.
Open both your source and destination streaming platforms to confirm playlist synchronization. Carefully compare each transferred playlist track by track. Check that song order remains identical, no tracks are missing, and all metadata such as album artwork and song information has been preserved. Pay close attention to any unusual characters or special editions of songs that might not transfer perfectly.
If you notice any discrepancies during your review, do not panic. Most music transfer tools offer a re-sync or repair option that can help fill in missing tracks or resolve synchronization issues. Some platforms might have slight variations in their music libraries, which could cause minor differences in available tracks. In such cases, you may need to manually add or replace specific songs to maintain your original playlist integrity.
Pro Tip: Create a backup spreadsheet of your original playlist contents before migration so you have a precise reference point for verifying the accuracy of your transferred music library.
This table outlines key steps to verify a successful music library sync:
| Verification Task | What to Check | Why It Matters |
|---|---|---|
| Playlist completeness | All tracks are present | Prevent missing songs |
| Song order accuracy | Tracks remain in sequence | Maintain listening experience |
| Metadata consistency | Artwork and song info intact | Retain playlist integrity |
| Check for duplicates/edits | No extra or special editions | Avoid playlist clutter |
Effortlessly Sync Your Music Libraries With Free Your Music
Migrating your playlists across streaming services can feel overwhelming when faced with forgotten passwords, multiple accounts, and ensuring perfect playlist synchronization. The article highlights the challenges of preparing accounts, linking platforms, selecting playlists, and verifying transfers — all critical steps where mistakes can lead to lost or incomplete music collections. Whether you want to preserve your playlist order or avoid manual rebuilding, these pain points demand a smoother solution.
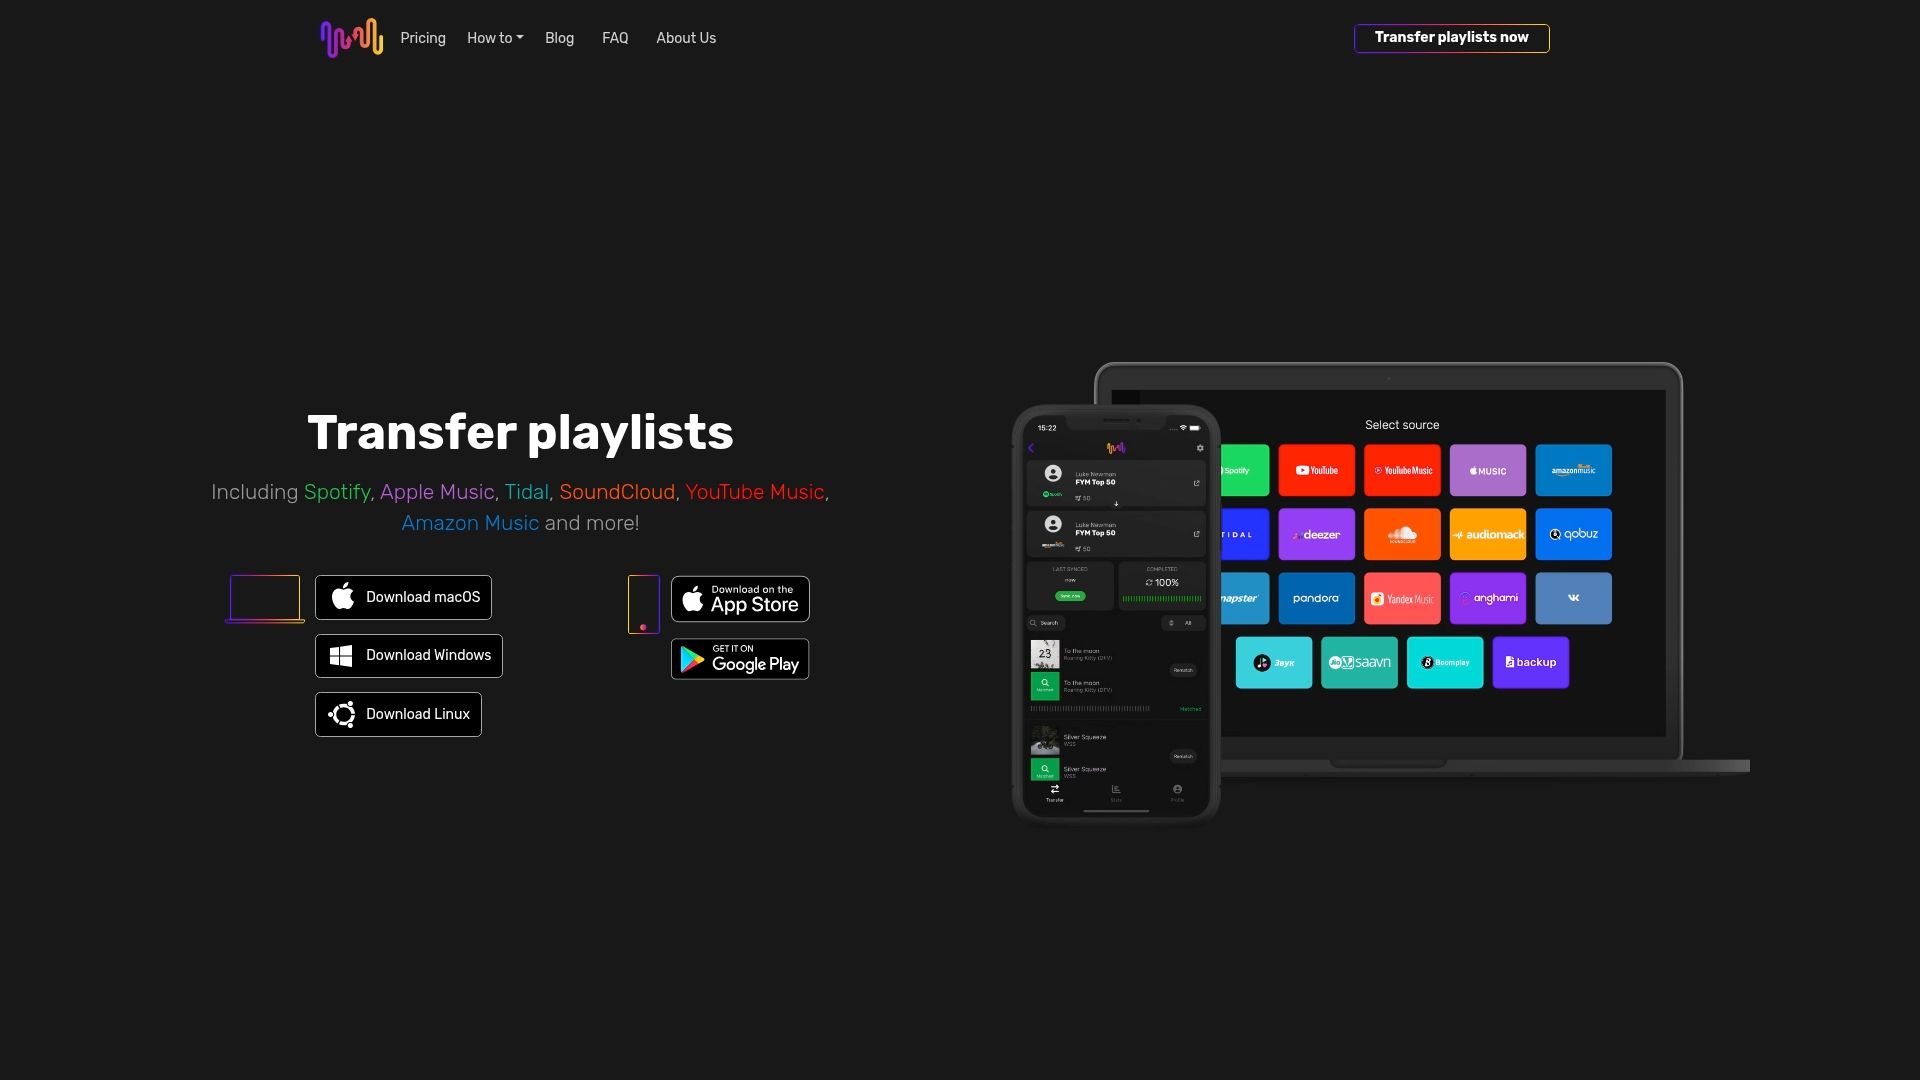
Unlock the power of seamless music transfer with Free Your Music Our easy-to-use app supports all major streaming platforms like Spotify, Apple Music, and Amazon Music, and works on Windows, macOS, Android, and iOS. Experience accurate playlist matching, preservation of song order, and unlimited transfers without stress. Say goodbye to manual playlist recreation and hello to an efficient, secure, and reliable migration process. Don't wait until your playlists are out of sync or your accounts locked out. Start transferring your music library today at Free Your Music and enjoy uninterrupted listening wherever you go.
To learn more about how you can synchronize and migrate your playlists quickly, explore our playlist synchronization solutions and multi-account transfer capabilities designed for your convenience.
Frequently Asked Questions
How do I prepare my music streaming accounts for migration?
To prepare your music streaming accounts, gather your login credentials for all services and ensure you can access your full music library. Verify that all playlists are visible and playable before starting the transfer process.
What steps should I follow to install the Free Your Music app?
To install the Free Your Music app, download it from the official website and select the version compatible with your operating system. Run the installer and follow the on-screen prompts to complete the setup in just a few minutes.
How do I connect my streaming accounts in the Free Your Music app?
In the Free Your Music app, navigate to the account connection section, sign into each music service, and grant the necessary permissions. Click the "Connect Account" or "Authorize" button for each platform to link your source and destination accounts.
What should I consider when selecting playlists for synchronization?
When selecting playlists for synchronization, review your music library and prioritize the playlists you want to transfer. You can choose to move entire libraries, specific playlists, or individual albums, so think about what is most important to you.
How can I verify that my music library has been successfully synced?
To verify your music library sync, check both your source and destination platforms for completeness and accuracy. Compare transferred playlists track by track, ensuring no songs are missing and that the order and metadata remain intact.
What should I do if I notice discrepancies after syncing my music library?
If you find discrepancies after syncing, don't panic; most tools offer a re-sync option to fill in missing tracks. You may need to manually add any specific songs if variations exist between the libraries on different platforms.
Recommended
Migrate from and to any music services


Most popular Apple Music transfers: