Preserving Playlist Order Tutorial for Music Transfers

Every american music fan who treasures the flow of a custom playlist understands the frustration of losing track order when switching apps. With over 60 million users moving music between platforms each year, maintaining that original sequence matters more than ever. Whether you prefer Spotify, Apple Music, or other global services, this guide helps you keep your curated playlists perfectly ordered at every step of the transfer process.
Table of Contents
- Step 1: Prepare Playlists For Accurate Order Retention
- Step 2: Select Source And Destination Streaming Platforms
- Step 3: Configure Transfer Settings To Preserve Playlist Order
- Step 4: Execute Playlist Migration Using freeyourmusic
- Step 5: Verify Playlist Order After Transfer Completion
Quick Summary
| Key Point | Explanation |
|---|---|
| 1. Organize Playlists Strategically | Use numerical prefixes to maintain order and integrity during transfer. |
| 2. Assess Platform Compatibility | Verify that source and destination platforms support playlist transfers before proceeding. |
| 3. Test Transfer Settings First | Conduct a test transfer with a small playlist to confirm settings work correctly. |
| 4. Use Free Your Music for Migration | Follow step-by-step prompts in Free Your Music for seamless migration of playlists. |
| 5. Verify Playlist After Transfer | Check the transferred playlist thoroughly to ensure track order and availability are correct. |
Step 1: Prepare playlists for accurate order retention
Preparing your music playlists for seamless transfer between streaming platforms requires strategic organization. Your primary goal is maintaining the precise sequence of tracks during migration, ensuring your carefully curated musical journey remains intact.
To accomplish this, you'll want to implement systematic approaches that preserve playlist integrity. Effective playlist management techniques start with thoughtful structuring. Begin by reviewing your existing playlists and checking each track's current positioning. Consider adding numerical prefixes to track names which acts as an additional ordering mechanism. For instance, renaming "Summer Vibes" to "01 Summer Vibes" creates a clear sequential marker that most music transfer services will recognize and respect.
Pay special attention to how different streaming platforms handle playlist ordering. Some services might randomize tracks during transfer, so creating a robust organizational strategy beforehand is crucial. Segment your playlists logically by mood, genre, or chronological progression to minimize potential disruption. Organizing tracks with consistent metadata can significantly improve your chances of maintaining the original playlist structure.
Expert Tip: Create a backup of your original playlist before initiating any transfer to ensure you can always revert to your initial track sequence if needed.
For best results, consider these essential playlist transfer preparation steps:
| Preparation Step | Why It Matters | Helpful Tip |
|---|---|---|
| Add numerical prefixes | Helps preserve track sequence | Use "01", "02", etc. |
| Backup your original playlist | Allows easy recovery if transfers fail | Save a screenshot or export |
| Segment by mood or genre | Reduces confusion from shuffle disruptions | Create themed sub-playlists |
| Review track metadata | Ensures smooth matching across platforms | Standardize artist and titles |
Step 2: Select source and destination streaming platforms
Selecting the right source and destination streaming platforms is critical to ensuring a smooth music playlist transfer. Your goal is to choose compatible services that will preserve your carefully curated musical collections.

Start by identifying the music platforms you currently use and want to transfer between. Music streaming platform compatibility is key to successful playlist migration. Most popular services like Spotify, Apple Music, Amazon Music, and YouTube Music support playlist transfers. Take inventory of your existing playlists and verify that both your source and destination platforms are supported by transfer tools.
Consider the specific features of each platform. Some services might have different metadata handling or track availability, which could impact your transfer. Research the supported file formats and music library capabilities to ensure minimal disruption during the migration process. If you are using a less common platform like Jellyfin media server, you may need additional configuration to maintain playlist integrity.
Expert Tip: Always verify the track availability on your destination platform before initiating a full playlist transfer to prevent potential music loss.
Here's a comparison of popular music streaming platforms and their playlist transfer considerations:
| Platform | Playlist Order Handling | Metadata Compatibility | Common Transfer Challenges |
|---|---|---|---|
| Spotify | Usually reliable | Strong metadata support | Some regional track unavailability |
| Apple Music | Good, needs confirmation | Varies, some limits | Occasional artwork mismatches |
| Amazon Music | Can disrupt order | Standard metadata fields | Tracks may be missing in catalog |
| YouTube Music | Order may shift slightly | Basic info, less detailed | Duplicates possible upon import |
| Jellyfin | Needs manual configuration | Custom metadata structures | May require extra setup for transfer |
Step 3: Configure transfer settings to preserve playlist order
Configuring transfer settings is a critical step in maintaining your playlist's original sequence and musical journey. Your objective is to ensure that every track stays exactly where you intentionally placed it during the migration process.
Stream transfer configuration involves carefully selecting output formats and metadata preservation options. Most music transfer tools offer advanced settings that allow you to specify how playlists should be handled. Look for options that explicitly mention playlist order retention or metadata preservation. Pay close attention to settings related to track sequencing and ensure they are configured to maintain your original playlist structure.
If you are using specialized music management software, explore additional configuration methods. Playlist organization plugins can provide more granular control over playlist transfer settings. Some advanced tools allow you to hierarchically manage playlist order and export settings, giving you precise control over how your music collections are migrated.
Expert Tip: Always perform a test transfer with a small playlist first to verify that the order and metadata settings work correctly before migrating your entire music library.
Step 4: Execute playlist migration using Free Your Music
Now that you have prepared your playlists and configured settings, it is time to execute the actual migration process using Free Your Music. Your primary objective is to seamlessly transfer your music collections while preserving their original order and integrity.
Playlist transfer execution involves a straightforward sequence of steps. Start by launching Free Your Music and authenticating both your source and destination streaming service accounts. The application will prompt you to select the specific playlists you want to migrate. Review your selections carefully to ensure you are transferring exactly the playlists you intend.
Carefully follow the application prompts and confirm each transfer. Some users might encounter slight variations in track availability between platforms, so be prepared to review any potential discrepancies. Music transfer capabilities support seamless migrations across major streaming platforms like Spotify, Apple Music, and Amazon Music. Pay close attention to the transfer progress and ensure that your playlists maintain their original track sequence and metadata throughout the process.
Expert Tip: After completing the transfer, immediately verify your new playlist by playing through it in the destination platform to confirm that track order and all songs have transferred correctly.
Step 5: Verify playlist order after transfer completion
After successfully migrating your playlists, verifying the transferred content becomes crucial to ensure your musical journey remains exactly as you originally curated it. Your goal is to confirm that every track sits in its intended position without any unexpected alterations.
Playlist verification techniques involve systematically checking each playlist in your destination platform. Start by playing through the entire playlist from start to finish, paying close attention to track sequence. Compare the new playlist side by side with your original playlist, confirming that every song appears in the precise order you originally arranged.
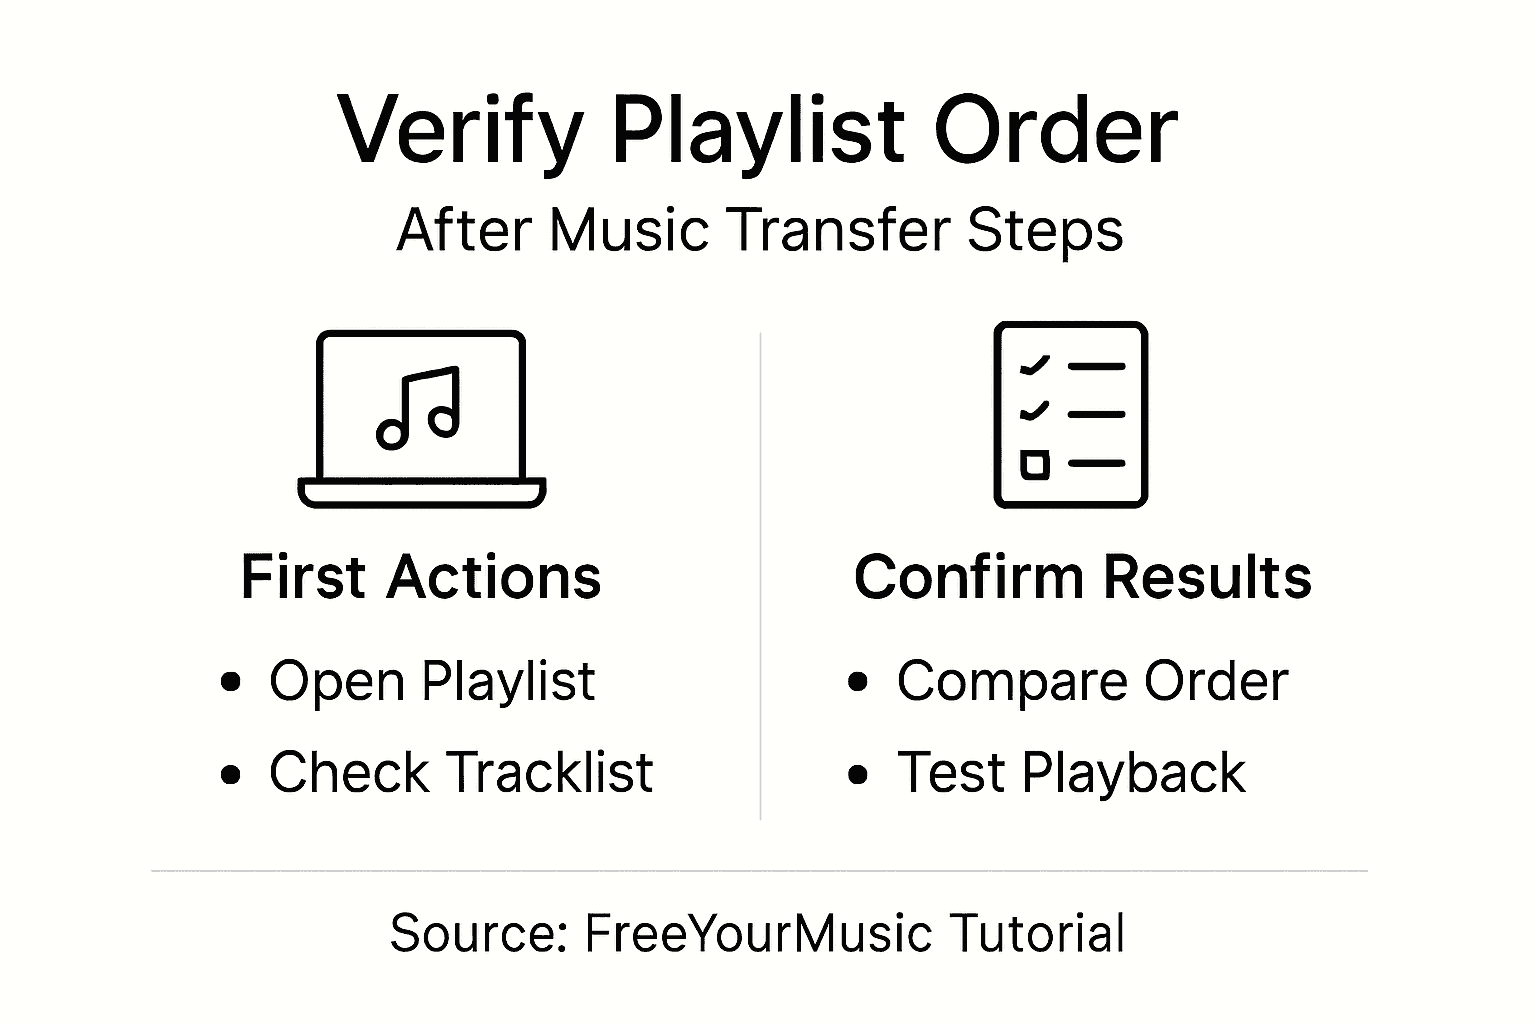
Implement a comprehensive validation approach to guarantee data integrity. Some streaming platforms might slightly modify track metadata or positioning during transfer, so thorough examination is essential. Data transfer best practices recommend conducting multiple verification passes. Listen actively and note any discrepancies in track order, missing songs, or unexpected playlist changes that might have occurred during migration.
Expert Tip: Create a screenshot of your original playlist before transfer and keep it as a reference point for comparison during your verification process.
Keep Your Music Flowing Smoothly with Effortless Playlist Transfers
Preserving playlist order is a common challenge when moving your music collection between streaming services. You want to keep every track in the perfect sequence you created without losing precious time or risking missing songs. This article highlights crucial steps like organizing your playlists, selecting the right source and destination platforms, and verifying your migrated playlists to ensure a flawless listening experience.
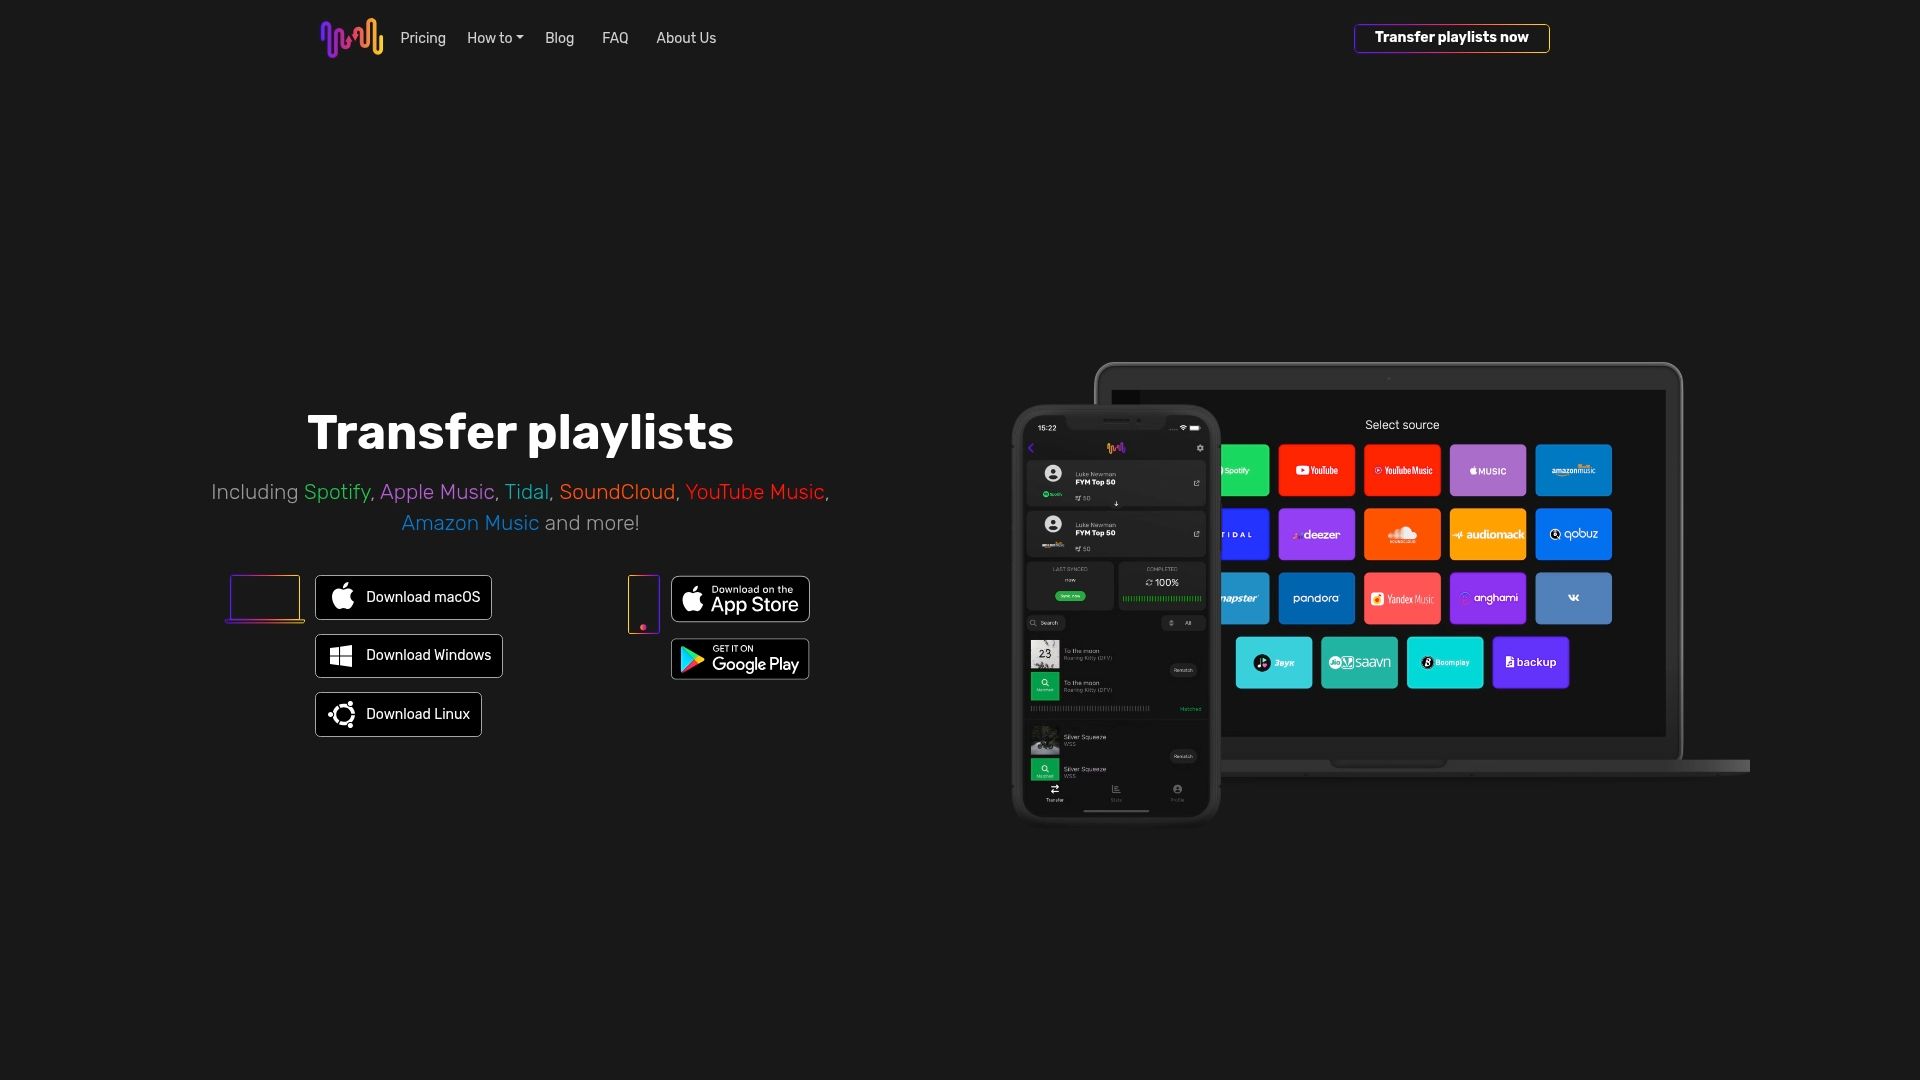
FreeYourMusic.com specializes in solving these exact problems. Our platform guarantees accurate playlist order preservation, automated synchronization, and seamless migration across Spotify, Apple Music, Amazon Music, and more. Using a user-friendly app available on macOS, Windows, Linux, Android, and iOS you can transfer unlimited playlists with confidence and peace of mind.
Ready to experience hassle-free music migration that respects your playlist structure and metadata? Take control now and visit FreeYourMusic.com to start your seamless transfer. Discover how our advanced settings and multi-account support simplify your move while protecting your music journey every step of the way.
Frequently Asked Questions
How can I prepare my playlists to maintain the original order during transfer?
To prepare your playlists effectively, add numerical prefixes to track names, like renaming "Summer Vibes" to "01 Summer Vibes". This method acts as an additional ordering mechanism that most music transfer services will recognize.
What should I consider when selecting the source and destination streaming platforms for my music transfer?
It's important to verify the compatibility of both your source and destination platforms with transfer tools. Take inventory of your playlists and check if both streaming services support the transfer to ensure a smooth migration process.
How can I configure transfer settings to ensure my playlist order is preserved?
To preserve your playlist order, look for settings that explicitly mention playlist order retention or metadata preservation in your transfer tool. Carefully select these options to maintain the intended sequence of your tracks during the migration.
What steps should I follow to execute the actual migration of my playlists?
Begin by launching your transfer tool, authenticating your source and destination service accounts, and selecting the specific playlists you want to migrate. Confirm each selection carefully to ensure you are transferring the correct playlists and monitor the progress for discrepancies.
How can I verify that my playlist order is maintained after the transfer?
After completing the transfer, compare the new playlist side by side with your original playlist. Play through the entire playlist while checking the sequence, and look for any discrepancies, such as missing songs or altered orders, to ensure everything transferred correctly.
Recommended
Your playlists belong to you.
Stop rebuilding by hand. Move everything in minutes and take your music wherever you go.
Download free →SongsBrew — our free music newsletter
A free perk for FYM users. Tips, playlists, no spam.