How to Backup Music Playlists Across Streaming Services
July 8, 2026
Over half of American music fans use more than one streaming service to manage their playlists and favorite tracks. With so many platforms on the market, transferring and backing up these collections can quickly get complicated. Whether you want to switch services or protect your playlists from accidental loss, this guide shows you the smart way to prepare, transfer, and verify your American music library for stress-free access anytime.
Table of Contents
- Step 1: Prepare Your Music Accounts For Backup
- Step 2: Install And Launch Free Your Music App
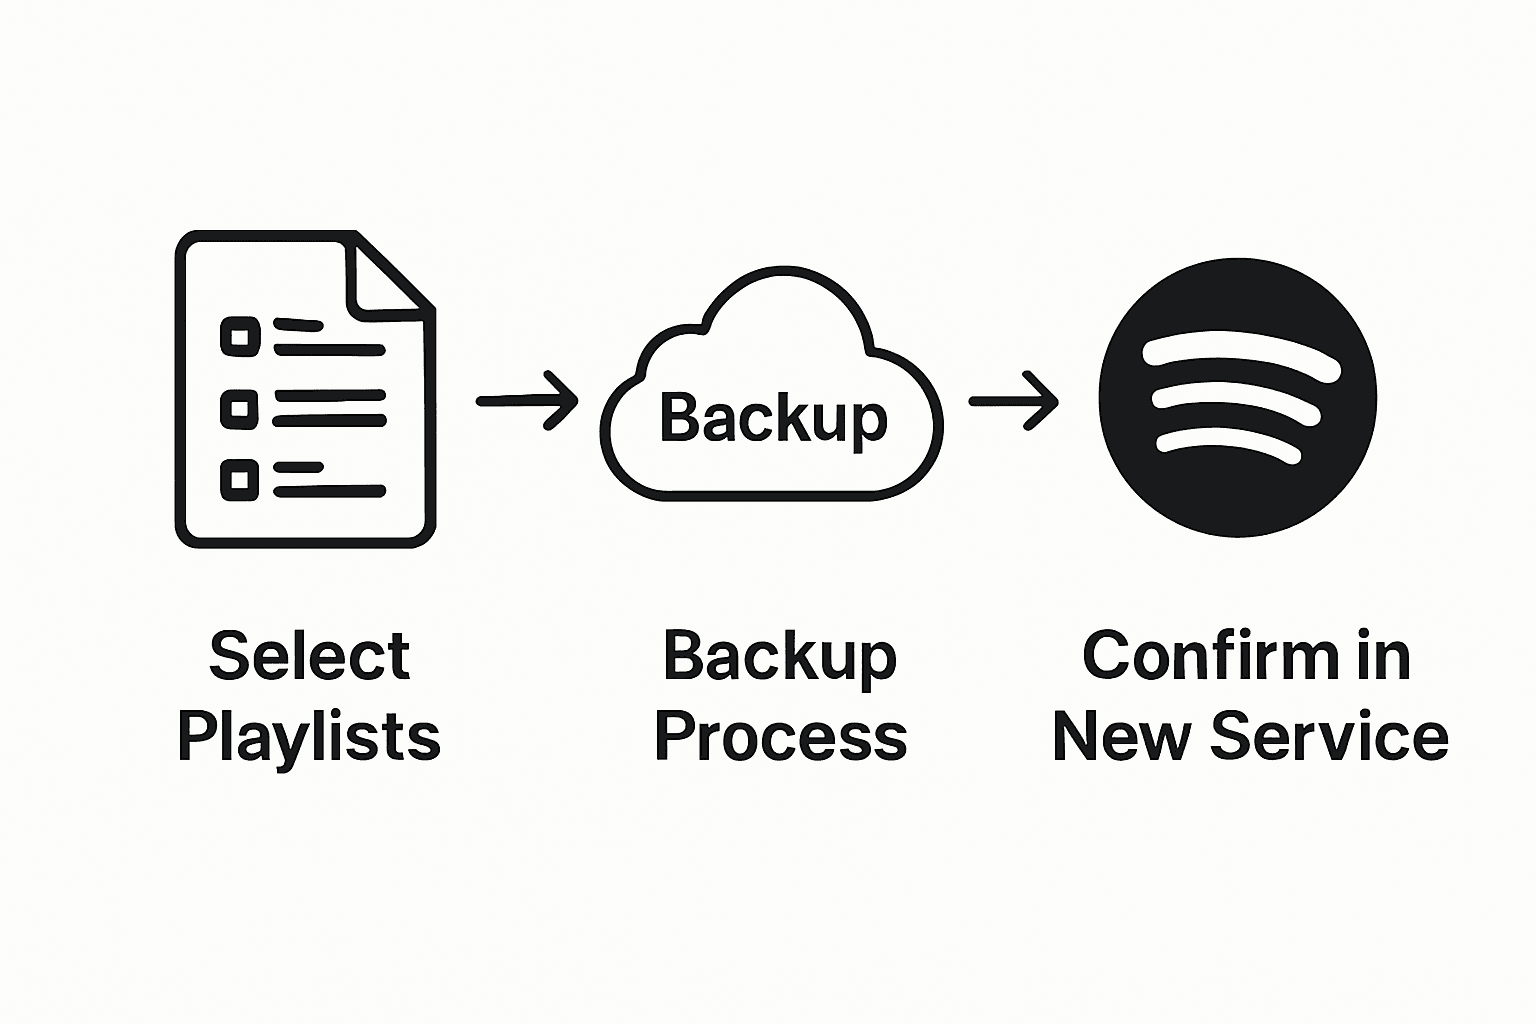
- Step 3: Select Playlists To Back Up
- Step 4: Choose Your Backup Destination Service
- Step 5: Verify Playlists After Backup
Quick Summary
| Key Point | Explanation |
|---|---|
| 1. Verify Streaming Accounts First | Ensure all streaming accounts are active and accessible before beginning the playlist transfer process. |
| 2. Install Free Your Music App | Download and set up the Free Your Music app to facilitate seamless playlist management across platforms. |
| 3. Select Important Playlists for Backup | Strategically choose playlists that are significant or difficult to recreate for your music collection backup. |
| 4. Choose Appropriate Destination Service | Select a compatible music streaming platform that suits your listening habits for optimal backup results. |
| 5. Verify Playlists After Transfer | Thoroughly check transferred playlists to ensure all songs and metadata are correct and complete. |
Step 1: Prepare Your Music Accounts for Backup
Backup preparation requires strategic account management across your preferred music streaming platforms. Before initiating any playlist transfer, you'll need to verify and align your digital music accounts to ensure a smooth migration process.
Start by confirming that you have active subscriptions or accounts on the streaming services where you want to transfer or backup your playlists. Many services, like Apple Music and YouTube Music, require active accounts on both platforms to enable playlist transfers. Carefully review your account credentials, ensuring login information is current and accessible. Pay special attention to billing status and account permissions, as some platforms restrict transfers to premium or active subscriber accounts.
Take time to audit your existing playlists before backup. Not all platforms transfer identical content types playlist transferring typically includes only user-created playlists and excludes purchased music files. Verify which specific playlists qualify for migration and prepare a list of those you want to preserve. Pro tip: screenshot or document your current playlist names and track listings as an additional backup strategy in case any metadata gets lost during the transfer process.
Preparing your music accounts thoroughly sets the foundation for a successful backup strategy. By understanding platform requirements and verifying account details, you minimize potential disruptions during playlist migration.
Step 2: Install and Launch Free Your Music App
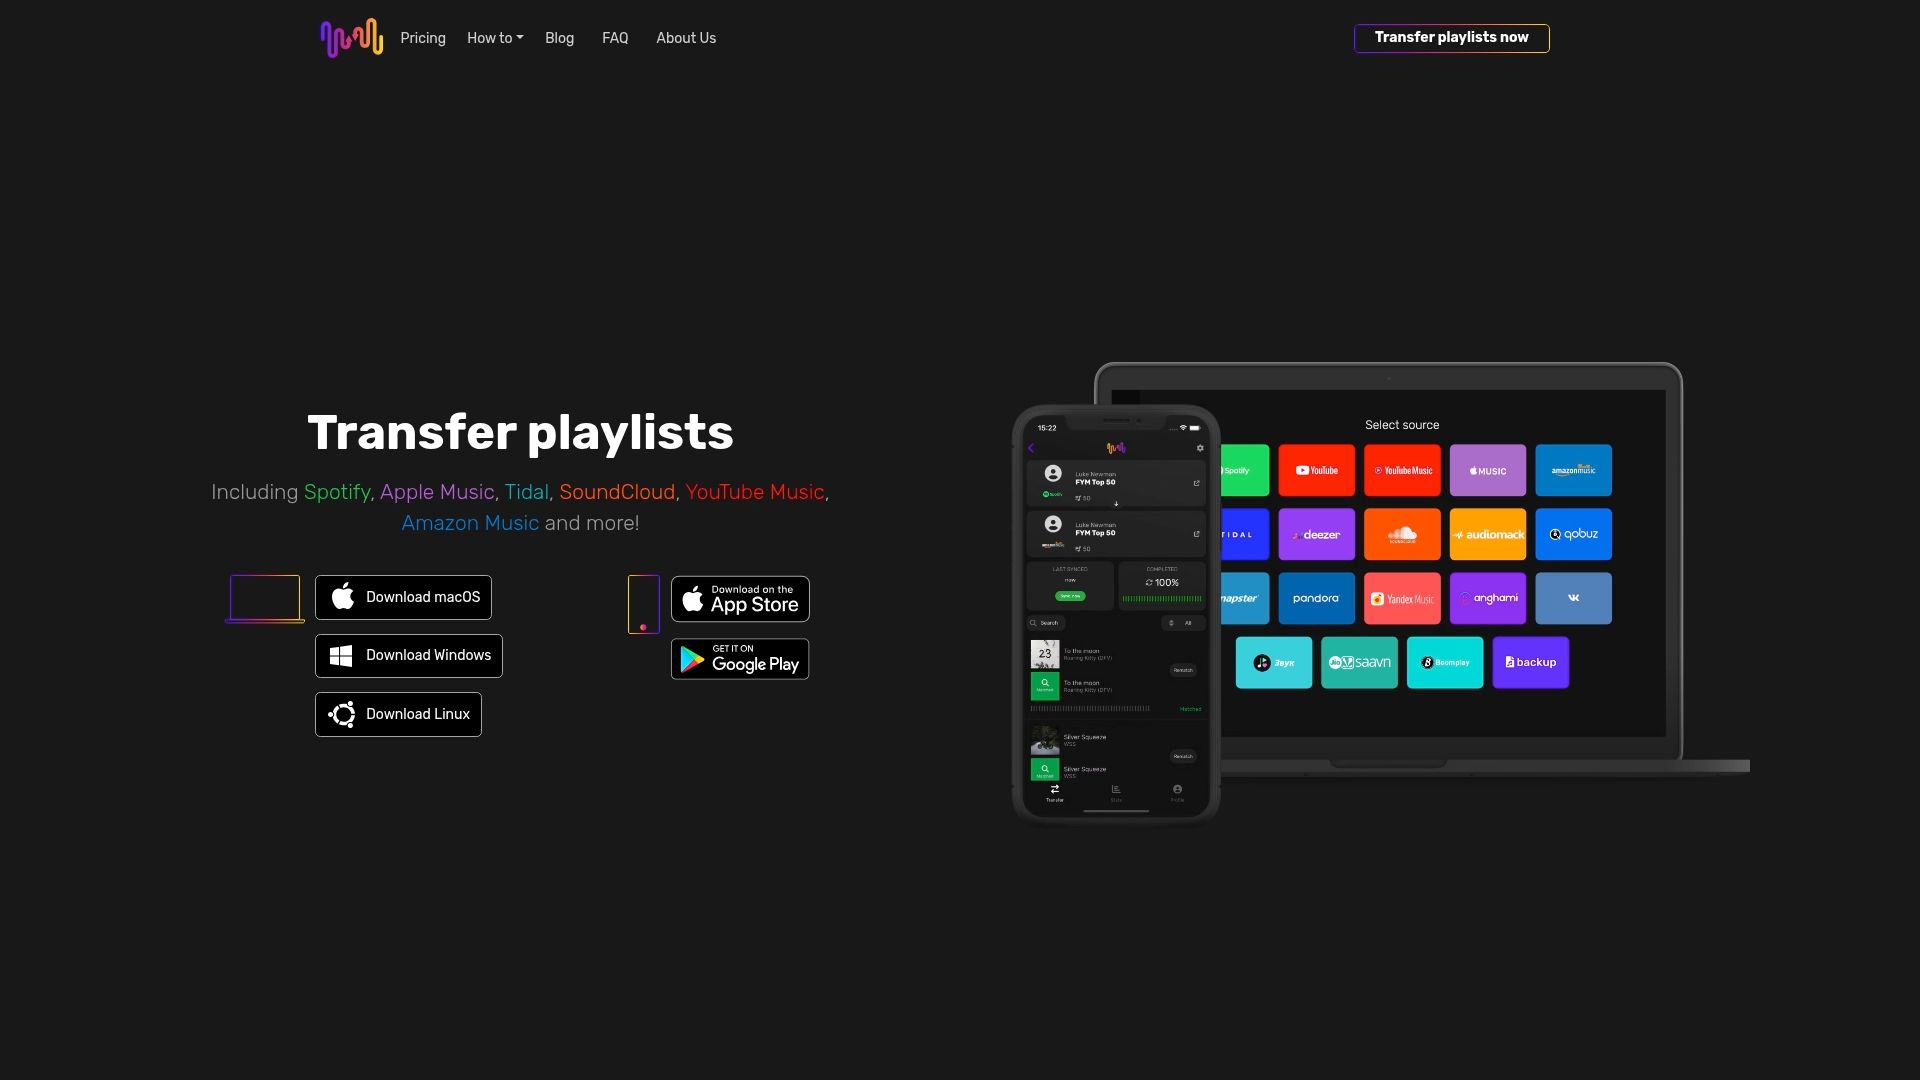
Installing the Free Your Music app is your gateway to seamless music playlist management across multiple streaming platforms. The process is straightforward and designed to help you transfer your music collections with minimal effort.
Begin by downloading the app from your device's app store. Free Your Music is available for iPhone and iPad users, making it accessible for Apple device owners who want to transfer music between services like Spotify, Tidal, Amazon Music, YouTube, Pandora, and Apple Music. After downloading, open the app and create your account or log in using your existing credentials. The intuitive interface will guide you through the initial setup process, where you'll connect your various music streaming service accounts.
Once you have connected your accounts, take a moment to review the app's settings and permissions. Ensure that you have granted the necessary access rights for each streaming service you want to transfer playlists between. This step is crucial for a smooth transfer experience. Pro tip: have your login information for each music service ready before starting the transfer to avoid interruptions.
With the app installed and your accounts connected, you are now prepared to begin the playlist transfer process. The next steps will involve selecting your source and destination streaming platforms and choosing which playlists you want to migrate.
Step 3: Select Playlists to Back Up
Choosing the right playlists for backup is a critical step in preserving your music collection. This process allows you to strategically select and protect the playlists that matter most to you across different streaming platforms.
After connecting your music accounts, you will see a comprehensive list of available playlists from each connected service. The Free Your Music app provides flexible selection options. You can choose to backup individual playlists selectively or opt for a complete transfer of all your created playlists. Take your time to review each playlist carefully. Look for unique or hard-to-recreate playlists that represent significant personal music collections or carefully curated selections you want to preserve.

As you select playlists, consider creating a mental or digital checklist of your most important collections. Some users prefer backing up themed playlists like workout mixes, road trip compilations, or genre-specific collections that might be challenging to reconstruct. Pro tip: prioritize playlists with rare tracks or personal compilations that cannot be easily found again. Double-check your selections before proceeding to ensure you do not accidentally miss any crucial playlists.
With your playlists selected, you are now prepared for the next phase of the backup process. The upcoming steps will involve confirming your selections and initiating the transfer across your chosen streaming platforms.
Step 4: Choose Your Backup Destination Service
Selecting the right destination service is crucial for ensuring your music playlists are transferred safely and accurately across streaming platforms. This step determines where your carefully curated music collections will be preserved.
Free Your Music supports multiple destination services, giving you the flexibility to choose from popular platforms like Spotify, Apple Music, Tidal, Amazon Music, YouTube Music, and SoundCloud. Consider your listening habits, device compatibility, and long-term music management strategy when making your selection. Some users prefer transferring to a service with similar music recommendation algorithms, while others prioritize platform features or subscription benefits.
Take time to evaluate each potential destination service carefully. Think about factors like audio quality, library size, playlist organization features, and cross-device synchronization. Pro tip: If you are unsure about your final destination, you can always create multiple backups across different services to ensure maximum music preservation. Verify that you have an active subscription or free account on your chosen destination platform before initiating the transfer.
With your destination service selected, you are now ready to begin the final stages of playlist backup and migration. The next steps will involve confirming your transfer settings and initiating the actual playlist movement between services.
Step 5: Verify Playlists After Backup
Verifying your backed-up playlists is a critical final step in ensuring your music collection has been transferred successfully and completely. This process helps confirm that every song, album, and playlist has migrated exactly as you intended.
Carefully compare the original playlists in your source streaming service with the newly transferred playlists in your destination service. Open both platforms side by side and methodically check each playlist for track count, song order, and overall playlist integrity. Pay close attention to any potential discrepancies such as missing tracks, incorrect song versions, or unexpected playlist modifications. Understanding the nuances of playlist verification can help you catch subtle differences that automated transfer tools might miss.
Pro tip: Create a sampling strategy by randomly selecting and deeply examining a few playlists rather than attempting to verify every single track across all playlists. Focus on your most important or most complex playlists first, which are likely to reveal any potential transfer issues. If you discover any inconsistencies, most music transfer services offer retry or manual adjustment options to help you resolve minor discrepancies.
With your playlists verified, you have successfully completed the backup process and can now enjoy peace of mind knowing your music collection is securely preserved across multiple platforms.
Secure Your Music Playlists with Effortless Transfers
Are you concerned about losing your precious music collections when switching streaming platforms? The detailed guide on "How to Backup Music Playlists Across Streaming Services" highlights common challenges like verifying account permissions, selecting vital playlists, and choosing the right destination service. Manual playlist rebuilding is time-consuming and error-prone, especially when you want to maintain the exact song order and metadata.
FreeYourMusic.com offers a seamless solution designed to eliminate these hurdles. With automated playlist synchronization, accurate cross-service song matching, and unlimited playlist transfers, you can preserve your music collection exactly as you curated it. The app supports multiple accounts and platforms such as Spotify, Apple Music, and YouTube Music ensuring your playlists stay safe and accessible during any service transition.
Discover how to simplify backing up and transferring your playlists today and avoid losing or fragmenting your irreplaceable music collections.
Take control of your music library now by visiting FreeYourMusic.com to start your effortless playlist migration and backup journey.
Frequently Asked Questions
How can I prepare my music accounts for backup?
To prepare your music accounts for backup, verify that you have active subscriptions on the streaming services you plan to use. Make sure to check your account login information and billing status to avoid disruptions during the transfer process.
What should I do if a playlist won’t transfer?
If a playlist won’t transfer, confirm that it meets the requirements for migration, as some platforms may exclude certain types of content. Review your playlist contents and ensure there are no unsupported tracks before attempting the transfer again.
How do I select which playlists to back up?
To select which playlists to back up, log into the music management app and review your connected accounts. Decide whether to back up individual playlists or all of them, making a note of any significant collections that you want to preserve.
What factors should I consider when choosing a backup destination service?
When selecting a backup destination service, consider audio quality, library size, and platform features that match your listening habits. Ensure you have an active account on the chosen platform before proceeding with the transfer.
How can I verify that my playlists have been backed up successfully?
To verify your playlists, compare the original playlists in your source streaming service with those in the destination service. Check for discrepancies in track counts and order, focusing on your most important playlists first to ensure a complete and accurate backup.
What steps should I take if I notice discrepancies in my transferred playlists?
If you notice discrepancies in your transferred playlists, review the individual tracks to identify missing or incorrect songs. Use retry options in your music transfer service to address any issues, ensuring your playlists are correctly preserved.
Recommended
Migrate from and to any music services


Most popular Apple Music transfers: