How to Secure Playlists Across Streaming Services Easily
July 8, 2026
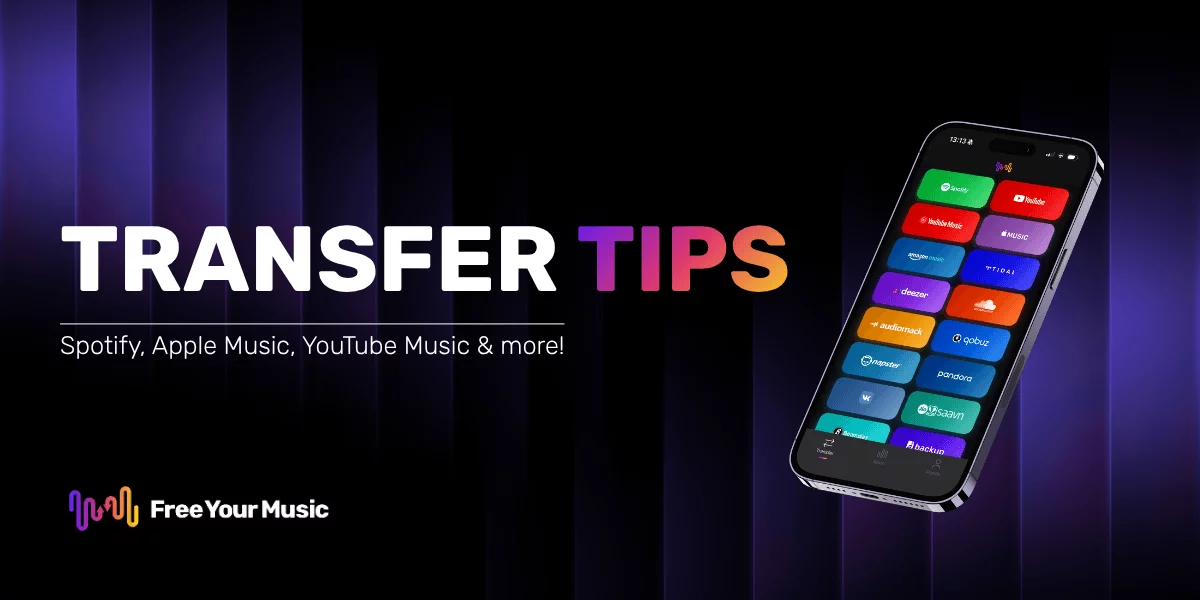
Most American DJs know that a single playlist glitch can derail an entire set, yet over 65 percent of users have lost favorite tracks during platform migrations. For tech-savvy music fans and professionals, seamless access to playlists across streaming services matters just as much as song selection. This guide lays out simple steps for securing, migrating, and managing playlists so your music collection stays organized, safe, and readily available no matter which platforms you choose.
Table of Contents
- Step 1: Set Up Your Free Your Music Account
- Step 2: Connect Streaming Services Securely
- Step 3: Initiate Playlist Backup and Cloud Sync
- Step 4: Verify Playlist Integrity and Access
- Step 5: Manage Ongoing Security and Updates
Quick Summary
| Important Insight | Detailed Explanation |
|---|---|
| 1. Set Up Your Free Your Music Account | Register using email or social media to start transferring playlists securely and effectively. |
| 2. Connect Streaming Services Securely | Ensure all streaming services are linked properly for seamless playlist migration and integrity during transfers. |
| 3. Initiate Playlist Backup and Cloud Sync | Back up playlists to protect against data loss; choose comprehensive sync options for complete playlist metadata. |
| 4. Verify Playlist Integrity and Access | Check track listings across platforms to confirm accurate and complete playlist transfers, addressing any issues detected. |
| 5. Manage Ongoing Security and Updates | Regularly review your account's security settings and conduct audits to maintain access control and safety for your music library. |
Step 1: Set Up Your Free Your Music Account
Creating your Free Your Music account is the first crucial step in securing and transferring your music playlists seamlessly across different streaming platforms. This straightforward process will help you unlock the full potential of playlist migration and management.
To get started, visit the Free Your Music homepage and click the signup button. You can register using your email address or quickly connect through existing social media accounts like Google or Apple. During registration, select the streaming services you currently use so the platform can immediately begin mapping your potential transfer routes. Be prepared to provide basic account information and verify your email address to complete the setup.
Once your account is active, you will gain access to a dashboard that shows all your connected music services and provides an overview of your playlist transfer capabilities. Take a moment to review your connected accounts and verify that all desired platforms are linked correctly.
Pro tip: Enable two factor authentication during setup to add an extra layer of security to your music transfer account.
Step 2: Connect Streaming Services Securely
Connecting your streaming services is a critical step in creating a comprehensive music library transfer strategy. This process allows you to seamlessly map and migrate your playlists across different platforms while maintaining the integrity of your music collection.
Start by navigating to the available music services section in your Free Your Music account. You will see a list of supported streaming platforms where you can authorize connections. Click on each service you want to integrate and follow the platform specific authentication process. For most services, this involves clicking an authorization button that will redirect you to the streaming service login page. Grant the necessary permissions to allow Free Your Music to read your playlists and metadata.
After connecting each service, the platform will automatically scan your existing playlists and create a comprehensive overview of your music library. Verify that all your desired accounts are correctly linked and that the playlist information appears accurate. This initial synchronization establishes the foundation for future transfers and ensures that your music collections are properly mapped.
Pro tip: Always use unique strong passwords for each streaming service account to maximize security during the connection process.
Step 3: Initiate Playlist Backup and Cloud Sync
Initiating playlist backup and cloud synchronization represents a crucial defense strategy for protecting your music library from potential loss or unexpected service disruptions. This step ensures that your carefully curated playlists remain safe and accessible across multiple platforms.

To begin the backup process, navigate to the cloud sync settings in your Free Your Music dashboard. Select the smart music sharing methods that best suit your music library management needs. Choose your preferred cloud storage option and authorize the connection. The platform will automatically start scanning and backing up your playlists across connected streaming services. Pay close attention to the sync settings and ensure you select comprehensive backup options that capture all playlist metadata including song order, custom playlists, and any unique tags or annotations.
During the synchronization process, Free Your Music will create redundant copies of your playlists in the cloud storage system. This approach guarantees that even if one streaming service experiences an outage or changes its policies, you will still have a complete backup of your music collection. Review the backup status periodically and confirm that all your playlists have been successfully transferred and stored.
Pro tip: Schedule automatic monthly backups to ensure your music library remains consistently protected against unexpected data loss.
Step 4: Verify Playlist Integrity and Access
Verifying your playlist integrity is a critical step that ensures your music library remains accurate, complete, and fully accessible across all connected streaming platforms. This process helps you confirm that every song has been correctly transferred and remains playable.
Begin by conducting a comprehensive music sharing method review in your Free Your Music dashboard. Open each synchronized playlist and carefully compare the track listings across different services. Pay special attention to song order, any missing tracks, and potential metadata variations. Look for discrepancies such as different album versions, explicit versus clean tracks, or regional music availability that might impact playlist consistency. The platform provides side by side comparison tools to help you quickly identify and resolve any synchronization gaps.
After completing your initial review, use the platform's built in verification tools to run an automated integrity check. This process scans your entire music library and generates a detailed report highlighting any potential issues with track matching, metadata inconsistencies, or access problems. Address any flagged items immediately to ensure your playlists remain fully functional and complete across all your connected streaming services.
Pro tip: Create a test playlist with a few unique tracks to quickly validate the entire transfer and synchronization process.
Step 5: Manage Ongoing Security and Updates
Managing ongoing security and updates is crucial for maintaining the safety and functionality of your music library transfer system. This step ensures your playlists remain protected and your platform operates with the latest security enhancements and features.
Regularly check your Free Your Music account for smart music sharing methods that optimize your security settings. Enable automatic updates in your account preferences to ensure you receive the latest security patches and feature improvements. Review your connected streaming service permissions quarterly and remove any outdated or unnecessary access credentials. Pay special attention to two factor authentication settings and ensure you are using strong unique passwords for each linked account.
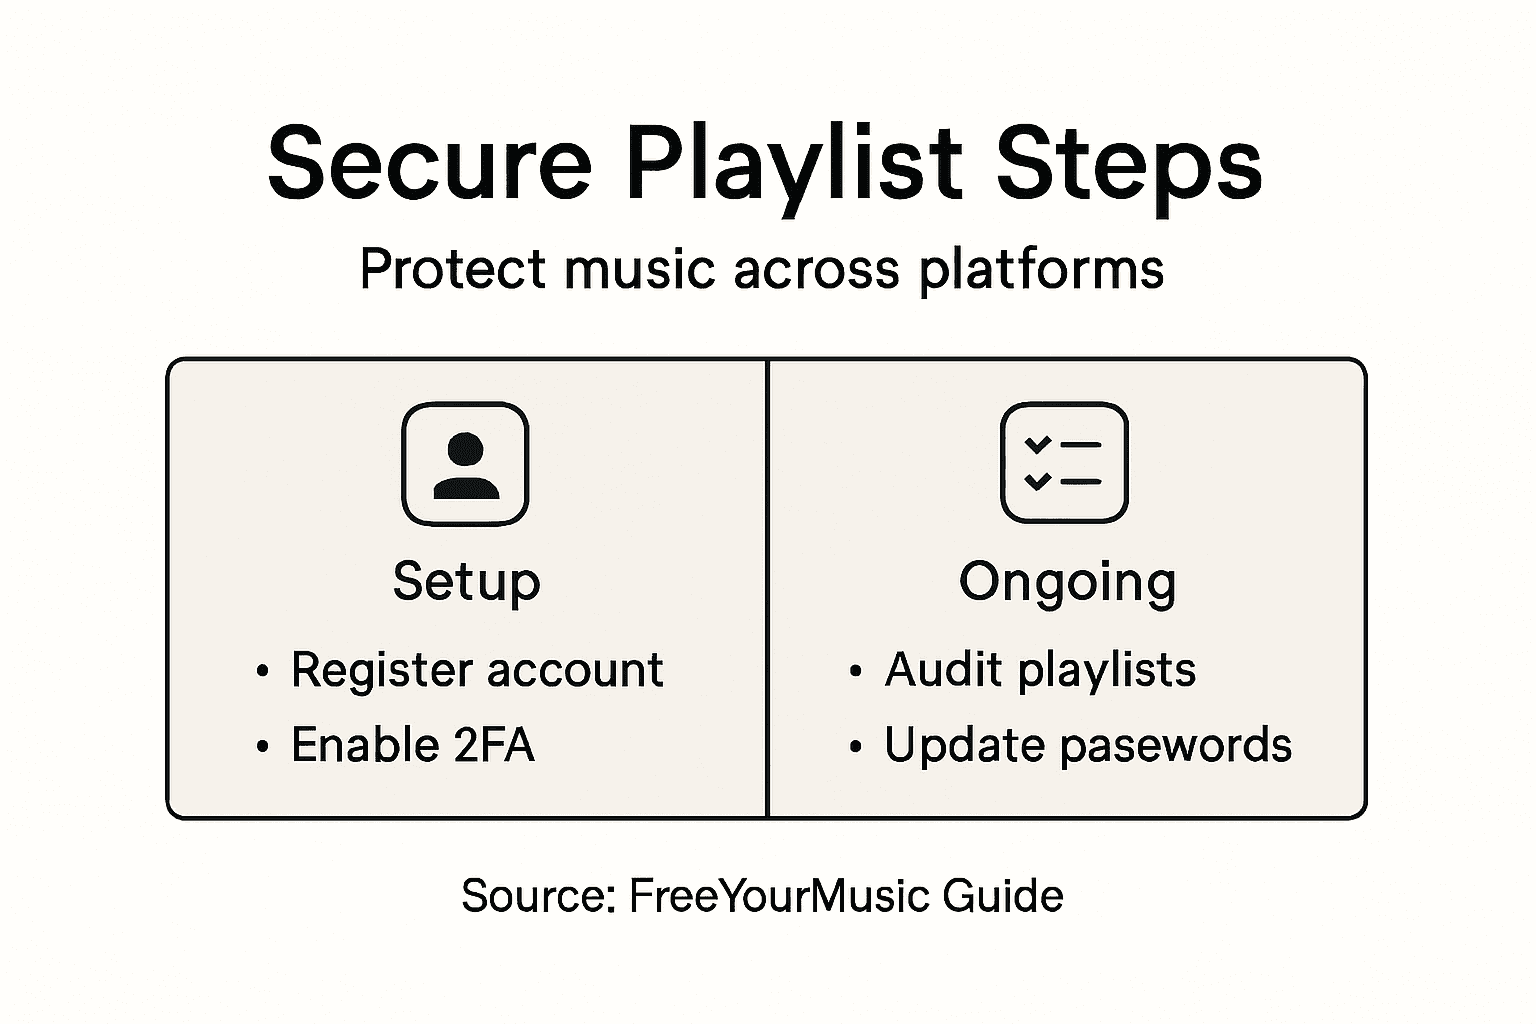
Establish a routine security audit process where you systematically review your account activity logs, verify connected services, and confirm that your backup and sync settings remain optimal. Monitor any notifications from Free Your Music regarding potential security updates or recommended actions. Stay proactive by keeping your primary device operating system and web browsers updated to maintain a secure ecosystem for your music library management.
Pro tip: Set a quarterly calendar reminder to perform a comprehensive security review of your music transfer and backup settings.
Compare the benefits of key security features for music migration:
| Security Feature | Benefit | Implementation Tip |
|---|---|---|
| Two-factor authentication | Prevents unauthorized access | Enable during initial setup |
| Strong unique passwords | Lowers risk of breaches | Avoid password reuse |
| Regular security audits | Detects suspicious activity | Review logs quarterly |
| Automatic updates | Patches vulnerabilities | Turn on auto-update option |
Here's a summary of each step and its main objective:
| Step | Main Goal | Key Action |
|---|---|---|
| 1 | Set up secure account | Register and link services |
| 2 | Connect streaming platforms | Authorize and sync accounts |
| 3 | Backup and cloud sync | Store playlists redundantly |
| 4 | Verify integrity | Check tracks and metadata |
| 5 | Maintain security | Review settings and update |
Secure Your Playlists Across All Streaming Services Effortlessly
Managing and safeguarding your music playlists across multiple streaming platforms can feel overwhelming. The challenge of maintaining playlist integrity, backing up your music, and ensuring seamless transfers while avoiding data loss is real. If you want to prevent frustration from missing tracks, incorrect song order, or losing your favorite playlists during service changes, you need a reliable solution tailored to these exact pain points.
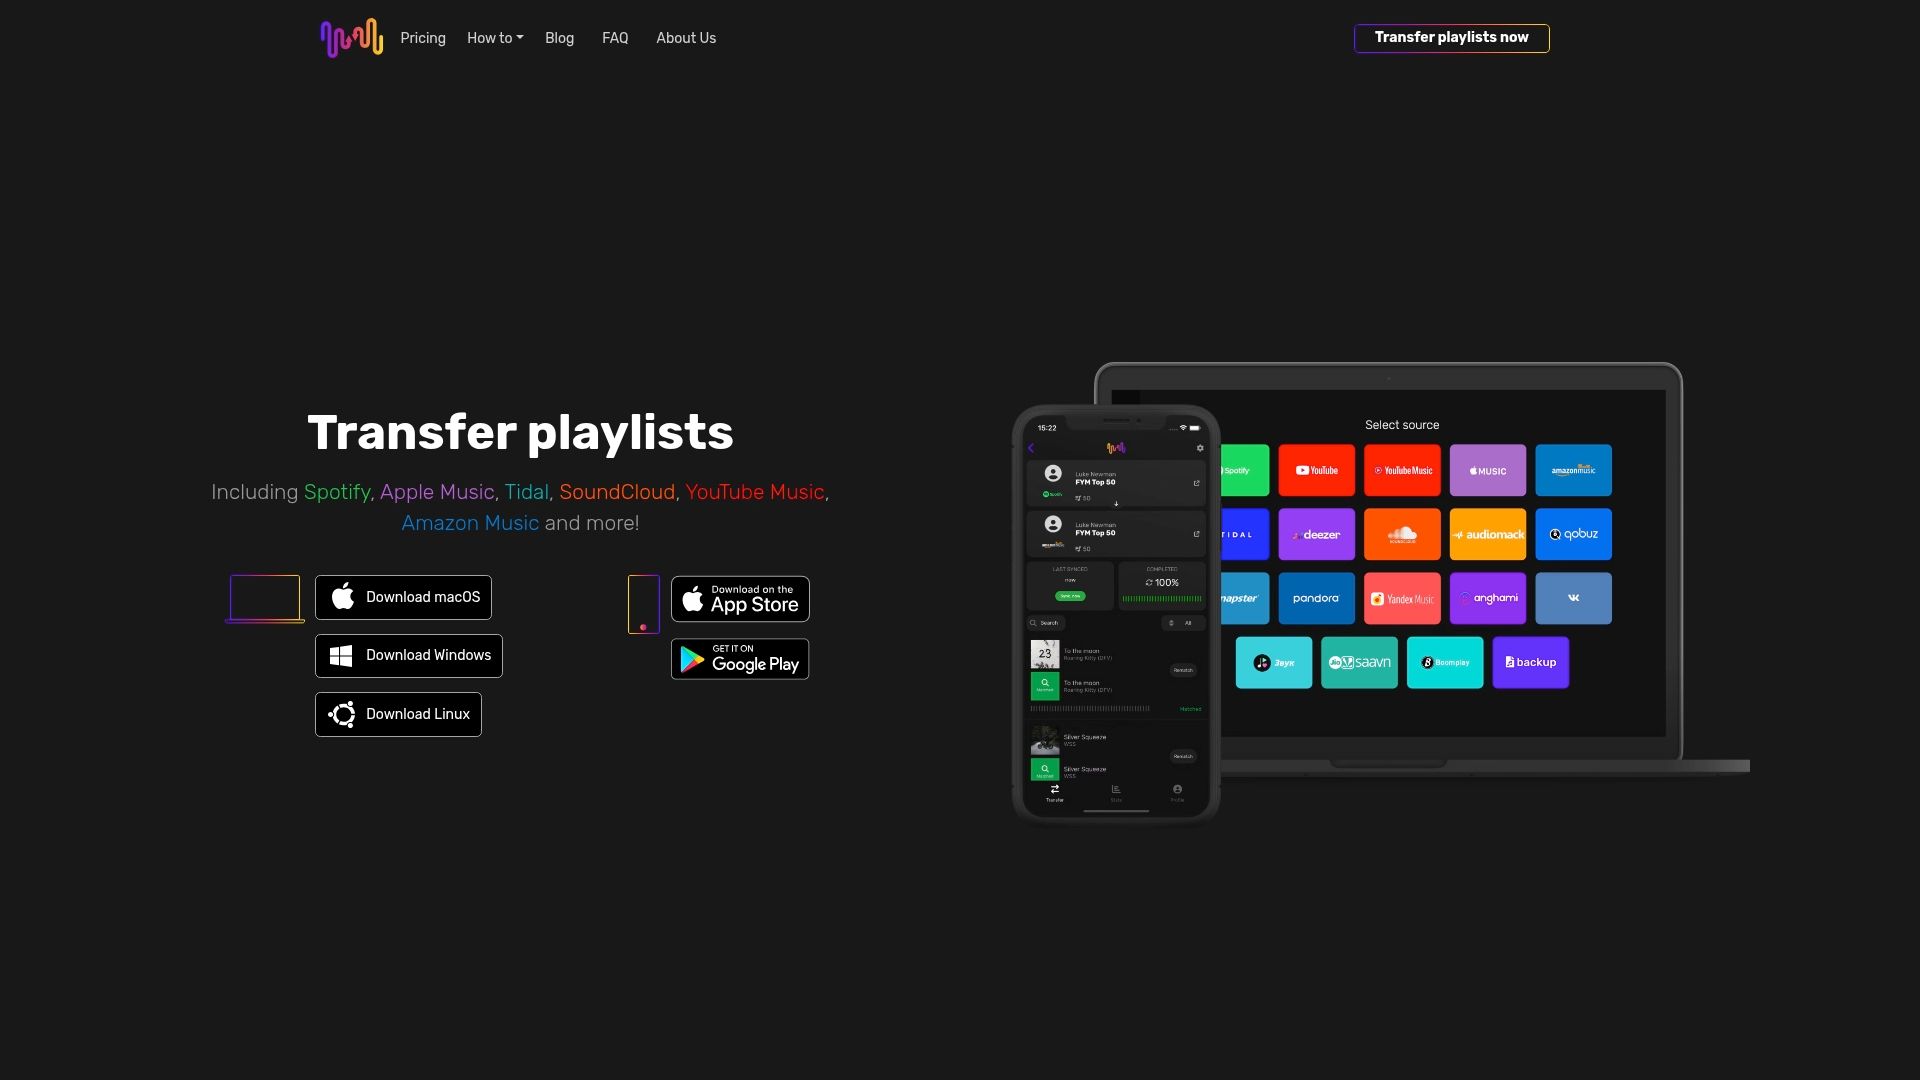
At Free Your Music, we understand the importance of secure playlist migration and cloud backup. Our platform offers automated synchronization, accurate song matching, and preservation of playlist structure across Spotify, Apple Music, Tidal, YouTube Music, Amazon Music, and more. With support for multi-account management and regular backups, you can feel confident your music library is protected against unexpected disruptions.
Ready to experience hassle-free playlist security and transfer? Visit Free Your Music to set up your account, connect your streaming services securely, and enjoy peace of mind knowing your playlists are safe and accessible everywhere. Don't wait until data loss happens take action now and protect your music collection with the simplest tool designed for music lovers just like you.
Frequently Asked Questions
How do I securely set up my Free Your Music account for playlist migration?
To securely set up your Free Your Music account, visit the Free Your Music homepage and click the signup button. Register using your email or social media accounts, select the streaming services you currently use, and enable two-factor authentication during setup for extra security.
What steps should I take to connect my streaming services securely?
To connect your streaming services securely, go to the available music services section in your Free Your Music account. Authorize each service by following the authentication process and grant the necessary permissions to ensure a comprehensive mapping of your music library.
How can I back up my playlists and ensure they sync to the cloud?
To back up your playlists and ensure they sync to the cloud, navigate to the cloud sync settings in your Free Your Music dashboard. Choose your preferred cloud storage option and select comprehensive backup settings to capture all playlist information, including song order and custom tags.
What should I do to verify my playlist integrity after transferring?
To verify your playlist integrity, open each synchronized playlist in your Free Your Music dashboard and compare track listings across different services. Use the built-in verification tools to run an automated integrity check and address any discrepancies identified to confirm that all songs are playable and correctly transferred.
How do I manage ongoing security for my music transfer system?
To manage ongoing security for your music transfer system, regularly review your account for necessary security updates and ensure you use strong unique passwords for each connected streaming service. Establish a routine audit process to check account activity logs and confirm that your backup settings remain optimal every couple of months.
Recommended
Migrate from and to any music services


Most popular Apple Music transfers: