The Complete Guide to Switching Music Streaming Platforms in 2026
This guide walks you through everything you need to know — from comparing the biggest platforms to migrating your entire library in minutes.
The Music Streaming Landscape in 2026
The streaming wars have matured, but they're far from over. Here's where the major players stand heading into 2026:
Spotify
Spotify remains the world's most popular streaming service, with over 650 million users globally. Its recommendation engine — powered by features like Discover Weekly, Daily Mix, and the AI-driven DJ — continues to set the standard for music discovery. Spotify's podcast and audiobook integration makes it a one-stop shop for audio content. However, its long-delayed lossless audio tier (Spotify HiFi) has been a point of frustration for audiophiles.
Apple Music
Apple Music has carved out a strong position with its focus on audio quality. Lossless Audio and Spatial Audio with Dolby Atmos come included at no extra cost, making it the go-to choice for listeners who care about sound. Deep integration with the Apple ecosystem — iPhone, HomePod, Apple Watch, CarPlay — gives it a seamless edge for Apple users. Its catalog of over 100 million songs matches Spotify's, and curated playlists from real editors offer a human touch.
YouTube Music
YouTube Music leverages Google's massive video library to offer something no other platform can: virtually every song ever recorded, including live performances, remixes, covers, and deep cuts that don't exist on other services. If you're already paying for YouTube Premium, YouTube Music comes bundled in. Its recommendation algorithm, fueled by your YouTube watch history, can surface surprisingly accurate suggestions.
Amazon Music Unlimited
Amazon Music Unlimited is a strong contender for Prime subscribers, who get a discounted rate. It supports lossless HD and Ultra HD audio, along with Spatial Audio. Integration with Alexa and Echo devices makes it a natural fit for smart home enthusiasts. While its discovery features aren't as polished as Spotify's, its catalog is comprehensive.
Tidal
Tidal continues to champion artists and audiophiles alike. Its HiFi Plus tier offers master-quality audio (up to 9,216 kbps with MQA), and its direct artist payment model appeals to listeners who want more of their subscription money reaching musicians. Tidal's editorial content and curated playlists are well-regarded, though its user base is smaller than the big three.
Deezer
Deezer is a sleeper pick that deserves more attention. With over 120 million tracks, lossless FLAC streaming, and a unique SongCatcher feature for identifying music, it offers a well-rounded experience. Its Flow feature — a personalized radio station — has been refining your taste profile for over a decade. Deezer is particularly strong in international markets with excellent regional catalog coverage.
Why People Switch Streaming Platforms
Understanding why listeners make the jump can help you decide if it's the right move for you. Here are the most common reasons:
Price Changes
Streaming services have been steadily raising prices. When your bill goes up but the experience stays the same, it's natural to shop around. Some platforms offer better value through family plans, student discounts, or bundled services.
Audio Quality
If you've invested in good headphones or a home audio setup, the difference between standard and lossless audio is noticeable. Platforms like Apple Music, Tidal, and Amazon Music offer high-resolution audio at no extra charge — a compelling reason to switch if your current service doesn't.
Platform Ecosystem
Switching phones or smart home systems often triggers a platform switch. Moving from Android to iPhone? Apple Music integrates more tightly. Got an Echo in every room? Amazon Music pairs seamlessly with Alexa. Your hardware ecosystem increasingly dictates which streaming service works best.
Music Discovery
Every platform has a different approach to helping you find new music. If Spotify's algorithm has gone stale or you want human-curated playlists, trying a new service can reignite your love of discovering something new.
Exclusive Content
Some artists release albums or bonus tracks exclusively on certain platforms. Podcasts, live sessions, and video content also vary between services. Following your favorite creators might mean following them to a new platform.
Interface and Experience
Sometimes it just comes down to how the app feels. Navigation, playlist management, queue behavior, offline download limits — the daily experience of using a streaming app matters, and personal preference plays a huge role.
Platform Comparison Table
| Feature | Spotify | Apple Music | YouTube Music | Amazon Music | Tidal | Deezer |
|---|---|---|---|---|---|---|
| Monthly Price (Individual) | $11.99 | $10.99 | $10.99 | $10.99 | $10.99 | $10.99 |
| Family Plan | $19.99 | $16.99 | $16.99 | $16.99 | $16.99 | $17.99 |
| Free Tier | Yes (ads) | No | Yes (ads) | Limited | No | Yes (ads) |
| Lossless Audio | Coming Soon | Yes | No | Yes | Yes | Yes |
| Spatial Audio | Limited | Dolby Atmos | No | Yes | Dolby Atmos | 360 Reality |
| Catalog Size | 100M+ | 100M+ | 100M+ | 100M+ | 100M+ | 120M+ |
| Offline Downloads | Yes | Yes | Yes | Yes | Yes | Yes |
| Podcasts | Extensive | Yes | Yes | Limited | Limited | Yes |
| Music Videos | Limited | Yes | Yes | Limited | Yes | No |
| Best For | Discovery | Apple users | Video + deep cuts | Alexa/Prime users | Audiophiles | International |
Prices reflect standard US rates as of early 2026. Check each platform for current pricing in your region.
How to Migrate Without Losing Your Library
Here's the part most people dread: moving years of carefully curated playlists, liked songs, and saved albums to a new platform. The good news? You don't have to rebuild anything from scratch.
The Manual Approach (Not Recommended)
You could search for every song on your new platform and manually rebuild your playlists. For a handful of tracks, that's fine. But if you have thousands of songs across dozens of playlists — which most long-time listeners do — this approach could take days or even weeks. It's tedious, error-prone, and completely unnecessary in 2026.
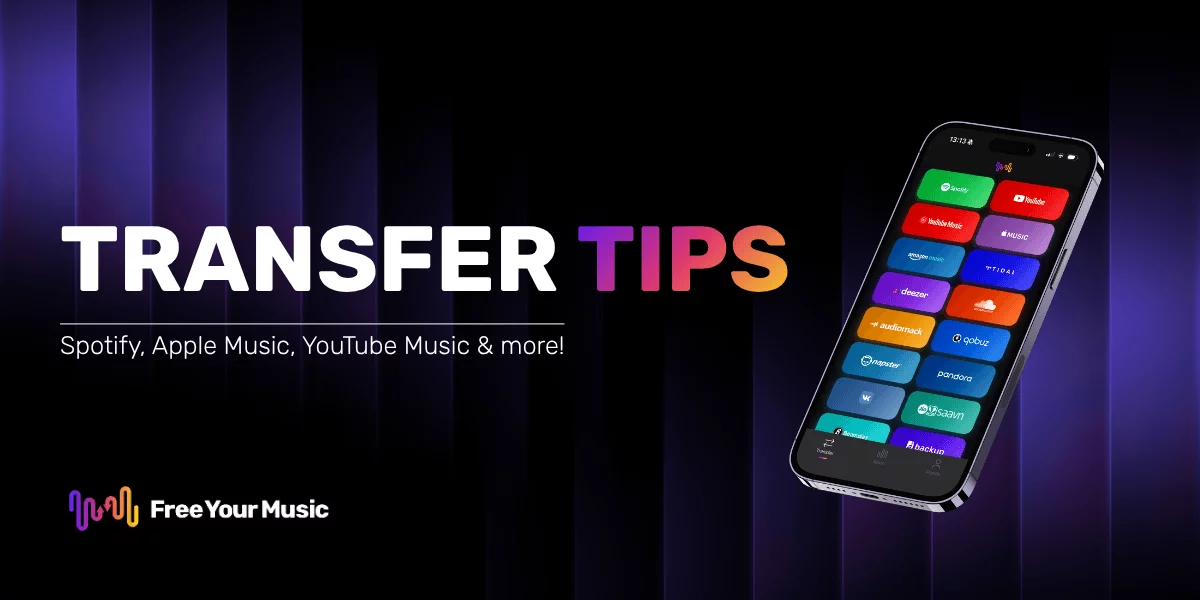
Using Free Your Music for Seamless Migration
Free Your Music is a dedicated playlist transfer tool that automates the entire migration process. It connects to all major streaming platforms and moves your music library in minutes, not days.
Here's how it works:
Step 1: Choose Your Source Platform
Open Free Your Music and select the platform you're leaving. Connect your account with a secure login — Free Your Music uses official APIs and never stores your credentials.
Step 2: Select What to Transfer
Pick the playlists, liked songs, and albums you want to move. You can transfer everything at once or cherry-pick specific playlists. Free Your Music shows you exactly what's in each playlist before you start.
Step 3: Choose Your Destination
Select the platform you're moving to and connect that account. Free Your Music supports transfers between all the major services — Spotify, Apple Music, YouTube Music, Amazon Music, Tidal, Deezer, and more.
Step 4: Start the Transfer
Hit transfer and let Free Your Music do its thing. The tool uses smart matching to find the correct version of each song on your new platform. For most libraries, the process takes just a few minutes.
Step 5: Review Your Results
After the transfer completes, Free Your Music shows you a detailed report. You'll see which songs matched perfectly, which found close alternatives, and the rare cases where a song isn't available on the destination platform. Match rates typically exceed 95% between major services.
What Transfers and What Doesn't
When you migrate between streaming platforms, here's what you can expect:
Transfers well:
- Playlists (names and track order preserved)
- Liked/saved songs
- Albums in your library
- Most mainstream and popular tracks
May need manual attention:
- Regional or market-specific tracks that aren't available in all territories
- Platform-exclusive content
- Songs with licensing restrictions on the destination platform
- Podcast subscriptions (these don't transfer between platforms)
Does not transfer:
- Listening history and play counts
- Algorithm preferences (your new platform will learn your taste over time)
- Downloaded offline files (you'll need to re-download on the new platform)
- Social features like followers or collaborative playlist permissions
Tips for a Smooth Switch
1. Don't Delete Your Old Account Immediately
Keep your old subscription active for at least a week after switching. This gives you time to verify everything transferred correctly, catch any missing songs, and manually add anything that didn't make the jump.
2. Transfer During Off-Peak Hours
While modern tools like Free Your Music handle transfers quickly, running your migration when platform APIs are less busy (early morning or late night) can speed things up for very large libraries.
3. Clean Up Before You Move
Use the switch as an opportunity to declutter. Remove duplicate playlists, unfollow artists you no longer listen to, and consolidate similar playlists. It's easier to organize before you transfer than after.
4. Check Your Family or Group Plans
If you're on a family plan, make sure everyone on the plan is ready for the switch. Coordinate so no one loses access unexpectedly.
5. Update Your Connected Devices
After switching, remember to update your streaming app on all devices — smart speakers, car systems, game consoles, and wearables. Sign out of the old service and sign into the new one to avoid confusion.
6. Give the Algorithm Time
Every platform's recommendation engine needs time to learn your preferences. Listen actively for the first couple of weeks — like songs, skip what you don't enjoy, and explore the platform's discovery features. You'll be getting personalized recommendations in no time.
Frequently Asked Questions
How long does a playlist transfer take?
With Free Your Music, most libraries transfer in under 10 minutes, even with thousands of songs across multiple playlists. Manual migration can take hours or days depending on library size.
Will I lose any songs when switching?
The vast majority of songs are available across all major platforms. Free Your Music typically achieves a 95%+ match rate. The few songs that don't transfer are usually platform exclusives or region-locked content.
Can I transfer playlists between any two platforms?
Yes. Free Your Music supports transfers between Spotify, Apple Music, YouTube Music, Amazon Music, Tidal, Deezer, SoundCloud, Pandora, and many more — in any direction.
Is it safe to connect my streaming accounts?
Free Your Music uses secure OAuth authentication (the same technology used by Google and Apple for third-party logins). Your passwords are never shared or stored.
Do I need to pay for Free Your Music?
Free Your Music offers a free tier that lets you transfer up to 600 songs. For larger libraries or unlimited transfers, affordable premium plans are available.
Can I transfer my podcast subscriptions?
Podcast subscriptions aren't tied to music platforms in the same way. You'll need to manually subscribe to your podcasts on the new platform, though most major podcasts are available everywhere.
Ready to Make the Switch?
Switching music streaming platforms doesn't have to be stressful. With the right tool, your entire library moves with you — playlists, liked songs, albums, and all. No more being locked into a service just because your music is there.
Transfer your playlists in minutes with Free Your Music →
Whether you're moving from Spotify to Apple Music, YouTube Music to Tidal, or any other combination, Free Your Music makes the process effortless. Try it free with up to 600 songs — no commitment required.
Your music should go wherever you do. It's time to free your music.

Your playlists belong to you.
Stop rebuilding by hand. Move everything in minutes and take your music wherever you go.
Download free →SongsBrew — our free music newsletter
A free perk for FYM users. Tips, playlists, no spam.