Music news, tips & stories
Stay updated with the latest music streaming insights, playlist management tips, and industry news.
How to Upload MP3 to Spotify and Sync Playlists Easily
October 16, 2025

Did you know Spotify only supports a handful of audio formats for local uploads, with MP3 files offering the best compatibility? If you want your personal music collection to play seamlessly on every device, getting these details right can save hours of frustration later. Clear instructions and smart tips will help you avoid common upload pitfalls so your favorite tracks move smoothly into your Spotify playlists.
Quick Summary
| Key Point | Explanation |
|---|---|
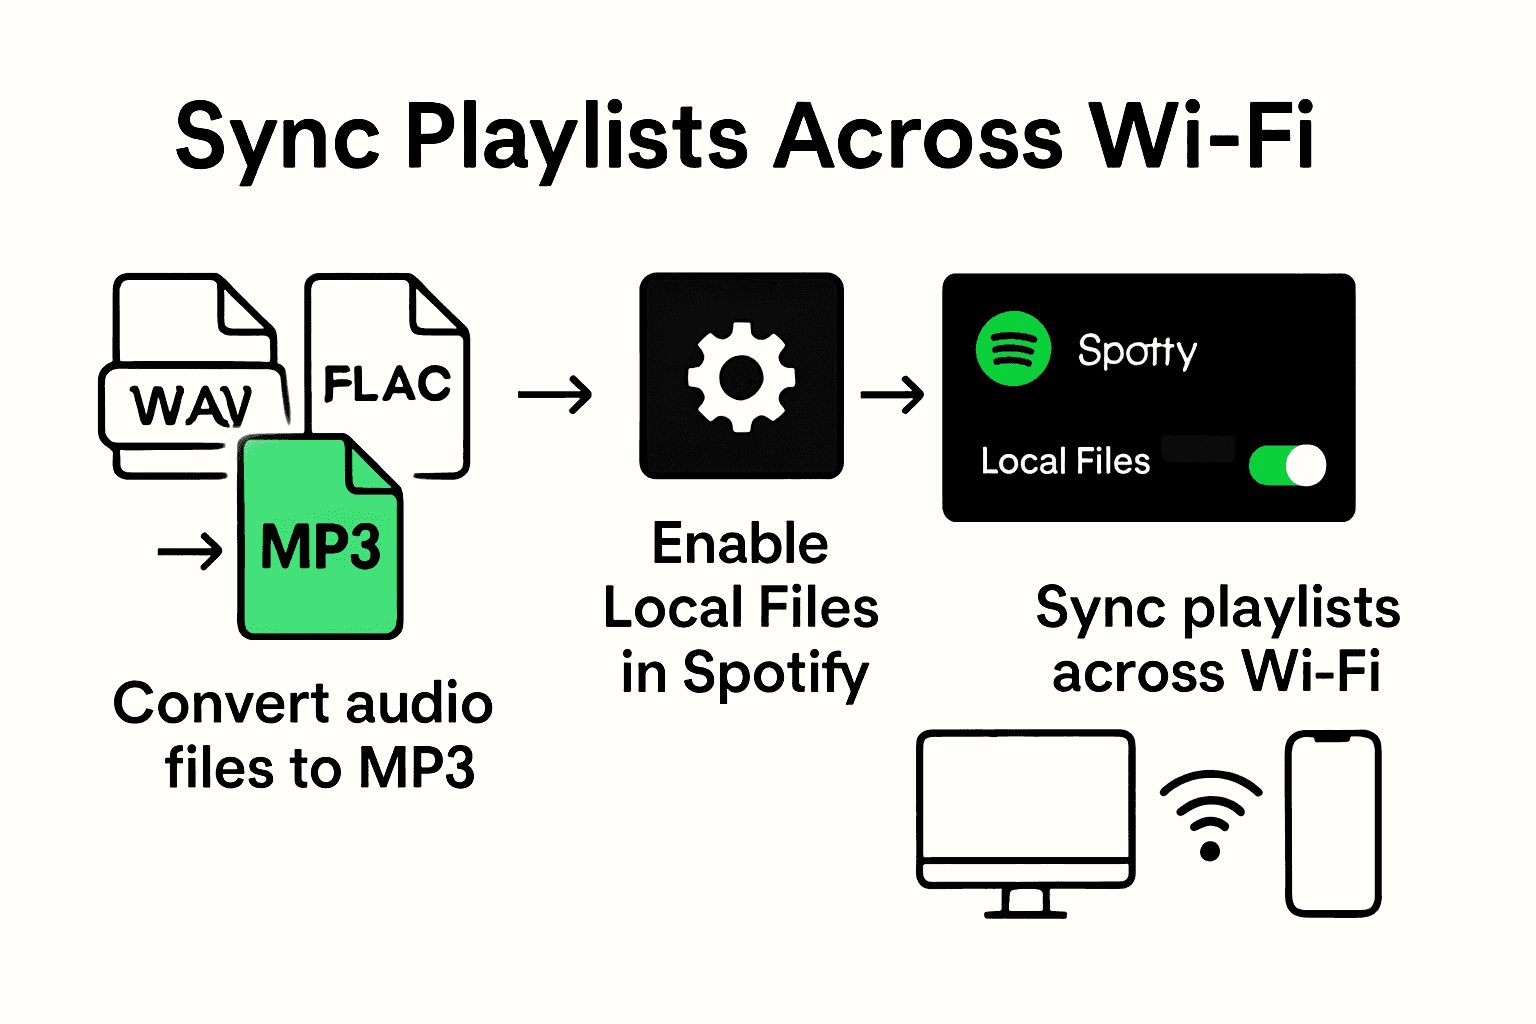
| 1. Convert files to MP3 format | Use MP3 files for maximum compatibility when uploading to Spotify. Other formats may require conversion. |
| 2. Enable Local Files in Spotify settings | Go to the preferences menu, and enable the 'Show Local Files' feature to locate and play your music. |
| 3. Sync playlists using the same Wi-Fi | Ensure both devices are on the same Wi-Fi network to successfully sync your playlists across devices. |
| 4. Test playback after importing | Verify that all MP3 files play smoothly on mobile by checking that offline mode is disabled and playlists are downloaded. |
| 5. Rename files with clear names | Use simple, lowercase file names without special characters to avoid upload issues and keep your library organized. |
Table of Contents
- Step 1: Prepare Your MP3 Files For Upload
- Step 2: Set Up Spotify And Free Your Music Applications
- Step 3: Import And Upload MP3 Files Into Spotify
- Step 4: Sync Playlists Across All Devices
- Step 5: Verify And Test Uploaded MP3 In Spotify
Step 1: Prepare Your MP3 Files for Upload
You're about to transform your personal music collection into a Spotify playlist ready to rock. But first things first: not every audio file will play nice with Spotify. Your goal in this step is to ensure your music files are in the right format and ready for seamless upload.
Spotify has some specific requirements when it comes to local file uploads. According to research from headphonesty.com, the platform supports only a handful of audio formats: MP3, MP4 (with QuickTime installed), M4P (without video), and M4A. Your best bet is always MP3 files.
Here's a quick comparison of Spotify-supported audio file formats for local uploads:
| Format | Supported by Spotify | Notes |
|---|---|---|
| MP3 | Yes | Best compatibility; recommend 320 kbps |
| MP4 | Yes (with QuickTime) | Requires QuickTime; no video support |
| M4P | Yes (no video) | DRM-protected; no video |
| M4A | Yes | No video support |
| WAV | No | Requires conversion to MP3 |
| FLAC | No | Requires conversion to MP3 |
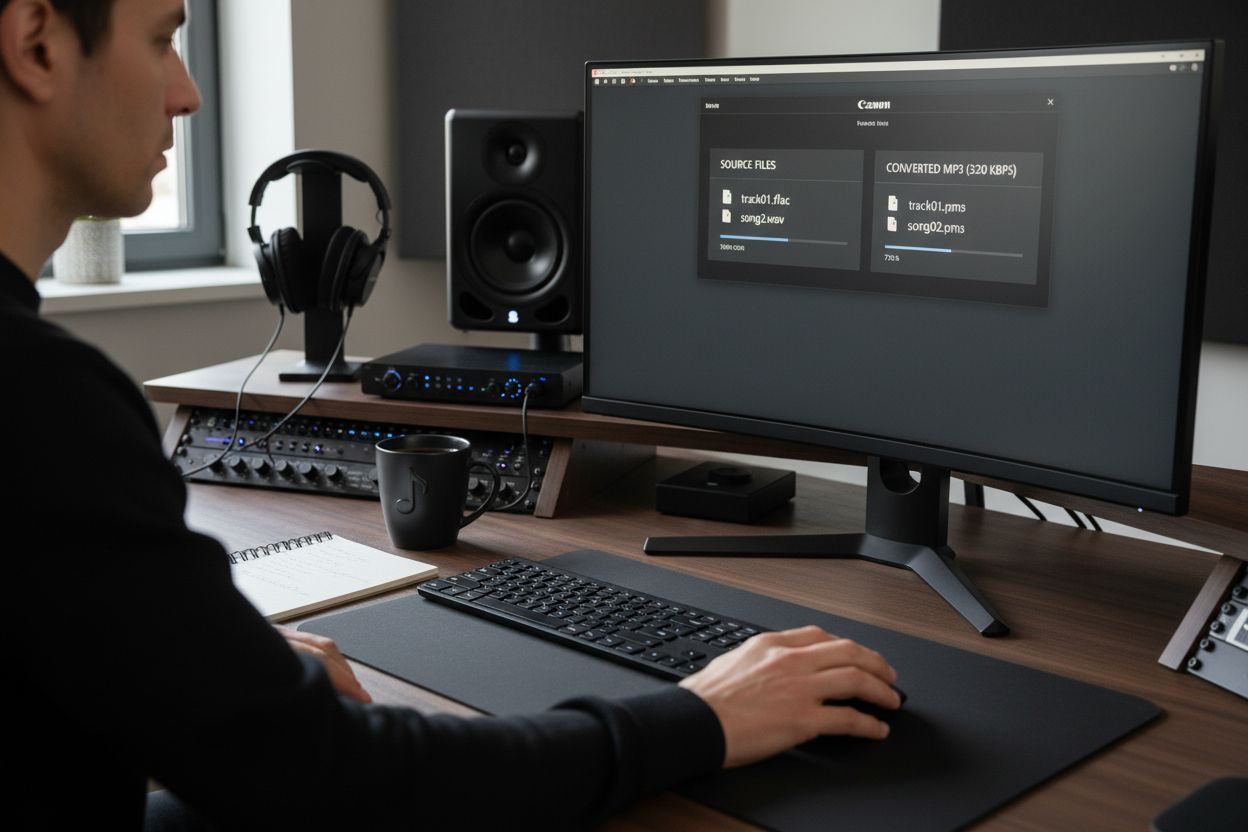
Start by checking your current music library. Do you have WAV files? FLAC recordings? Those won't work directly. You'll need to convert them. Fortunately, numerous free audio conversion tools can help you transform your music into Spotify-friendly MP3s in just a few clicks.
Pro Tip: Always use lowercase file extensions. Spotify can be picky about uppercase file names, which might prevent your local files from showing up in your library.

When converting files, pay attention to audio quality. While Spotify can handle various bitrates, aim for a standard 320 kbps MP3 to maintain excellent sound clarity. This ensures your music sounds crisp and professional when you upload.
Once you've converted your files, do a quick check. Rename files with clear, simple names without special characters.
 This helps prevent any unexpected upload issues and makes your playlist management smoother.
Ready to move forward? Your perfectly prepared MP3 files are now primed for the next exciting step: uploading to Spotify.
Step 2: Set Up Spotify and Free Your Music Applications
You're getting closer to creating your perfect portable music library. This step is all about configuring your Spotify desktop and mobile apps to recognize and play your local MP3 files smoothly. We'll walk through the setup process that will transform your music management experience.
Let's start with the Spotify desktop application. According to Spotify's official support documentation, you'll need to enable the "Show Local Files" feature in your settings. Open your Spotify app and navigate to the preferences menu. Look for the local files section where you can add the specific folder containing your MP3 files. This tells Spotify exactly where to find your personal music collection.
For mobile users, the process is slightly different. As research from Streaming Mafia suggests, you'll want to enable "Local audio files" in your app's settings under the Apps and Devices section. Make sure both your desktop and mobile Spotify apps are updated to the latest version to minimize any potential syncing issues.
Pro Tip: Create a dedicated folder for your MP3 files before adding them to Spotify. This keeps your music organized and makes importing much easier.
If you want an even smoother music transfer experience, check out our playlist migration guide which can help you move your entire music library between different streaming platforms with just a few clicks.
Once you've added your local files and confirmed they're visible in your Spotify library, you're ready for the next exciting phase: uploading your perfectly prepared MP3 files and creating an amazing playlist that travels with you across devices.
Pro users tip: Double-check that all your files are in MP3 format and have clear lowercase file names to prevent any unexpected upload hiccups.
Step 3: Import and Upload MP3 Files into Spotify
Time to bring your personal music collection into the Spotify universe. This step is where your carefully prepared MP3 files transform from scattered files into a seamless, portable playlist that travels with you everywhere.
According to Spotify's official support documentation, the desktop app is your primary tool for importing local files. Open Spotify and look for the "Add a source" option in your local files settings. This is where you'll point Spotify directly to the folder containing your MP3 files. Once selected, Spotify will automatically import these tracks into Your Library.
After importing, you'll want to organize these tracks. Simply drag your newly imported local files into a new or existing playlist. This makes them easy to access and ensures they're ready for cross device synchronization.
Here's a pro move for mobile users: As discussed in Spotify community forums, you can sync these files across devices with a simple trick. Create your playlist on desktop, then open the same playlist on your mobile app while connected to the same Wi-Fi network. Toggle the "Available Offline" option to ensure your playlist syncs perfectly.
Pro Tip: Always keep your desktop and mobile Spotify apps updated to maintain smooth local file synchronization.
Learn more about seamless music transfers that can expand your music management capabilities beyond just local files.
Your local files are now imported and synced. Get ready for the final step: enjoying your personalized music library across all your devices. One playlist. Everywhere you go.
Step 4: Sync Playlists Across All Devices
Now comes the magic moment when your music library becomes truly portable. You want your carefully curated playlist to follow you from desktop to mobile without missing a beat.
According to research from Streaming Mafia, syncing local MP3 files across devices requires a few strategic steps. First and foremost, ensure you're logged into the same Spotify account on both your desktop and mobile devices. This might sound obvious, but it's the foundation of successful file synchronization.
Network connectivity is crucial. Both devices need to be connected to the same Wi-Fi network. As experts from VWizard point out, a stable network helps prevent sync failures and ensures smooth playlist transfer. Turn off offline mode on both devices to allow for seamless synchronization.
The process is straightforward. Create your playlist with local MP3 files on the desktop app, then download that specific playlist on your mobile device. Spotify will work its behind the scenes magic to make sure every track travels with you.
Pro Tip: Always use a strong and stable Wi-Fi connection to minimize potential sync interruptions.
Explore more playlist transfer techniques that can expand your music management skills beyond Spotify.
With your playlist now synced across devices, you've unlocked the ultimate music portability. Your personalized soundtrack is no longer confined to a single device but travels wherever you go. Welcome to the future of music listening.
Step 5: Verify and Test Uploaded MP3 in Spotify
You've done the hard work of preparing, importing, and syncing your music. Now comes the moment of truth: making sure everything plays perfectly across your devices.
According to insights from VWizard, your first verification step should be testing playback on mobile. Open the Spotify mobile app and make absolutely certain that offline mode is disabled. Check that your playlist is marked as downloaded to ensure smooth playback.
For iOS users, the verification process has some nuanced steps. As discussed in Spotify community forums, you'll want to confirm that your MP3s imported via the Files app appear correctly in the Local Files playlist. If you've transferred files through iCloud or USB, take a moment to play each track and verify sound quality and complete transfer.
Pro Tip: If you encounter any playback issues, try the simple reset approach. Delete the playlist and recreate it from your desktop, then resync.
Explore advanced playlist management techniques that can help you become a music migration pro.
If all tracks play smoothly and sound crisp, congratulations. You've successfully navigated the complex world of local file management in Spotify. Your personalized music library is now portable, accessible, and ready to soundtrack your life across every device.
Make Your Playlist Migration Effortless With Free Your Music
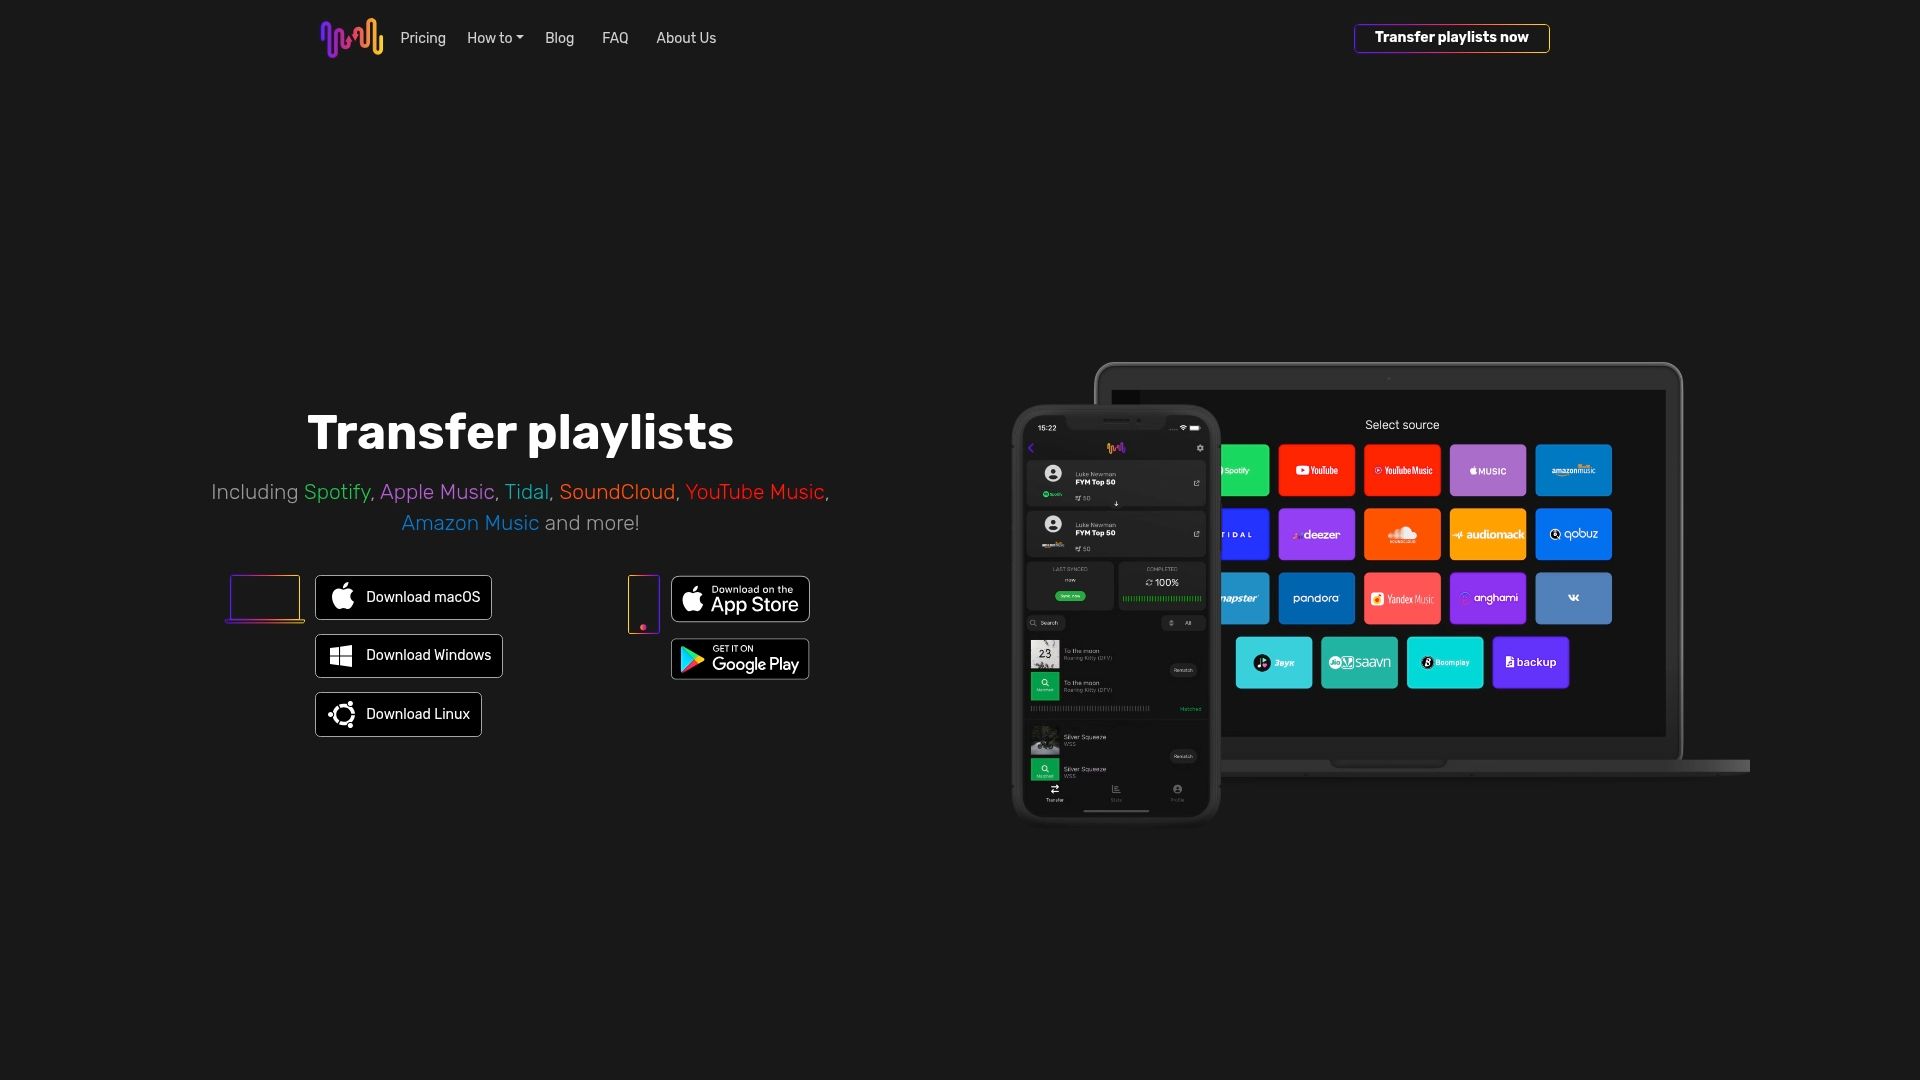
Struggling to upload MP3s and sync playlists across all your devices? Managing local music files in Spotify can get complicated, especially when you want every playlist just the way you like it. The process you just followed can be time-consuming and comes with its own set of frustrations, like file compatibility issues and incomplete transfers. What if you could bypass all of these hurdles and move entire playlists between Spotify and other platforms in just a few clicks? Free Your Music does this for you automatically, with no manual rebuilding needed. It works everywhere—on macOS, Windows, Linux, Android, and iOS—so your music always stays with you no matter the device or streaming service.

Ready to stop worrying about lost songs or messy playlists? Try Free Your Music to transfer and sync your music library instantly. Explore easy playlist migration and see how you can manage your music across platforms with just a few taps. Secure your music collection today and keep your playlists safe, organized, and always within reach. Act now to simplify playlist management forever.
Frequently Asked Questions
How do I convert my music files to MP3 for Spotify?
To convert your music files to MP3, use a free audio conversion tool available online. Simply upload your files, select MP3 as the output format, and click convert to get your music ready for Spotify within minutes.
What settings should I choose when uploading MP3 files to Spotify?
When uploading MP3 files to Spotify, aim for a bitrate of 320 kbps for optimal sound quality. Ensure your file names are in lowercase and without special characters to prevent upload issues.
How can I ensure my local MP3 files sync across my devices?
To sync your local MP3 files across devices, make sure both your desktop and mobile Spotify apps are connected to the same Wi-Fi network, and that you are logged into the same Spotify account on both devices. Create your playlist on desktop, then download it on your mobile app while connected to the same network.
What should I do if my uploaded MP3s are not playing on Spotify?
If your uploaded MP3s are not playing, first check that offline mode is disabled on your mobile app. If the problem persists, try deleting the playlist and recreating it from your desktop, then resync to resolve playback issues.
How do I add local files to my Spotify playlists?
To add local MP3 files to your Spotify playlists, go to the local files settings in the desktop application and select the folder containing your music. After importing, simply drag and drop these files into your desired playlist for easy access.
Can I upload M4A or FLAC files to Spotify?
No, M4A and FLAC files won't upload directly to Spotify and need to be converted to MP3 format first. Use a conversion tool to change these files to MP3, ensuring you maintain high audio quality during the process.


