Music news, tips & stories
Stay updated with the latest music streaming insights, playlist management tips, and industry news.
Ultimate Music Playlist Management Tutorial for Easy Migration
October 27, 2025

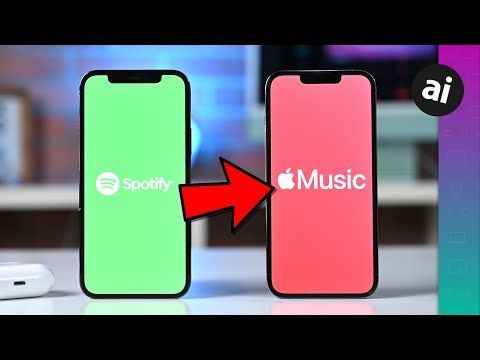
Over 500 million people use music streaming platforms worldwide, yet switching services can feel overwhelming when your playlists are on the line. Preserving years of favorite songs and personalized collections matters to any serious music lover. This guide shows a step-by-step process that helps you transfer playlists and albums smoothly from one streaming service to another, minimizing disruption and keeping your tunes right where you want them.
Table of Contents
- Step 1: Prepare Accounts And Choose Platforms
- Step 2: Install And Launch Free Your Music App
- Step 3: Select Source And Target Services
- Step 4: Transfer And Sync Your Playlists
- Step 5: Verify Playlist Accuracy Across Devices
Quick Summary
| Key Point | Explanation |
|---|---|
| 1. Prepare accounts and platforms | Gather login credentials and verify access to ensure a smooth migration of your music library. |
| 2. Choose the right services | Select streaming platforms based on factors like library size, audio quality, and features that suit your needs. |
| 3. Use Free Your Music app to transfer | Download and install Free Your Music to facilitate seamless playlist transfers between various music streaming services. |
| 4. Verify accuracy after transfer | Check that all songs and playlists are successfully transferred by comparing both the source and destination libraries. |
| 5. Maintain stable internet connection | Ensure a reliable internet connection throughout the process to prevent interruptions during authentication and transfer tasks. |
Step 1: Prepare Accounts and Choose Platforms
Getting ready to migrate your music library requires strategic account preparation and platform selection. This step ensures a smooth transfer of your beloved playlists with minimal friction.
Start by gathering login credentials for all music streaming platforms you currently use. Open each service and verify your account access to prevent any unexpected roadblocks during migration. According to research analyzing listening behaviors, user transfer strategies depend heavily on individual consumption patterns, so personalization matters.
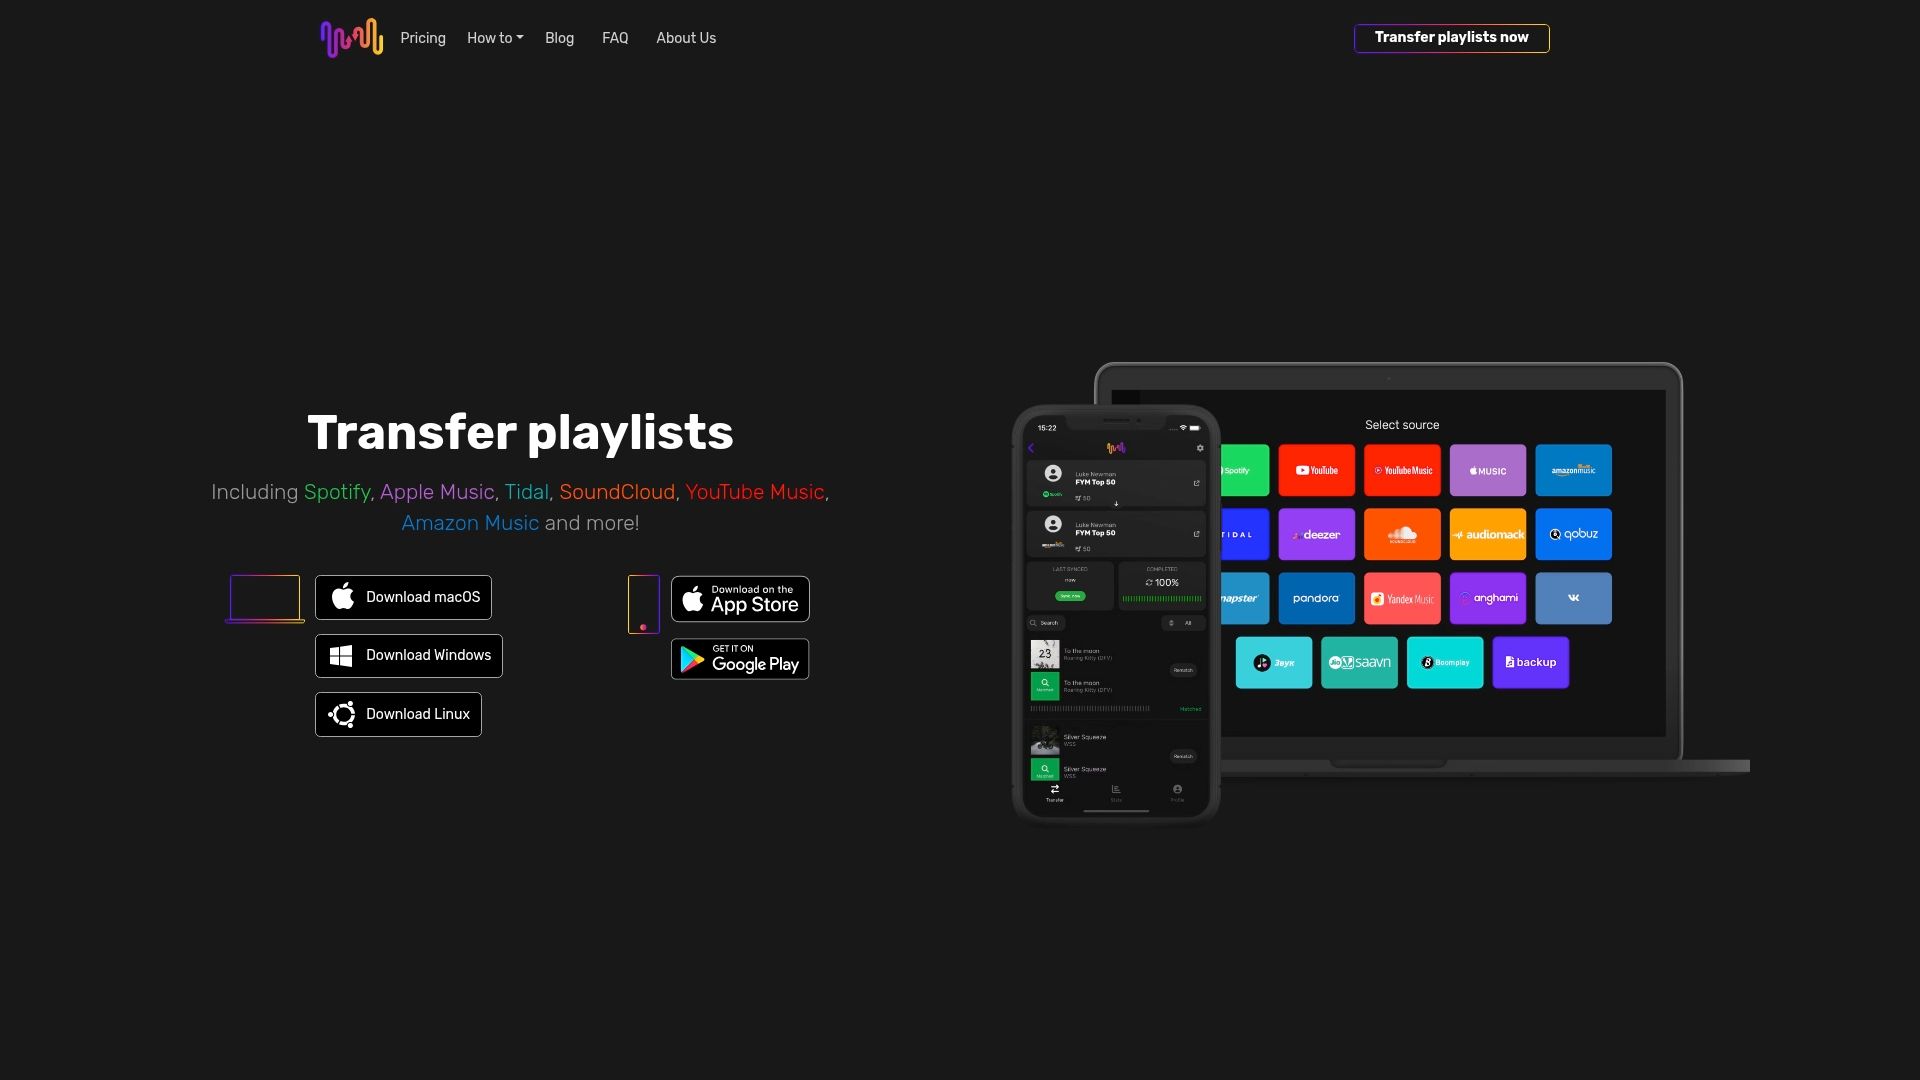
Next, determine which streaming services you want to transfer between. Consider factors like music library size, library compatibility, audio quality, and unique features. Free Your Music supports transfers between major platforms including Spotify, Apple Music, Tidal, YouTube Music, and Amazon Music.
Here's a comparison of popular music streaming platforms for migration:
| Platform | Library Size | Audio Quality | Unique Features |
|---|---|---|---|
| Spotify | 80+ million tracks | Up to 320 kbps | Curated playlists Podcasts |
| Apple Music | 100+ million tracks | Up to Lossless | Spatial Audio iTunes Match |
| Tidal | 90+ million tracks | HiFi/Lossless | MQA support HiRes audio |
| YouTube Music | 80+ million tracks | Up to 256 kbps | Video integration Remixes |
| Amazon Music | 100+ million tracks | HD/UHD options | Alexa integration Prime benefits |
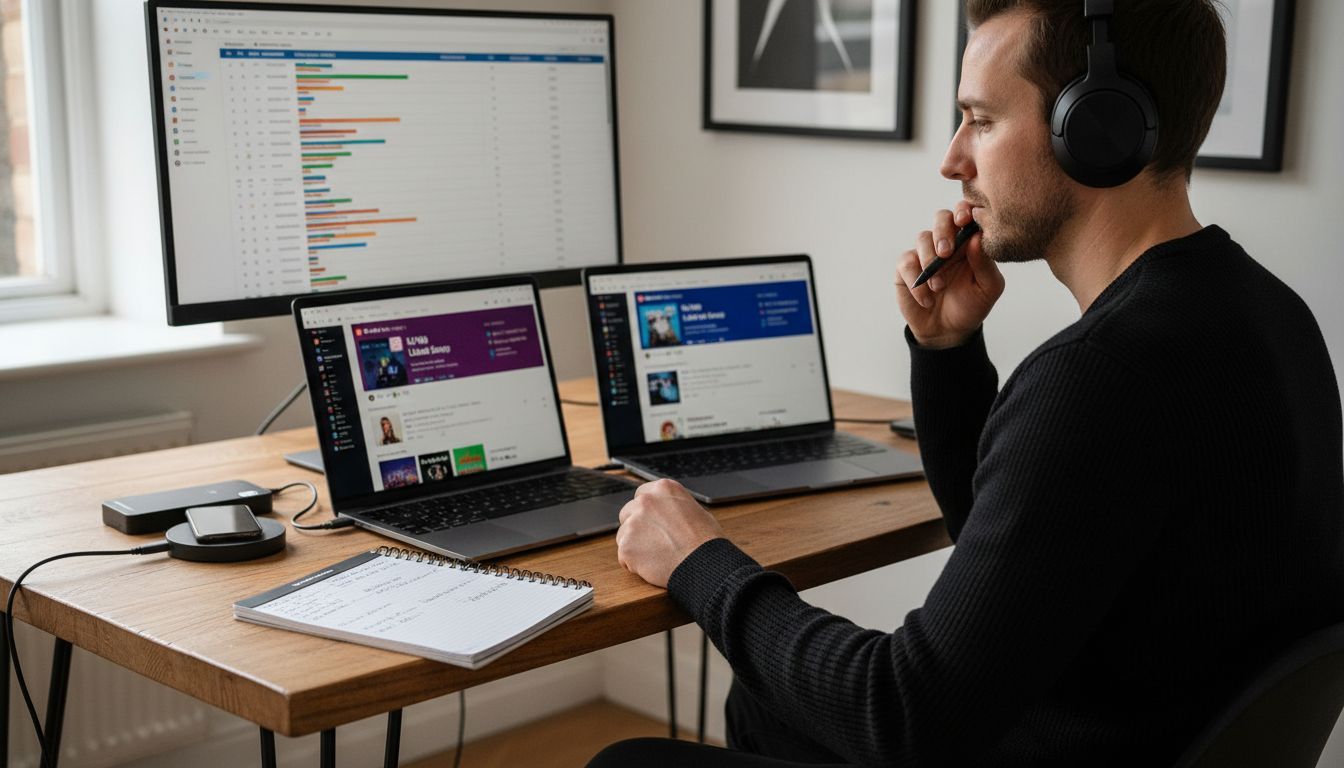
A helpful strategy is creating a spreadsheet tracking your current playlists, total number of tracks, and specific requirements. This preparation helps you understand potential matching challenges during transfer. According to the research from the comprehensive user study, individual listening histories vary significantly, making manual verification crucial.
Pro tip: Ensure you have strong internet connectivity and updated account passwords before beginning your music library migration. Weak connections or outdated credentials can interrupt the transfer process.
With your accounts prepared and platforms selected, you are now ready to start the actual playlist migration process. Your organized approach will make the upcoming steps much smoother.
Step 2: Install and Launch Free Your Music App
Ready to start your music library migration? The first step is downloading and setting up the Free Your Music application on your preferred device. This process will help you seamlessly transfer playlists across different streaming platforms.
According to the App Store listing, Free Your Music supports transfers between major streaming services like Spotify, Apple Music, Tidal, Amazon Music, YouTube, and Pandora. Begin by visiting your device's app store (App Store for iOS, Google Play for Android) and searching for "Free Your Music".
Download the app and complete the installation. Once launched, you will be prompted to connect your first music streaming account. As detailed in the official support documentation, the process involves selecting your desired service and authenticating your account through a secure login process.
Pro tip: Make sure you have stable internet connectivity during the account authentication step. An unstable connection might interrupt the verification process and require you to restart.
With the app installed and your first account connected, you are now ready to explore the playlist transfer options.
 The next steps will guide you through selecting source and destination platforms for your music library migration.
Step 3: Select Source and Target Services
With your accounts connected, it is time to strategically choose the platforms from which you will transfer and receive your music playlists. This critical step determines the success of your entire music library migration process.
According to official Free Your Music documentation, the process involves selecting a source platform from which you want to transfer music and a destination platform to which you want to move your playlists. Free Your Music supports a wide range of streaming services, including Spotify, Apple Music, Tidal, SoundCloud, YouTube Music, and Amazon Music.
Start by identifying the platform containing your primary music library. This will be your source service. Next, determine your target platform based on factors like music catalog compatibility, sound quality, user interface, and personal preferences. Some users switch due to better recommendation algorithms or unique features specific to certain streaming services.
Pro tip: Before finalizing your transfer, quickly compare the music libraries of your source and target platforms. Ensure that most of your favorite tracks are available on the destination service to prevent potential frustration.
Once you have selected your source and target services, you are ready to begin the actual playlist transfer process. Your thoughtful platform selection will help ensure a smooth and satisfying music migration experience.
Step 4: Transfer and Sync Your Playlists
You are now at the most exciting stage of your music library migration journey. This is where you will move your carefully curated playlists from one streaming service to another with precision and ease.
According to official Free Your Music documentation, the transfer process begins by selecting the specific playlists you want to move and clicking the 'begin transfer' button. The app will start matching and transferring your tracks across platforms.
One of the most powerful features you will encounter is the ReMatch functionality, which allows you to manually adjust song matches during transfers. This ensures maximum accuracy and helps preserve the integrity of your music collections. The Song Order Synchronization feature is particularly helpful as it maintains the original playlist order across different streaming platforms.
Pro tip: During the transfer, keep your internet connection stable and avoid interrupting the process. Large playlists might take several minutes to completely sync, so patience is key.
With your playlists now transferred and synchronized, you are ready to enjoy your music library in its new home. The next steps will help you verify and fine tune your transferred playlists to ensure a perfect musical transition.
Step 5: Verify Playlist Accuracy Across Devices
Now comes the crucial moment of confirming that your music library transfer was successful. Your goal is to ensure every song has been accurately moved and your playlists remain intact across different platforms.
According to official support documentation, the verification process involves carefully checking that your playlists have been accurately transferred to the destination service. Open both your source and destination music platforms to compare song lists and playlist ordering.
The ReMatch feature becomes your best friend during this stage. If you notice any incorrect song matches or missing tracks, you can manually adjust and fine tune the transfers. This ensures maximum accuracy and helps preserve the exact musical experience you originally created.
Pro tip: Play a few songs from different parts of your transferred playlists to confirm audio quality and correct track versions. Sometimes streaming platforms might have slightly different recordings of the same song.
With your playlists verified and any necessary adjustments made, you can now confidently enjoy your music library in its new digital home. Your careful migration process is complete.
Simplify Your Playlist Migration with Free Your Music
Struggling with the complex task of transferring your music playlists across different streaming platforms is a common hurdle for music lovers. The article "Ultimate Music Playlist Management Tutorial for Easy Migration" highlights key challenges like maintaining playlist order, accurate song matching, and avoiding time-consuming manual rebuilding. These issues can cause frustration and disrupt your music enjoyment.
Free Your Music offers a tailored solution designed to eliminate those pain points. With its automated synchronization, precise matching features, and support for unlimited playlists, it allows you to move your entire music library effortlessly between services like Spotify, Apple Music, Tidal, and more. Whether you want to preserve your carefully curated playlists or switch streaming platforms without losing your favorites, this platform makes the process reliable and stress-free.
If you want to experience hassle-free playlist management and migration, now is the time to act. Discover how easy it is to transfer your music collection by visiting Free Your Music.

Ready for a seamless music journey? Start your migration today and enjoy your playlists exactly as you like them wherever you go.
Frequently Asked Questions
How can I prepare my music accounts for an easy migration?
To prepare for an easy migration, gather the login credentials for all your music streaming accounts and verify access to each service. Before starting, ensure your account passwords are updated and consider creating a spreadsheet to track your playlists and total number of tracks.
What factors should I consider when choosing platforms for music migration?
When selecting platforms for music migration, consider the library size, audio quality, compatibility of music catalogs, and unique features of each streaming service. Make sure to choose a source platform that contains your primary music library and a target platform that meets your listening preferences.
What is the process of transferring playlists using a migration app?
To transfer your playlists, download the migration app and connect your source music account. Then, select the playlists you want to transfer and initiate the process, ensuring a stable internet connection for a smooth transfer.
How do I verify the accuracy of my transferred playlists?
To verify your transferred playlists, check both the source and destination platforms to compare song lists and order. Use features that allow you to manually adjust any incorrect matches or missing tracks, ensuring your playlists reflect the original experience.
What should I do if songs are missing or incorrectly matched during migration?
If songs are missing or incorrectly matched, utilize a feature that allows for manual adjustments to correct the song matches. Ensure to review the playlists thoroughly, and make necessary changes so that your music library is accurate and intact.
How long does the playlist migration process typically take?
The duration of the playlist migration process can vary based on the number of tracks and the speed of your internet connection. Generally, smaller playlists can be transferred in a few minutes, while larger ones might take several minutes, so be patient during the process.


