Music data transfer workflow: Simply switch and enjoy
November 3, 2025
Music accompanies us throughout our everyday lives and many of us have built up personal playlists on several platforms over the years. It often seems like a mammoth task to seamlessly transfer these collections. But did you know that with the right tool, even thousands of songs and playlists can be transferred to a new platform in just a few minutes? This is where the surprising part comes in, because the real success lies less in the transfer itself and more in the small details - such as ensuring that each playlist actually arrives complete and in the correct order.
Table of contents
- Step 1: Check your current music collection
- Step 2: Select your target platform for the music transfer
- Step 3: Install a suitable transfer app or software
- Step 4: Initiate the music data transfer process
- Step 5: Verify the successful transfer of your music data
Quick overview
| Important Point | Explanation |
|---|---|
| 1. Check your music collection | Take an inventory of all playlists and albums to prepare for the transfer. |
| 2. Select the target platform strategically | Analyze your music preferences and streaming service features to find the right platform. |
| 3. Install suitable transfer app | Select and install compatible software that covers your platforms. |
| 4. Perform the music transfer carefully | Transfer your playlists selectively and make sure the tracks are in the correct order. |
| 5. Verify the successful transfer | Check all transfers for completeness and repetitions in case of discrepancies. |
Step 1: Check your current music collection
Before you start the music data transfer workflow, it is crucial to analyze your current music collection accurately. This first step will help you get a complete overview of your existing playlists, albums and music files to ensure a smooth transfer process.
Start with a comprehensive inventory of your music library. Open your current music streaming service and take the time to review all existing playlists, created collections and favorite albums. Pay particular attention to playlists that you have compiled over a long period of time and that have a special emotional or musical meaning for you. Make a detailed list or note of all these playlists to ensure that no important collection is lost during the transfer.
A helpful strategy is to categorize your music collections. Distinguish between personally created playlists, mixtapes recommended by services and albums that you have specially compiled. For an even better overview, you can gain further insight into your music statistics to see which music areas and genres are most important to you.
Also check the number of your playlists and their scope. Note that some streaming services may have restrictions on the number of playlists or music tracks per playlist. This is particularly important if you want to transfer your music collection between different platforms. Make a note of the total number of your playlists and the number of songs in each playlist to ensure that no data is lost during the transfer process.
At the end of this step, you should have a clear idea of your entire music collection: How many playlists do you own? Which ones are particularly valuable? Which music genres dominate? This information forms the basis for a successful and efficient music data transfer workflow that will help you to seamlessly transfer your music collection to a new platform.
Below you will find an overview of all steps in the music data transfer workflow, with a brief summary of the main objective of each step and typical indications of the estimated difficulty.
| Step | Goal of the Step | Difficulty Level |
|---|---|---|
| Checking the music collection | Collecting the entire music library and playlist inventory | Easy |
| Selecting the target platform | Selecting the best streaming platform according to your own preferences | Medium |
| Installing the transfer app | Finding and setting up suitable transfer software | Easy |
| Starting the transfer | Migrating playlists and songs to the target system | Medium |
| Verifying the transfer | Comparing playlists and checking the transfer | Easy |
Step 2: Select your target platform for the music transfer
After carefully reviewing your current music collection, the next crucial step in the music data transfer workflow is to strategically select your target platform. This step requires a careful analysis of your individual music listening needs and the features of different streaming services.
Start with an honest assessment of your musical preferences and usage habits. Which music genres do you listen to most often? What features are important to you - recommendation algorithms, library size, audio quality or availability of podcasts? Different streaming services have individual strengths, so a precise analysis is crucial. Free Your Music offers easy transfer options between different platforms, giving you extra flexibility in your choice.
Also consider practical aspects such as pricing, device compatibility and family or group subscriptions. Some services offer cheaper rates or better family options. Check whether the target platform is compatible with the devices you use - smartphone, tablet, computer, smart speaker. Pay particular attention to aspects such as offline playback, sound quality and the number of simultaneous device logins.
Another important factor is the service's music library. Compare the music selection, timeliness of releases and special music areas such as podcasts, live recordings or niche genres. Some platforms have exclusive rights to certain artists or albums, which could influence your decision.
At the end of this step, you should have made an informed decision about your target platform. The selection is based on a holistic assessment of your musical needs, technical requirements and personal preferences. A careful selection will not only guarantee a smooth music transfer, but also an optimal music listening experience in your new streaming environment.
Step 3: Install a suitable transfer app or software
After carefully selecting your target platform, the technical infrastructure for the music transfer is now prepared in the music data transfer workflow. The right transfer app or software is the key to a smooth and efficient transfer process for your music collection.
Start by researching specialized music transfer tools. Pay particular attention to compatibility with your chosen streaming services. Not all transfer solutions support every music platform equally.
Look for software that fully covers both your source and target platforms. [Free Your Music offers a foolproof transfer of playlists and songs, which can make the process much easier.
The installation process varies depending on the operating system used. For Windows and macOS users, installation is typically done via the official website of the transfer software. Download the installation file and follow the on-screen instructions. For mobile users on Android or iOS, I recommend downloading via the respective app stores to ensure security.
Pay attention to some critical security aspects during installation.
Check the permissions that the app requests. A reputable transfer software only needs access to your music library and account information. Be suspicious if unusually extensive permissions are requested.
After installation, an important verification step is necessary. Open the app and check whether it recognizes your source and target platforms correctly. Perform a test run with a small playlist to confirm functionality. Pay particular attention to ensuring that metadata such as track names, artists and albums are transferred correctly.
By the end of this step, you should have installed a trusted, compatible transfer app that meets your specific music transfer needs. Careful selection and installation will ensure a smooth and secure music transfer between your streaming platforms.
Step 4: Initiate the music data transfer process
Now you reach the critical moment in the music data transfer workflow: the actual transfer process of your carefully compiled music collection. This step requires precision, patience and a methodical approach to ensure that every track, playlist and album is seamlessly migrated to the new platform.
First, open your chosen transfer software and log in with the credentials of your source and target platforms. Check the connections of both accounts in advance to minimize transfer errors. For detailed transfer options between different music services, Free Your Music offers comprehensive solutions that can simplify the process.
Now select the playlists you want to transfer. Most transfer tools allow you to selectively choose which music collections you want to migrate. Important: Make a conscious selection and do not transfer all playlists indiscriminately. Some users tend to migrate old or outdated playlists - limit yourself to those that you really want to continue using.
Start the transfer process and observe the process carefully. The transfer speed varies depending on the number of tracks and your internet connection. For larger music collections, the process can take several minutes to hours. Remain patient and do not interrupt the process prematurely.
Once the transfer is complete, be sure to carry out a completeness check. Open your target platform and compare the transferred playlists. Pay particular attention to:
- Correct order of the tracks
- Completeness of the playlists
- Preservation of metadata such as artist name and album title
If discrepancies occur, use the repeat function of your transfer software or contact its support. Some songs may not be transferred due to license rights or availability - this is normal and not a fault on your part.
At the end of this step, you will have successfully migrated your music collection to the new platform. A careful, methodical approach will ensure that your musical journey continues seamlessly and without loss.
Step 5: Verify the successful transfer of your music data
The final step in the music data transfer workflow is crucial: the complete and accurate verification of your transferred music collection. This section ensures that no single track, playlist or album has been lost or damaged during the transfer process.
Start with a systematic check of your transferred playlists. Compare the number of tracks and the order between your source and target platforms. Open both services in parallel and go through each playlist line by line. Pay particular attention to tracks that may not have been transferred - often due to licensing rights or availability differences between the platforms. For a detailed analysis of your music statistics, you can use the statistics functions of Free Your Music.
A tried and tested method of verification is random comparison. Select some of your favorite playlists and listen to them on both platforms. Check not only the correct transfer, but also the audio quality and any differences in the versions of the music tracks. Sometimes versions can vary slightly, which can be relevant for music lovers with high standards.
In addition to manual checking, many transfer tools offer automatic comparison functions. Use these to get a quick overview. These tools can quickly identify discrepancies such as missing tracks, metadata differences or problems with the playlist structure.
Pay particular attention to:
- Completeness of the playlists
- Correct order of the tracks
- Preservation of artist and album metadata
- Sound quality of the transferred music tracks
If you discover any discrepancies, do not hesitate to repeat the transfer process or contact the support team for your transfer software. Sometimes small adjustments or a new transfer attempt are necessary to ensure a perfect music collection.
Here you will find a compact checklist of the points at which you can check the successful migration of your music data yourself in order to achieve optimum results.
| Aspect to be Checked | Checking Method | Note |
|---|---|---|
| Completeness of playlists | Compare number of tracks with source platform | Note missing songs |
| Order of songs | Compare position of tracks on both platforms | Correct discrepancies directly |
| Metadata (artists, albums) | Check track information | Mark incomplete data |
| Compare sound quality of songs | Listen to random samples | Note differences between versions |
| Failed transfers | Note error messages from the app | Retransfer problem cases if necessary |
At the end of this step, you now have a fully verified, seamlessly transferred music collection. You can now enjoy your music journey on the new platform knowing that every track, every playlist has been carefully and accurately migrated.
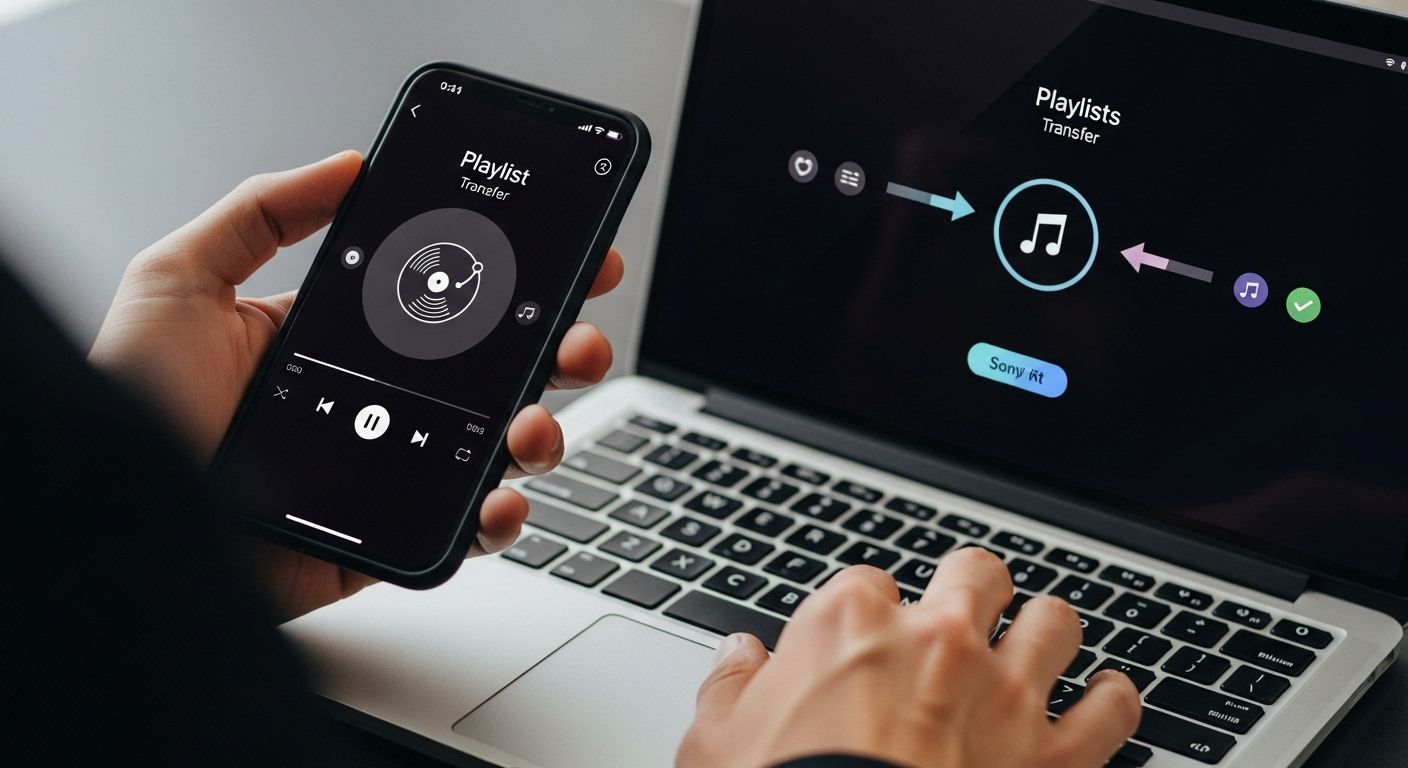
Effortless music migration with Free Your Music - your collection is preserved
You know the problem: the music data transfer workflow sounds simple in theory, but in practice it is difficult to transfer all playlists, favorites and albums safely and completely to the new streaming platform. Who wants to do without lovingly created playlists or special tracks just because a changeover is imminent? The thought of manually copying or missing songs quickly causes frustration and uncertainty.
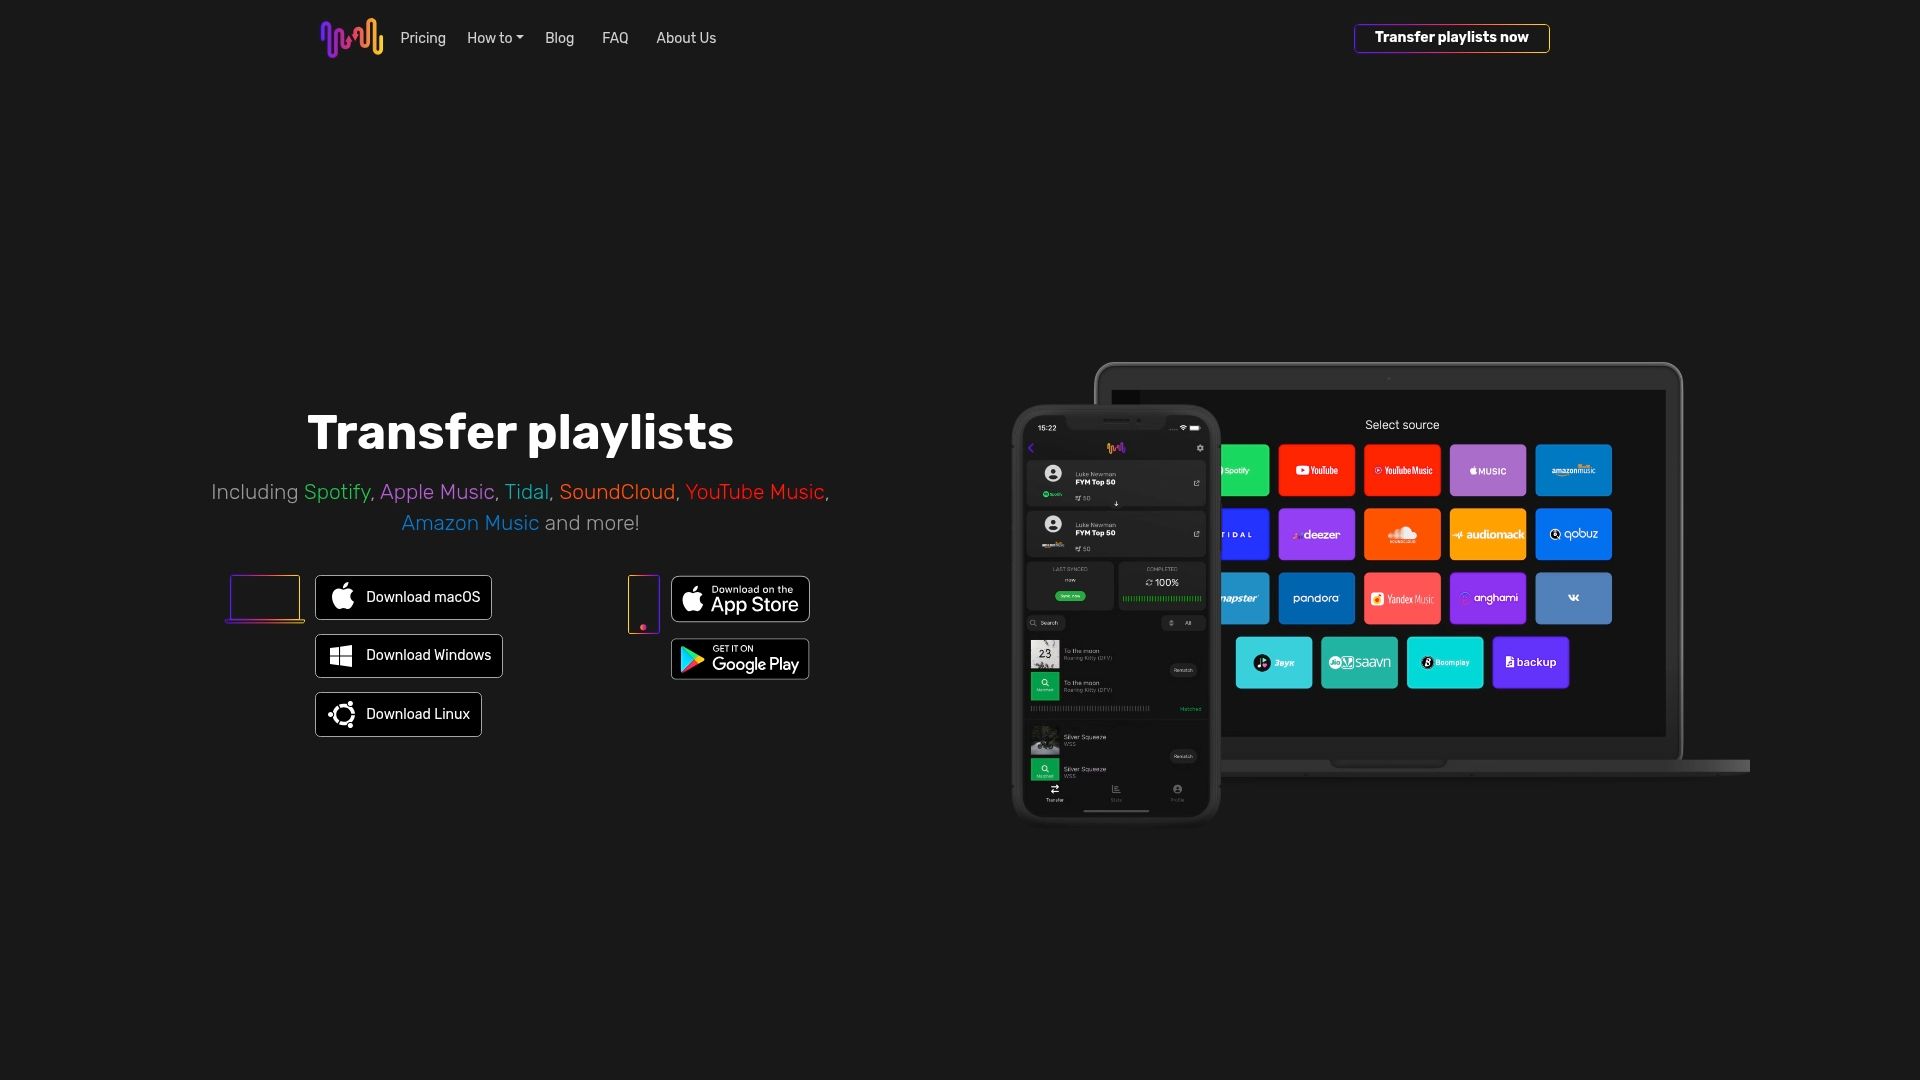
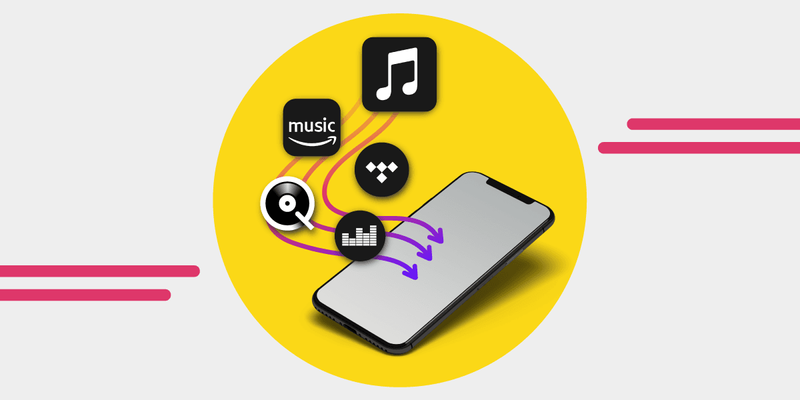
With Free Your Music, you get a simple and reliable solution to leave all these challenges behind. You retain full control over your music library and benefit from automatic synchronization, precise track assignment and the transfer of an unlimited number of playlists. Whether you want to switch between Spotify, Apple Music, Tidal, YouTube Music, Amazon Music or other providers - Free Your Music makes the transition as smooth as described in this article.
Try Free Your Music now. Transfer your music collection with just a few clicks, including all important metadata and the familiar playlist structure. If you want to get a direct overview of your current music statistics, visit our Discover music statistics page. Don't let your music habits be interrupted by a change of platform. Take the chance and start the stress-free transfer today - for more enjoyment and less effort.
Frequently asked questions
How do I check my current music collection before the transfer?
Before you start the transfer, you should make a detailed inventory of your music library, including all playlists, albums and favorite songs. Be sure to categorize them and make a list.
What factors should I consider when choosing my target platform?
Consider your music preferences, device compatibility, pricing and the features offered such as audio quality and recommendation algorithms.
How do I install a suitable transfer app for music transfer?
Research trusted transfer apps that support both your source and destination platforms. Download the app from the official website or app stores and follow the installation instructions.
What should I do after transferring my music data?
Perform a thorough check to ensure that all playlists and tracks have been transferred correctly. Compare the content between the source and target platforms to check completeness and quality.

Migrate from and to any music services


Most popular Apple Music transfers: