What Is Playlist Migration SaaS? Complete Overview
July 8, 2026
Switching music streaming platforms no longer means starting from scratch. With more than 400 million people subscribing to music services worldwide, keeping playlists intact across apps has become a real challenge for many users. Playlist migration SaaS platforms now offer a simple fix, making it possible to move your favorite tracks and carefully curated playlists from one service to another in just a few clicks.
Table of Contents
- Defining Playlist Migration SaaS Platforms
- How Playlist Migration Services Work
- Supported Platforms And Core Features
- User Benefits And Practical Use Cases
- Security, Privacy, And Data Protection
Key Takeaways
| Point | Details |
|---|---|
| Specialized Services | Playlist migration SaaS platforms enable users to transfer music libraries seamlessly between streaming services, preserving playlists and song order. |
| Core Functionality | These platforms utilize advanced algorithms for intelligent track matching, ensuring minimal music loss during transitions. |
| User Flexibility | Services cater to diverse user needs, allowing music enthusiasts to switch platforms without losing curated collections or experiencing interruptions. |
| Data Security | Robust privacy features are implemented, including encrypted transfers and limited data retention, empowering users with control over their information. |
Defining Playlist Migration SaaS Platforms
Playlist migration SaaS platforms are specialized digital services designed to solve a complex problem: transferring music libraries between different streaming platforms seamlessly. According to the Associated Press, these services facilitate the transfer of music libraries, allowing users to import playlists, songs, and albums from one service to another AP News.
At their core, these platforms function as digital translators for music collections. They address a critical pain point for music lovers who frequently switch between streaming services or want to consolidate their music libraries. Key features typically include:
- Automatic song matching across different platforms
- Preservation of playlist order and structure
- Support for multiple streaming service transfers
- Cloud backup of music collections
- Unlimited playlist transfer capabilities
The evolution of playlist migration SaaS platforms represents a response to the increasingly fragmented music streaming ecosystem. As consumers accumulate music across multiple services, these platforms provide a crucial solution for maintaining and transferring musical investments.
Understanding the Benefits of Playlist Migration reveals that users can now transition between platforms without losing carefully curated playlists, ensuring a smoother and more flexible music listening experience. These services transform what was once a manual, time-consuming process into a quick, automated solution for music enthusiasts and professionals alike.
How Playlist Migration Services Work
Playlist migration services operate through a sophisticated, user-friendly process designed to simplify the complex task of transferring music collections between streaming platforms. According to the Associated Press, the migration process typically involves logging into source and target streaming services, selecting content to transfer, and initiating the migration AP News.
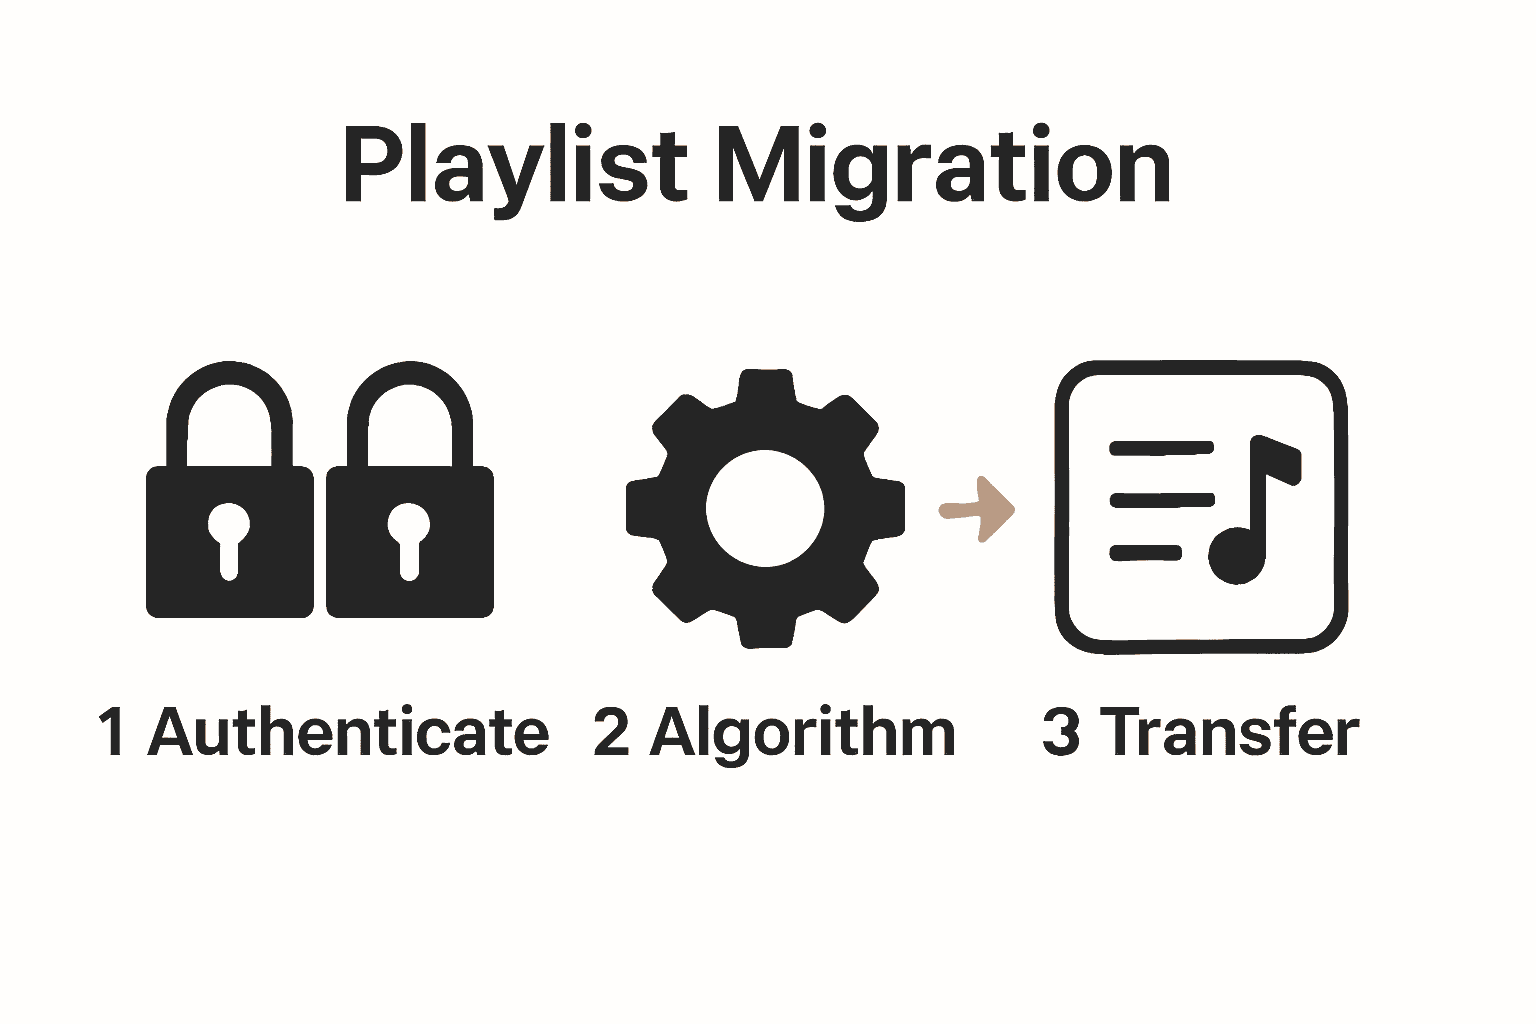
The technical workflow of these services can be broken down into several key stages:
- Authentication: Users connect their existing streaming service accounts
- Library Scanning: The platform analyzes the current music library
- Matching: Advanced algorithms find equivalent tracks across platforms
- Transfer: Playlists are reconstructed in the new streaming environment
- Verification: The service confirms successful playlist migration
Most playlist migration platforms leverage intelligent matching technologies that go beyond simple track names.
 They consider factors like artist, album, duration, and audio fingerprinting to ensure the most accurate transfers possible. Benefits of Playlist Migration highlights how these advanced techniques minimize music loss during platform transitions.
For music enthusiasts with extensive libraries, these services transform what was once a manual, time-consuming process into a seamless, automated experience.
The ability to preserve carefully curated playlists across different streaming platforms represents a significant technological advancement in digital music management.
Supported Platforms and Core Features
Playlist migration services have evolved to support an extensive ecosystem of music streaming platforms. According to the Associated Press, most major music streaming services can be integrated through third-party transfer solutions, with popular platforms like Spotify, Apple Music, Tidal, and Deezer being primary targets AP News.
The core features of modern playlist migration platforms typically include:
- Cross-Platform Compatibility: Support for major streaming services
- Intelligent Track Matching: Advanced algorithms to find equivalent songs
- Playlist Structure Preservation: Maintaining original playlist order and organization
- Bulk Transfer Capabilities: Ability to move multiple playlists simultaneously
- Cloud Backup: Secure storage of music library information
- Multi-Device Support: Accessibility across desktop and mobile platforms
A comprehensive platform typically supports transfers between the following streaming services:
| Streaming Service | Transfer Capability |
|---|---|
| Spotify | Full Support |
| Apple Music | Full Support |
| YouTube Music | Full Support |
| Tidal | Full Support |
| Amazon Music | Full Support |
| Deezer | Partial Support |
Understanding Playlist Transfer Best Practices emphasizes the importance of choosing a migration service that offers robust support across multiple platforms. Users can now seamlessly transition between streaming services without losing their carefully curated music collections, ensuring a flexible and personalized listening experience.
User Benefits and Practical Use Cases
Playlist migration services offer transformative solutions for music lovers navigating the complex digital streaming landscape. According to the Associated Press, users can now seamlessly transfer their music libraries when switching streaming services, maintaining their playlists and favorite tracks, thus enhancing user experience and satisfaction AP News.
Practical use cases for playlist migration services span multiple user scenarios:
- Music Enthusiasts: Explore new platforms without losing curated collections
- Professional DJs: Maintain consistent music libraries across performance platforms
- Frequent Travelers: Access consistent playlists across different regional streaming services
- Technology Early Adopters: Experiment with emerging music streaming platforms
- Budget-Conscious Listeners: Compare and switch between cost-effective streaming options
The primary benefits of these services extend beyond simple playlist transfers. Users gain unprecedented flexibility in music consumption, enabling them to:
- Preserve years of carefully curated music collections
- Experiment with new streaming platforms risk-free
- Consolidate music libraries from multiple accounts
- Backup and secure personal music selections
- Optimize streaming experiences based on changing personal preferences
Understanding Best Practices in Playlist Migration underscores that modern playlist migration tools are not just convenience features, but essential services for music lovers seeking uninterrupted, personalized listening experiences across an evolving digital music ecosystem.
Security, Privacy, and Data Protection
Playlist migration platforms prioritize robust security and privacy protocols to protect users' sensitive music collections and personal information. According to the Associated Press, users have significant control over their data, with platforms providing a 30-day window to review songs that aren't available or lack exact matches in new platform catalogs, ensuring data integrity and user autonomy AP News.
Key security and privacy features typically include:
- Encrypted Data Transfers: Protecting user information during migration
- Limited Data Storage: Minimizing personal information retention
- Secure Authentication: Multi-factor login processes
- Transparent Privacy Policies: Clear communication about data usage
- Temporary Access Tokens: Restricting long-term platform access
Privacy safeguards are critical in playlist migration services, addressing potential user concerns through comprehensive protective measures:
- OAuth Authentication: Utilizing secure, standard login protocols
- Read-Only Platform Access: Preventing unauthorized modifications
- Automatic Token Expiration: Limiting extended platform permissions
- Comprehensive User Consent: Explicit permissions for data transfers
- Complete Data Deletion: Option to remove all transferred information
Understanding Best Practices in Playlist Migration emphasizes that modern playlist migration services are not just about convenience, but about creating a secure, transparent ecosystem where users maintain complete control over their musical collections.
Unlock Effortless Playlist Migration with FreeYourMusic.com
Facing the hassle of moving your favorite playlists between streaming platforms? This article highlights the challenge of manually reconstructing music libraries and maintaining playlist order when switching services. You need a solution that offers precise song matching, playlist structure preservation, and support across major streaming platforms like Spotify and Apple Music. At FreeYourMusic.com, we understand these pain points and provide a specialized SaaS platform designed to make playlist migration smooth and stress-free.
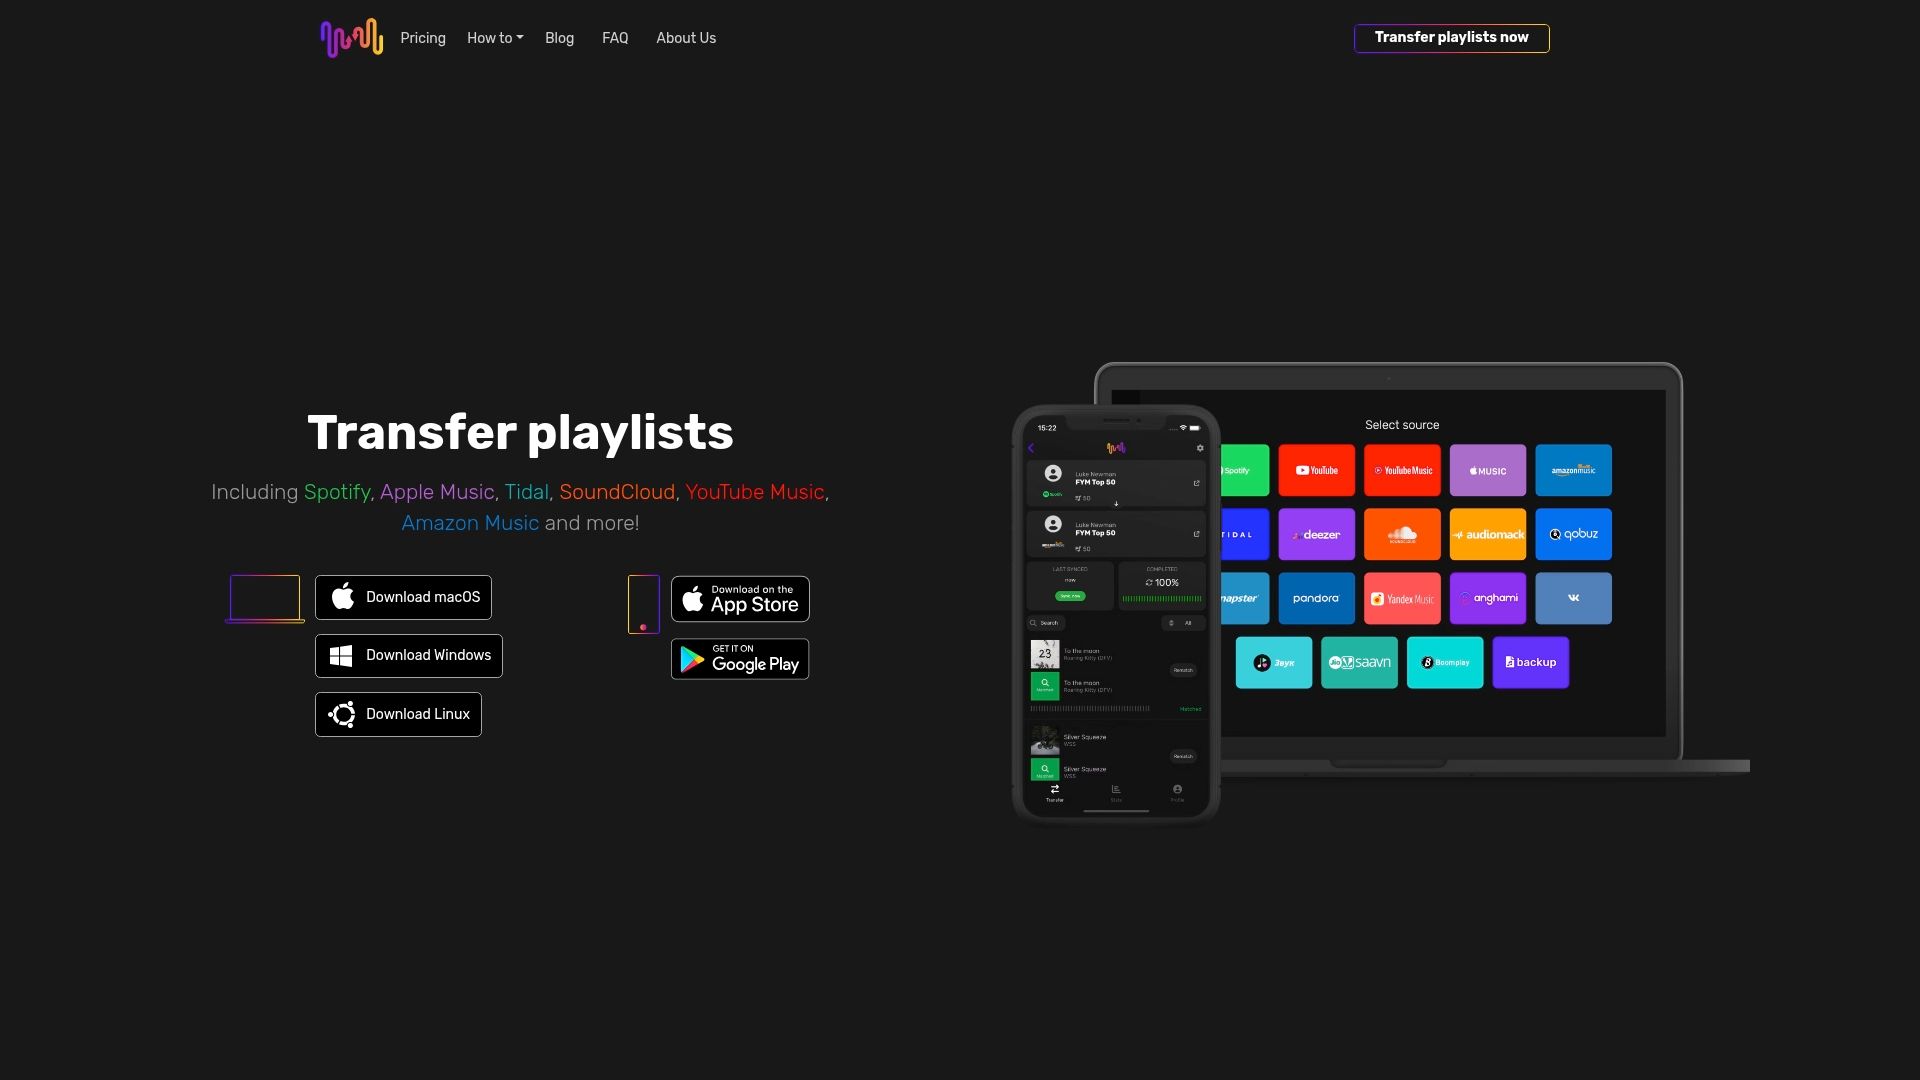
Start transferring your music collections today with FreeYourMusic.com. Benefit from features like unlimited playlist transfers, cloud backup, and broad device support to keep your tunes exactly as you want them. Don’t lose your carefully curated playlists or waste hours rebuilding them manually. Visit FreeYourMusic.com now to experience the easiest and most secure way to migrate your playlists and embrace new music streaming services with confidence.
Frequently Asked Questions
What is playlist migration SaaS?
Playlist migration SaaS platforms are specialized digital services that transfer music libraries between different streaming platforms. They allow users to import playlists, songs, and albums seamlessly, preserving the structure and organization of their music collections.
How do playlist migration services work?
Playlist migration services operate by connecting to source and target streaming accounts, analyzing music libraries, and using advanced algorithms to match and transfer tracks. Users can initiate the migration by selecting which playlists or songs they want to transfer.
What are the main benefits of using playlist migration services?
The main benefits include preserving curated playlists without losing any tracks during transitions, the ability to experiment with new streaming platforms, and consolidating music libraries from multiple accounts for a personalized listening experience.
How do playlist migration platforms ensure user data security and privacy?
Playlist migration platforms prioritize user security through encrypted data transfers, limited data storage, secure authentication, and transparent privacy policies. They also implement measures such as temporary access tokens and options for complete data deletion to protect user information.
Recommended
Migrate from and to any music services


Most popular Apple Music transfers: