Migrating Group Playlists Across Streaming Services Easily
November 27, 2025

Over 80 million american listeners regularly curate group playlists, turning digital music into a shared experience that spans families, friends, and clubs. Yet moving these collaborative playlists from one platform to another can cause stress and confusion if you are not prepared. With the right steps, every group can protect their favorite tracks and make the migration process smooth while keeping everyone’s collections organized.
Table of Contents
- Step 1: Prepare Group Accounts and Playlists for Migration
- Step 2: Install and Launch Free Your Music Application
- Step 3: Connect Source and Destination Streaming Services
- Step 4: Select and Transfer Group Playlists Seamlessly
- Step 5: Verify Playlist Integrity and Organize Results
Quick Summary
| Key Point | Explanation |
|---|---|
| 1. Audit existing group playlists | Review all group playlists and confirm access before migration to prevent issues during transfer. |
| 2. Use Free Your Music application | Download and install Free Your Music to facilitate an efficient transfer of playlists between platforms. |
| 3. Connect streaming services securely | Ensure proper connections between source and destination accounts, with attention to security and permissions. |
| 4. Select and verify playlists carefully | Double-check track counts and ownership before initiating the transfer to maintain playlist integrity. |
| 5. Review transfer results thoroughly | After migration, verify track order and song availability to ensure nothing is missing or altered. |
Step 1: Prepare Group Accounts and Playlists for Migration
Migrating group music playlists requires careful preparation and strategic planning. Your goal is to ensure a smooth transition of collaborative playlists across different streaming platforms without losing valuable track selections or playlist organization.
Before beginning the migration process, you will want to audit your existing group playlists and verify account access. Start by gathering login credentials for all group members who contribute to shared playlists. Review each playlist carefully to confirm you have full permissions and understand who currently manages the playlist. Check that all playlist contributors are aware of the upcoming migration and have agreed to the transfer process.
As Free Your Music recommends in their migration guide, create a comprehensive spreadsheet tracking each group playlist. Include details like playlist name, total number of tracks, primary playlist creator, and current streaming service. This documentation will help you track your migration progress and quickly identify any potential issues during the transfer.
Warning: Always backup your playlists before initiating any migration process. Export playlist contents or take screenshots to preserve your music collection in case of unexpected transfer complications.
Once you have completed these preparatory steps, you will be ready to select a playlist migration tool and begin the actual transfer process. The groundwork you have laid will significantly increase the likelihood of a successful and stress-free playlist migration experience.
Step 2: Install and Launch Free Your Music Application
Your next step in migrating group playlists is installing the Free Your Music application quickly and efficiently across your preferred devices. This process will set the foundation for seamless music library transfers and ensure you have the right tool ready for your playlist migration.
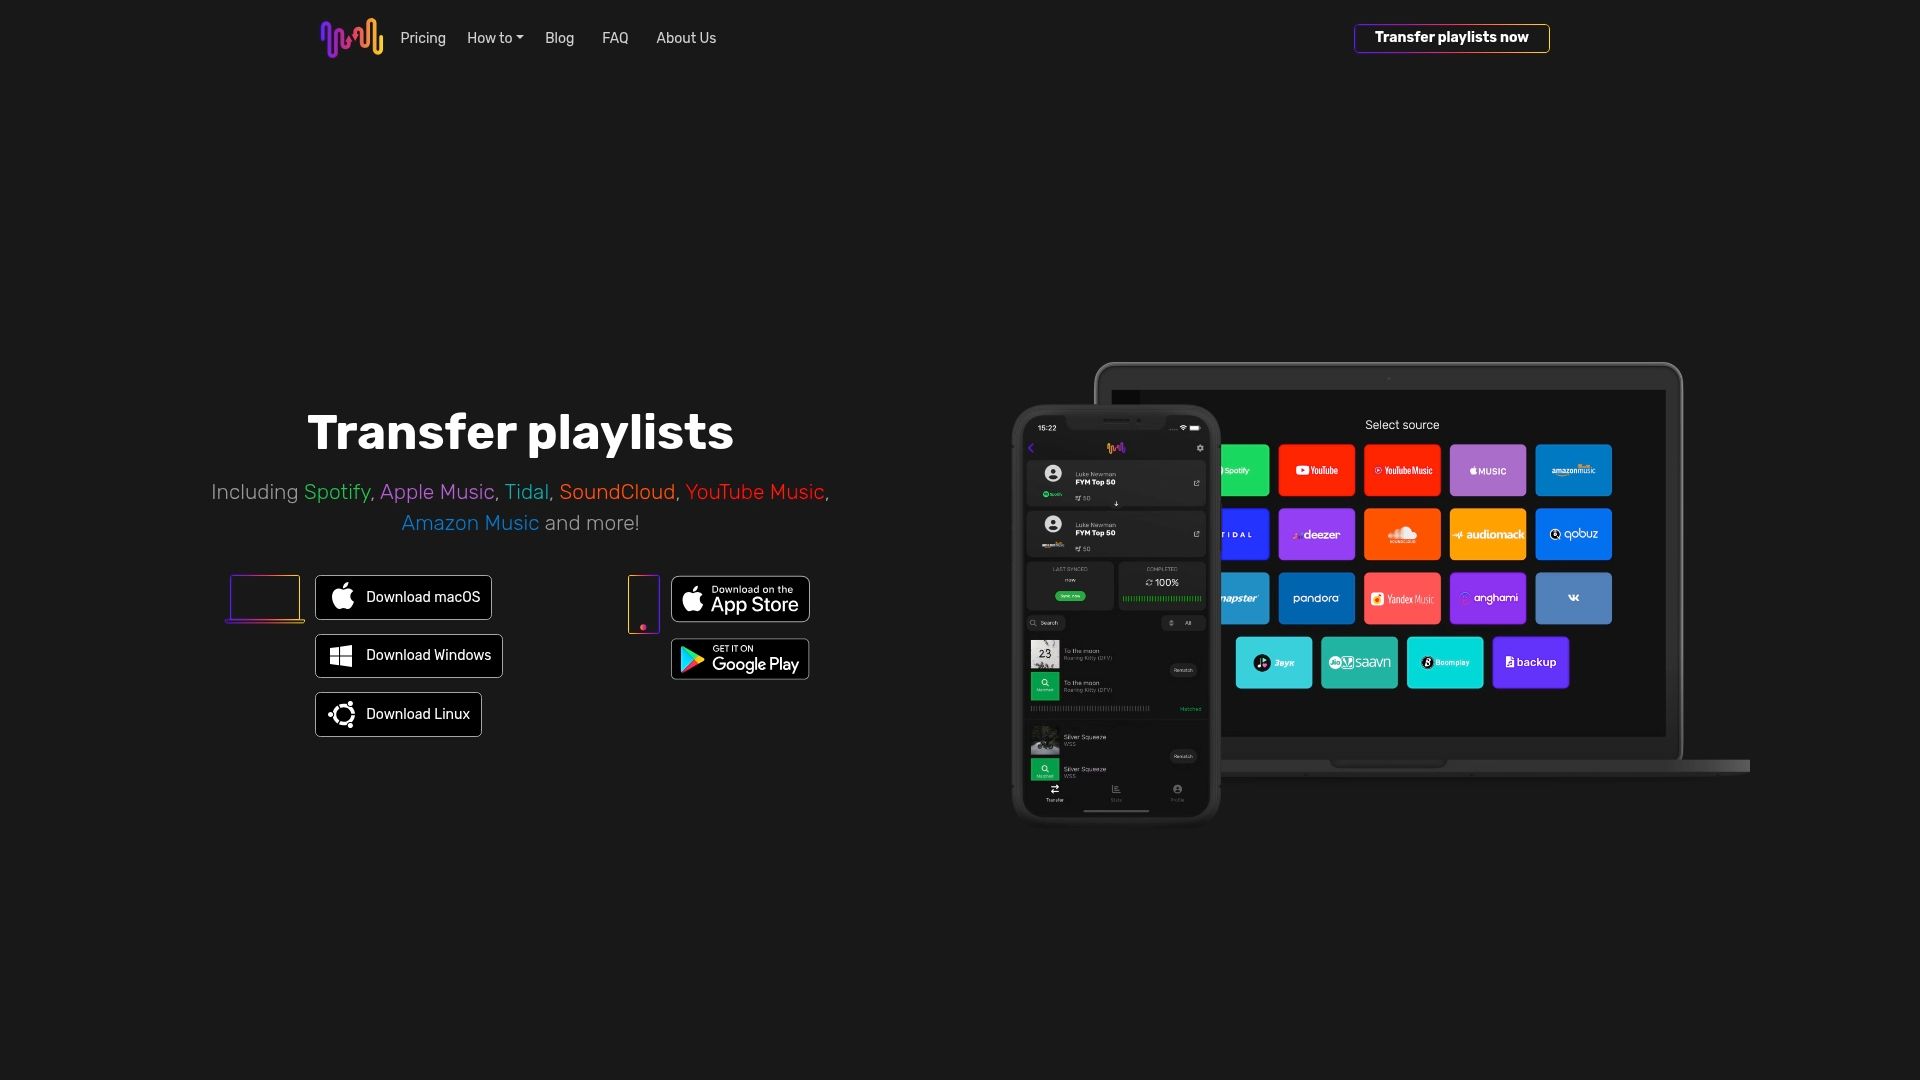
Begin by visiting the official Free Your Music website and selecting the download option compatible with your operating system. As Free Your Music highlights, the application supports multiple platforms including macOS, Windows, Linux, Android, and iOS. Download the appropriate version for your device and follow the standard installation prompts. During installation, you will likely need to grant necessary permissions for the app to access your music libraries and streaming accounts.
Once downloaded, launch the application and create your user account. You will be prompted to connect the streaming services from which you want to transfer playlists. Ensure you have login credentials for each platform ready. Pro tip: Use a password manager to securely store and quickly access your streaming service login information.
Warning: Always download the application directly from the official website to avoid potential security risks associated with third party download sources. Verify the download source and check for any available updates before proceeding with installation.
With the application installed and your accounts connected, you are now prepared to begin the actual playlist migration process. The groundwork you have just completed will make the subsequent transfer steps smoother and more straightforward.

Step 3: Connect Source and Destination Streaming Services
Connecting your source and destination streaming services is a critical step in migrating group playlists. This process allows the Free Your Music application to securely access and transfer your music collections between different platforms.
Start by clicking the service connection option within the application. Free Your Music provides support for multiple streaming platforms including Spotify, Apple Music, Tidal, YouTube Music, and Amazon Music. For each service, you will need to log in using your existing account credentials. Carefully follow the on screen authorization prompts, which typically involve granting specific permissions for playlist access and data transfer.
When connecting services, pay special attention to the login process for each platform. Some streaming services may require two factor authentication or additional security verification. Ensure you have access to the email or phone number associated with your streaming accounts to complete the connection process smoothly.
Warning: Always use unique and strong passwords for each streaming service account. Avoid using identical passwords across multiple platforms to minimize potential security risks during the migration process.
Once you have successfully connected both your source and destination streaming services, the application will be prepared to begin analyzing and transferring your group playlists. The groundwork you have completed sets the stage for a seamless and efficient music library migration experience.

Step 4: Select and Transfer Group Playlists Seamlessly
Selecting and transferring group playlists is the pivotal moment where your music migration strategy comes to life. Your goal is to efficiently move all collaborative playlists while preserving their original structure and integrity across different streaming platforms.
Navigate to the playlist selection screen within the Free Your Music application. Seamless Playlist Transfer recommends carefully reviewing all available playlists before initiating the transfer. You will see a comprehensive list of playlists from your source streaming service. Check the boxes next to the group playlists you want to migrate, paying close attention to track count and playlist ownership details.
Before finalizing the transfer, verify that all group members are aware of the migration and have granted necessary permissions. Some streaming services require explicit consent from playlist contributors or owners. This step ensures that no tracks are inadvertently removed or modified during the transfer process.
Warning: Always perform a preliminary review of playlist contents. Occasionally, certain tracks might not be available on the destination platform due to licensing restrictions or regional differences.
Once you have selected your group playlists and confirmed all transfer settings, click the migrate button. The application will now begin the complex process of matching and transferring tracks between your chosen streaming services, ensuring your collaborative music collections remain intact and accessible.
Step 5: Verify Playlist Integrity and Organize Results
After completing your playlist migration, the final critical step is thoroughly verifying the transferred content and ensuring your group playlists remain intact and accurately reproduced in the new streaming service.
Carefully review each transferred playlist in the destination streaming platform. Playlist Transfer Best Practices recommend systematically checking track order, total track count, and song availability. Pay special attention to any tracks that might have been omitted during transfer due to regional licensing restrictions or unavailability on the new platform.
Open both the source and destination playlists side by side to perform a comprehensive comparison. Most music migration tools will provide a detailed transfer report highlighting any discrepancies or tracks that could not be matched. Look for subtle differences in track versions, live recordings, or remixes that might not have direct equivalents across streaming services.
Warning: Some tracks may be replaced with similar versions or unavailable entirely. Create a separate backup playlist with missing tracks to ensure you do not lose any critical music selections during the migration process.
Once you have verified and adjusted your playlists, you have successfully completed a comprehensive group playlist migration across streaming services. Your collaborative music collections are now ready to enjoy on the new platform.
Simplify Your Group Playlist Migration Today
Migrating group playlists across streaming services can feel overwhelming and time consuming. The detailed preparations from verifying account access to backing up playlists demand precision and patience. If you want to avoid losing track order or music selections during the transfer, you need a solution built specifically to handle these exact challenges. Key concerns like securing contributor permissions, managing multiple accounts, and tracking unavailable tracks are critical to protect your collaborative collections.
At Free Your Music, we understand these pain points deeply. Our platform offers an easy, fast way to connect your source and destination streaming services securely. Experience the power of automated playlist synchronization that keeps intact your playlist structures and permissions. Whether you use Spotify, Apple Music, or Amazon Music, our multi-device app removes the complexity of manual rebuilding and lets you focus on enjoying your music, not troubleshooting transfers.
Explore how Free Your Music can transform your playlist migration process and ensure your group playlists are transferred flawlessly.
Don't risk losing your collaborative playlists or wasting time. Start your seamless group playlist transfer now with Free Your Music and keep your music collections perfectly intact across streaming platforms.
Frequently Asked Questions
What steps should I take to prepare for migrating group playlists?
To prepare for migrating group playlists, start by auditing your existing playlists and gathering login credentials for all contributors. Create a spreadsheet to track important details such as playlist names and the primary creators, and ensure that all members are aware of the migration process before you begin.
How do I install the Free Your Music application for playlist migration?
To install the Free Your Music application, visit the official website and download the version that matches your operating system. Follow the installation prompts, grant necessary permissions for accessing your music libraries, and create a user account to start using the application.
How do I connect my source and destination streaming services in the migration process?
To connect your source and destination streaming services, open the Free Your Music application and select the service connection option. Log in to each streaming service using your credentials, following the on-screen prompts to authorize access and allow data transfers.
What should I do before finalizing the transfer of group playlists?
Before finalizing the transfer, verify that all group members have granted necessary permissions for the playlists you are migrating. Ensure that you check each playlist for available tracks and confirm the settings to avoid missing any important music during the transfer process.
How can I verify the integrity of my playlists after migration?
To verify the integrity of your playlists after migration, carefully compare the transferred playlists with the originals side by side. Check for discrepancies in track order, total track count, and availability of songs, noting any tracks that may be missing or replaced during the transfer.
What should I do if some tracks are missing after migration?
If some tracks are missing after migration, create a backup playlist that includes these tracks to ensure they are not lost. Check for any regional licensing issues that may have caused the tracks to be unavailable on the new platform, and consider finding alternatives or replacements if needed.
Recommended
Migrate from and to any music services


Most popular Apple Music transfers: