Automatic Playlist Transfer Guide: Switch Easily
November 3, 2025

Music lovers often spend hours compiling their perfect playlists on streaming services, but switching providers raises many questions. The idea that all favorite songs and playlists could simply be lost during the move often creates uncertainty. But it doesn't have to be that way. With modern transfer tools, switching works so effectively today that at least 95% of your original music playlist is transferred identically to the new service—that's significantly more than many expect and opens completely new possibilities for your music collection.
Table of Contents
- Step 1: Select your streaming services
- Prerequisites for playlist transfer
- Step 2: Log in to both accounts
- Prerequisites for account login
- Step 3: Use a playlist transfer tool
- Selection and use of transfer tool
- Step 4: Transfer your playlists
- Strategies for successful playlist transfer
- Step 5: Verify your transferred playlists
- Systematic playlist verification
Quick Overview
| Key Point | Explanation |
|---|---|
| 1. Select your streaming services carefully | A thorough selection ensures your music libraries are compatible and the transfer runs smoothly. |
| 2. Keep your login information available | Ensure your credentials are current to avoid login issues and guarantee a successful transfer. |
| 3. Use automated transfer tools | These tools significantly facilitate the transfer and minimize the likelihood of errors during transmission. |
| 4. Thoroughly verify the transferred playlists | A comparison of original and new playlists prevents data loss and ensures music is available as desired. |
| 5. Make manual additions if needed | If the transfer doesn't move all songs, manually search for missing titles on the new platform. |
Step 1: Select Your Streaming Services
The first step in automatic playlist transfer is carefully selecting your streaming services. This crucial process determines how smoothly your music library can migrate between different platforms. You must precisely define from which streaming service you want to transfer your playlists and which target service should receive your music collection.
Prerequisites for Playlist Transfer
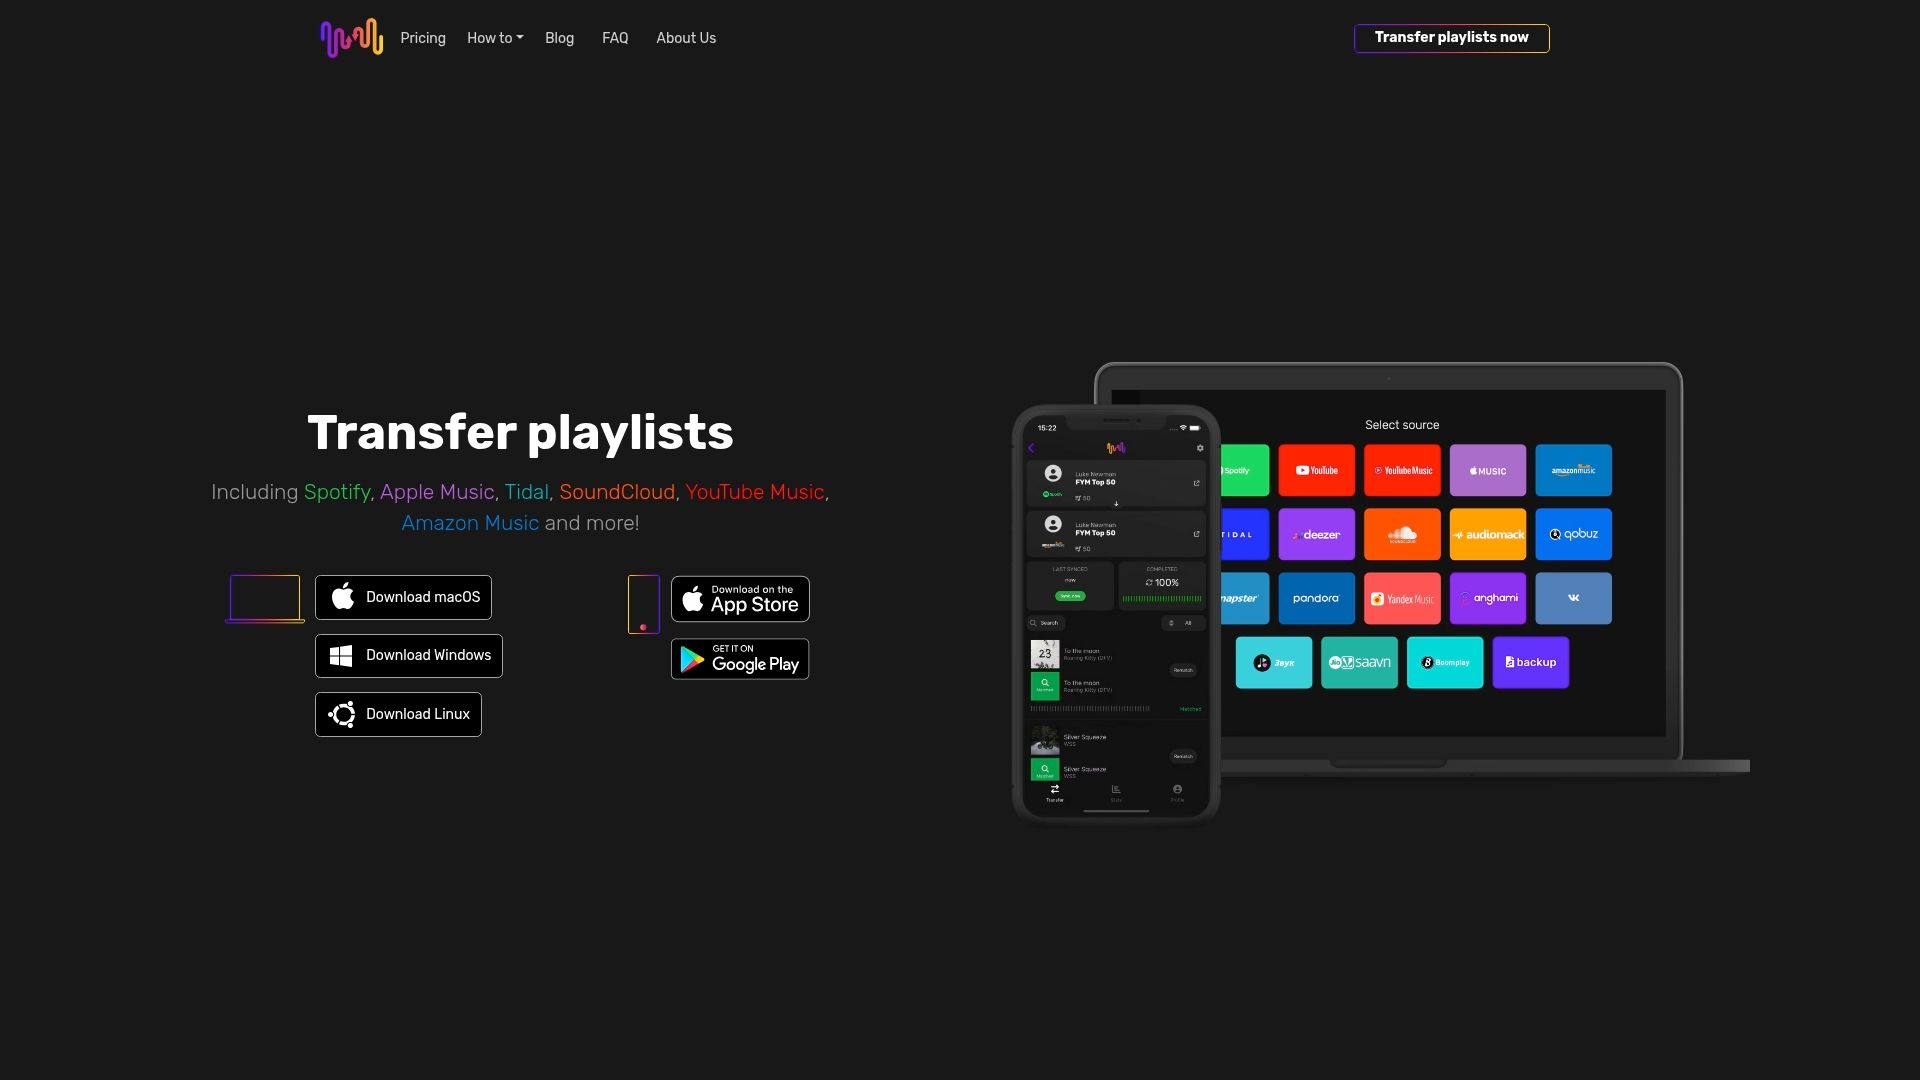
First, you need login credentials for both streaming platforms. Ensure you have active user accounts and login information ready. Focus on major services like Spotify, Apple Music, YouTube Music, Amazon Music, or Tidal. Each service has different requirements and compatibility options, so thorough preparation is essential.
Some important aspects to consider when selecting services:
- Completeness of your playlist library
- Availability of the music library on the target service
- Compatibility of transfer tools
For optimal transfer, we recommend consulting additional details about playlist transfers.
Selecting the right streaming services requires attention and strategic approach. Check the music libraries of both platforms in advance to ensure your favorite tracks are available on both services. Not all songs are equally present on all platforms, which can lead to challenges during transfer.
After carefully selecting your streaming services, you're ready for the next step in the playlist transfer process. Your preparatory work forms the foundation for a smooth and successful music library move.
Step 2: Log In to Both Accounts
After carefully selecting your streaming services, the crucial process of account login now begins. This step is fundamental for successful playlist transfer and requires precise preparation and attention.
Prerequisites for Account Login
Ensure you have the correct login information for both streaming services ready. Ideally use devices with stable internet connection to avoid interruptions during the login process. Check in advance whether your passwords are current and correct. If uncertain, a password reset on the respective platforms is recommended beforehand.
The login process varies slightly depending on the streaming service. Generally, you go through the following core steps:
- Open the official website or application of the streaming service
- Click on the "Sign In" or "Login" button
- Enter your email address or username
- Complete the password entry
At Free Your Music, you'll find additional support for more complex login scenarios. Make sure to log in to both services sequentially - first the source streaming service, then the target streaming service.
Attention: Some services require two-factor authentication or additional security queries. Have your authentication app or security codes ready. Problems like incorrect passwords, locked accounts, or connection difficulties can occur.
After successfully logging in to both services, verify that you have access to your complete playlists and libraries. A successful login is characterized by being able to see and navigate your personal music collections.
Below you'll find an overview of the most important prerequisites and helpful tips for logging in to both streaming services.
| Prerequisite/Tip | Description |
|---|---|
| Correct login information | Keep current credentials for both streaming services ready. |
| Stable internet connection | Ensure a stable connection to avoid interruptions during login. |
| Currency of passwords | Check if your passwords are valid and functional; use password reset if necessary. |
| Supporting devices | Preferably use desktop or current mobile devices for more stability and overview. |
| Two-factor authentication | Prepare auth app or security codes for services with additional authentication if needed. |
| Complete playlist access | Verify after login that all playlists are accessible and visible. |
You are now ready for the next step in the playlist transfer process.
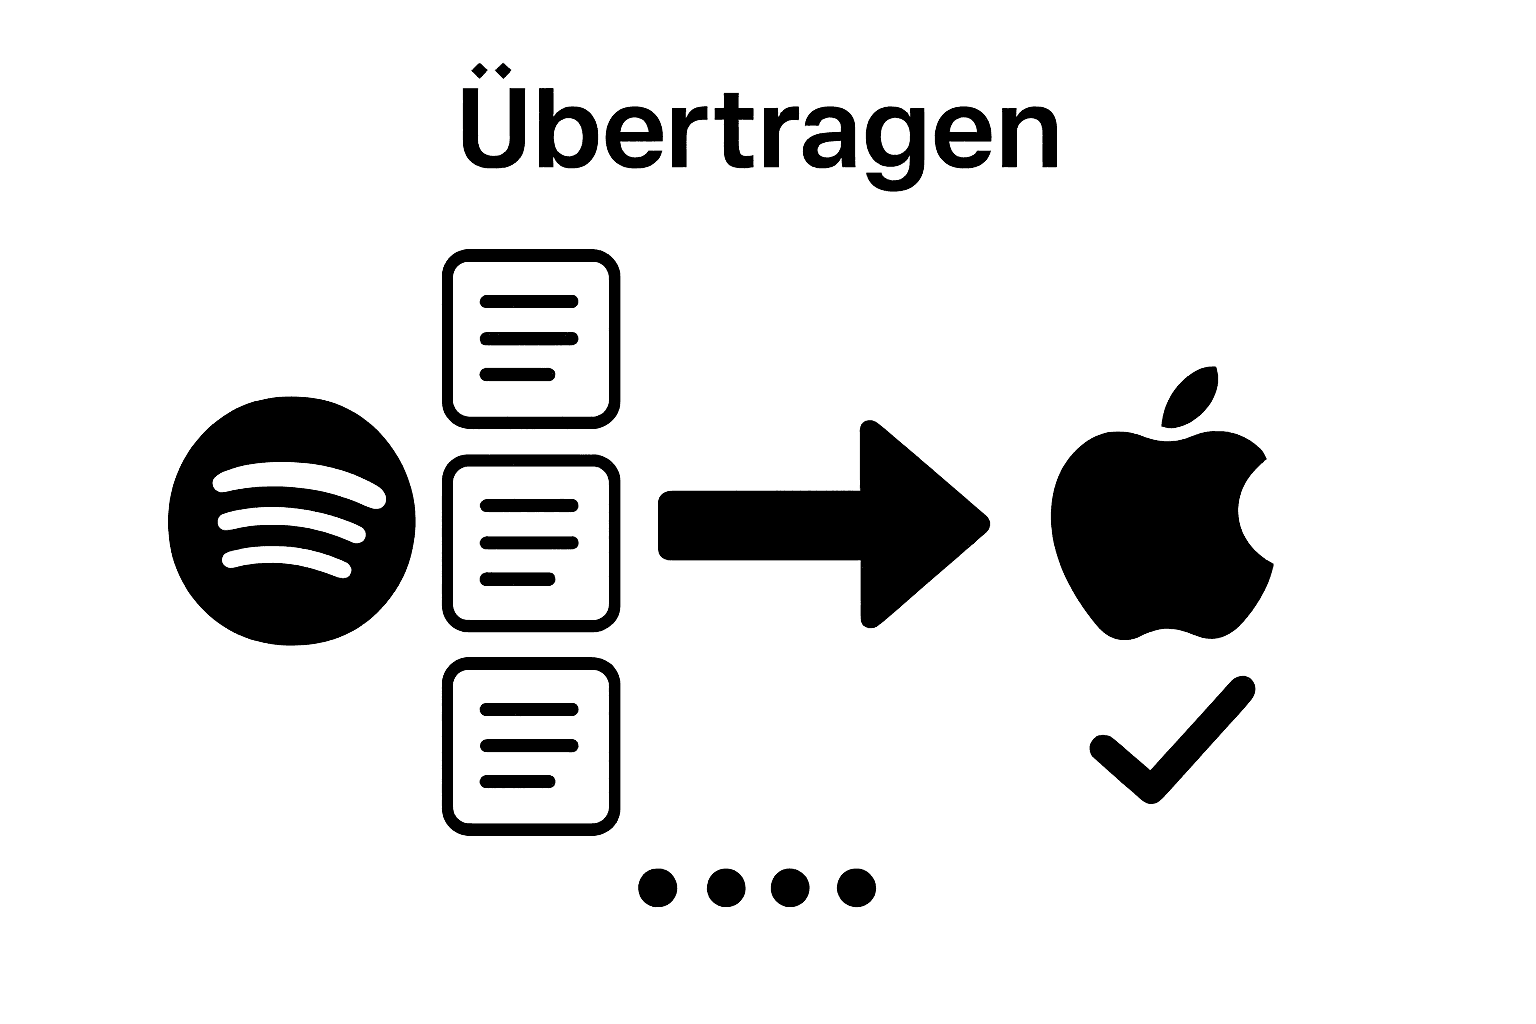
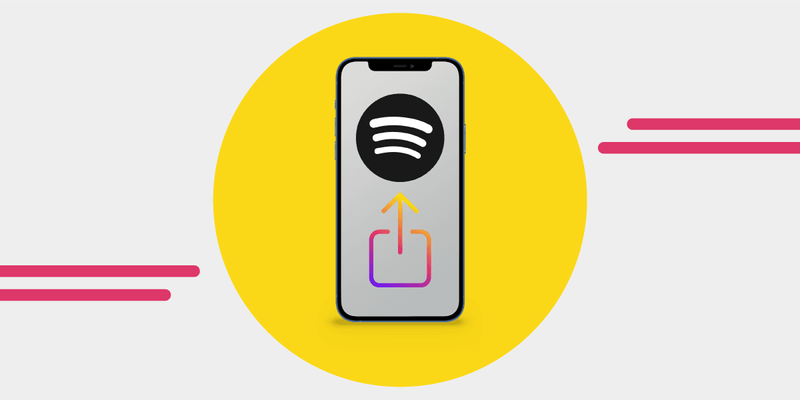
Step 3: Use a Playlist Transfer Tool
After logging in to both streaming services, the crucial process of playlist transfer begins. A specialized transfer tool is the key to smooth and fast music library transfer.
Selection and Use of Transfer Tool
Automated playlist transfer tools significantly simplify the complex process of music migration. They enable you to move your entire music collection between different streaming platforms with just a few clicks. When selecting a tool, pay attention to aspects like user-friendliness, compatibility with your streaming services, and data accuracy.
The transfer process typically includes the following core steps:
- Connect the tool with your streaming service accounts
- Select the playlists to be transferred
- Start the transfer process
- Verify the completeness of transferred playlists
For detailed information on playlist transfer, we recommend our specific transfer guides. Modern tools use advanced algorithms to optimize music comparisons across different platforms.
Important preparations before transfer: Ensure your internet connection is stable and sufficient time is planned for the transfer process. Depending on the scope of your music library, transfer can take a few minutes to hours. Monitor the progress and check the completeness of your transferred playlists after completion.
Some tools offer additional features like backup options or partial playlist transfers. Choose a tool that meets your individual needs and guarantees a high success rate in music transfer. After successful transfer, your playlists are now available on the target service and ready for use.
Step 4: Transfer Your Playlists
After selecting and preparing your transfer tools, the critical moment of actual playlist transfer begins. This step requires precision, patience, and a systematic approach to migrate your music collection without loss.
Strategies for Successful Playlist Transfer
First select the playlists to be transferred carefully. Not all songs are available on all platforms, so it's recommended to initially select your main playlists. Start with your most important and frequently listened-to playlists to minimize risks and optimize the transfer process.
The transfer process typically includes the following central steps:
- Mark all desired playlists
- Check song compatibility
- Initiate the transfer process
- Control completeness after transfer
Detailed information on Spotify playlist transfer provides additional support for specific streaming services. Modern transfer tools use complex algorithms to identify music matches between different platforms.
Important precautions during transfer: Don't interrupt the process and ensure your internet connection is stable. For larger music libraries, the transfer process can take several minutes or even hours. Some songs might not be transferable due to licensing differences or regional restrictions. In such cases, it's recommended to add these manually or search for alternative versions.
After completing the transfer, definitely check the completeness and order of your playlists. Small deviations are normal, but the core structure of your music collection should remain intact. With patience and the right tools, you'll achieve a nearly perfect music library transfer.
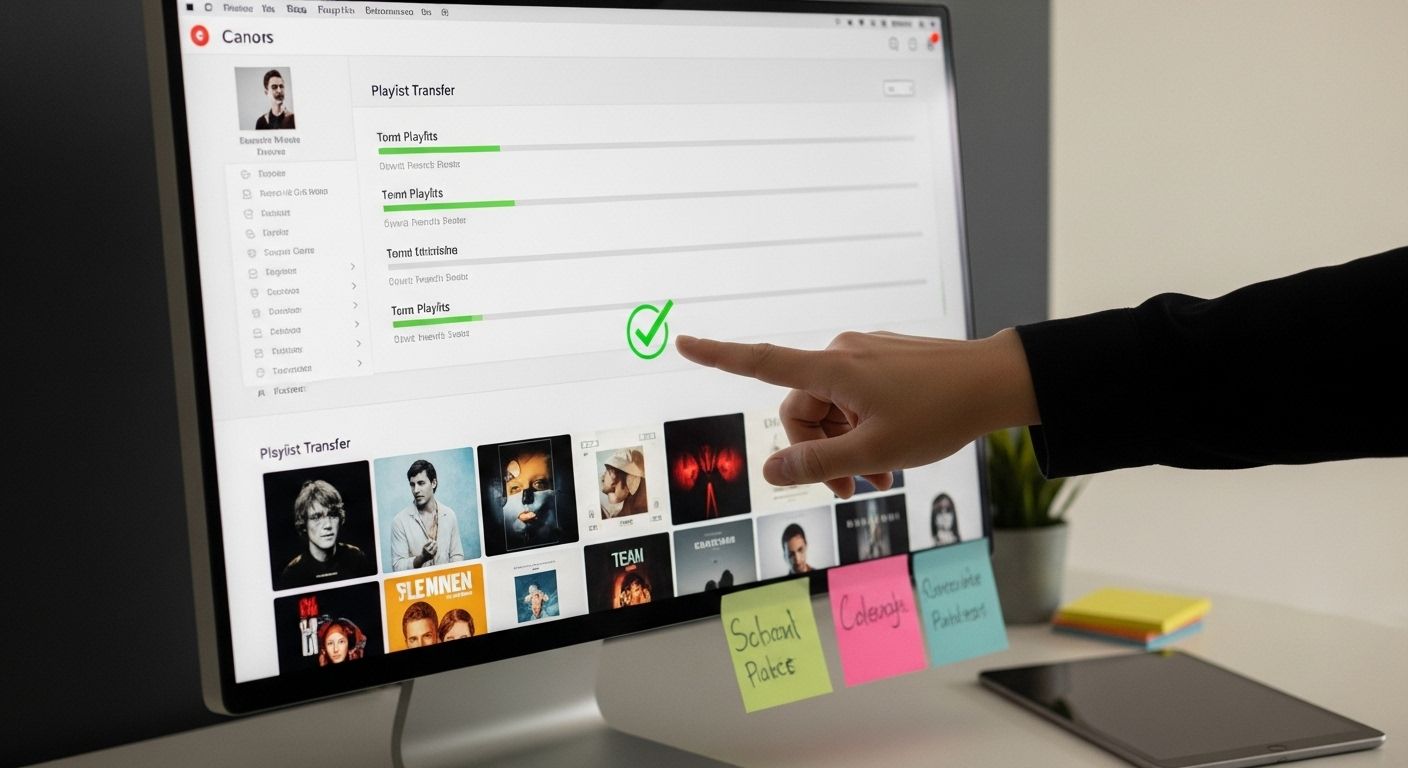
Step 5: Verify Your Transferred Playlists
After playlist transfer, careful verification is crucial to ensure your entire music collection has been transferred correctly and completely. This critical step prevents data loss and guarantees a seamless music listening experience on your new streaming platform.
Systematic Playlist Verification
Start with a comprehensive comparison of your original and newly transferred playlists. Open both streaming services in parallel to enable direct comparison. Pay particular attention to the total number of tracks, the order of songs, and any deviations in music metadata.
For effective verification, we recommend the following strategic steps:
- Compare the total number of tracks in each playlist
- Check the correct order of songs
- Identify potential transfer gaps
- Test playback of randomly selected tracks
Your music statistics can provide additional insights into transfer details. Special attention goes to songs with potential licensing differences between different streaming platforms. Some tracks might not have been fully transferred due to regional restrictions or licensing variations.
Add missing tracks manually if your transfer tool couldn't migrate all songs correctly. Many streaming services offer search functions with which you can quickly find alternative versions or identical tracks. Ensure your playlist preserves its original structure and musical intention.
A successful transfer is characterized by at least 95% of your original playlist being identically reproducible on the new service. Small deviations are normal and usually attributable to differences in the music libraries of the platforms. Take the time to carefully verify your playlists and manually optimize if necessary.
This table provides a summary overview of the main problems during playlist transfer, their possible causes, and quick solutions based on the article's guidance.
| Problem | Possible Cause | Recommended Solution |
|---|---|---|
| Some songs are missing from the playlist | Licensing differences, regional blocks | Manually search for and add missing titles |
| Login problems with services | Wrong password, locked account, internet problems | Check passwords, reset if needed, establish stable connection |
| Playlists are not completely transferred | Different music catalogs, tool doesn't recognize songs | Compare playlists, manually add missing titles |
| Song order is incorrect | Transfer tool doesn't correctly adopt order | Manually adjust order in target playlist |
| Transfer interruption | Unstable internet connection, process interruption | Restart process, don't interrupt transfer |
| Security queries prevent access | Two-factor authentication not prepared | Keep authentication app or codes ready |
Your Switch to New Music Freedom – Without Playlist Compromises
Are you tired of laboriously rebuilding playlists or searching for songs afterwards? In our "Automatic Playlist Transfer Guide," you've learned how time-consuming and error-prone a manual switch between streaming services can be. Transfer errors, missing songs, and lost playlist structures are common problems that diminish music enjoyment and cost a lot of time.
Experience now how simple and reliable your personal playlist move can be. With FreeYourMusic.com, you automatically and securely transfer all your playlists—including title order, song metadata, and even large libraries.
Stop song losses and don't strain yourself manually anymore. Get informed on the homepage or get exact tips with our guide for playlist transfers. Start today—the next music enjoyment is already waiting for you.
Frequently Asked Questions
How do I start automatic playlist transfer?
To start automatic playlist transfer, first select your streaming services and log in to both accounts. Then use an appropriate transfer tool to move your playlists.
What do I need for playlist transfer?
For playlist transfer, you need active user accounts with both streaming services as well as correct login information. Additionally, an automated transfer tool is required to facilitate the process.
How long does playlist transfer take?
The duration of playlist transfer depends on the size of your music collection. Depending on the scope, transfer can take a few minutes to several hours.
What can I do if some songs aren't transferred?
If some songs aren't transferred, this may be due to licensing differences between platforms. Add missing tracks manually using the search functions of the respective streaming services.
Recommendations

Migrate from and to any music services


Most popular Apple Music transfers: