How to Transfer YouTube Music Playlists to Spotify
March 23, 2026
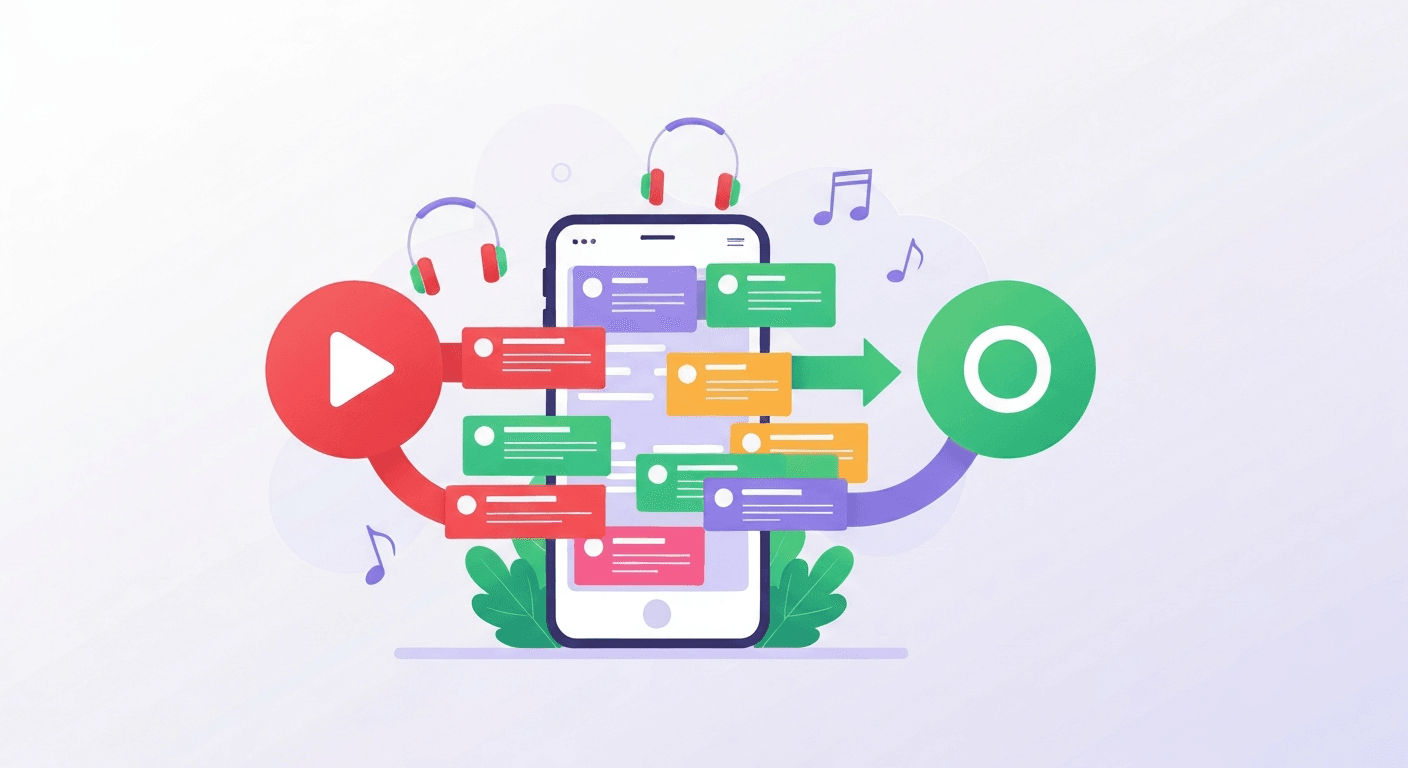
The good news is that transferring your YouTube Music playlists to Spotify doesn't have to be a headache. In this guide, we'll show you exactly how to move your playlists from YouTube Music to Spotify — quickly, accurately, and without rebuilding everything from scratch.
Why Switch from YouTube Music to Spotify?
YouTube Music has its strengths, but there are solid reasons listeners make the move to Spotify every day:
- Superior music discovery. Spotify's recommendation engine — powering Discover Weekly, Release Radar, and Daily Mixes — is widely considered the best in the industry. If you love finding new music, Spotify delivers.
- Podcast integration. Spotify is the world's largest podcast platform. Having your music and podcasts in one app is a major convenience.
- Cross-platform consistency. Spotify works seamlessly on virtually every device — iOS, Android, desktop, web, smart speakers, game consoles, and cars. The experience is polished everywhere.
- Social features. Share what you're listening to, see friends' activity, create collaborative playlists, and use Spotify Blend to merge tastes with friends.
- Spotify Wrapped. The annual listening recap has become a cultural event. If you want in on the fun, you need to be on Spotify.
Whatever your reason for switching, you shouldn't have to sacrifice the playlists you've spent months or years building on YouTube Music.
The Problem with Manual Migration
Let's be honest: manually transferring playlists is a nightmare. Here's what it looks like without a tool:
- Open YouTube Music and note down every song in each playlist.
- Open Spotify and search for each song individually.
- Add each song to a new playlist, one by one.
- Repeat for every playlist you have.
If you have 10 playlists with 50 songs each, that's 500 individual searches and adds. It could take hours — and you'll inevitably miss tracks or make mistakes along the way. Some songs on YouTube Music may have slightly different titles or artist names on Spotify, making manual matching even harder.
There's a much better way.
How to Transfer YouTube Music to Spotify with Free Your Music
Free Your Music is a dedicated music transfer tool designed to move playlists between streaming platforms with high accuracy. It supports YouTube Music to Spotify transfers — along with 20+ other platforms — and handles the entire process in minutes, not hours.
Here's how to do it step by step.
Step 1: Download Free Your Music
Visit freeyourmusic.com and download the app for your device. Free Your Music is available on:
- Desktop: Windows, macOS, Linux
- Mobile: iOS and Android
Choose whichever device is most convenient for you.
Step 2: Select YouTube Music as Your Source
Open Free Your Music and choose YouTube Music as your source platform. Sign in with your Google account to give Free Your Music read-only access to your library. Your data stays safe — Free Your Music never modifies or deletes anything on your YouTube Music account.
Step 3: Choose What to Transfer
Once connected, Free Your Music will load your YouTube Music library. You can select:
- Playlists — all of them or just the ones you want
- Liked Songs — your entire thumbs-up collection
- Saved Albums — albums you've added to your library
Pick everything or just the essentials — it's up to you.
Step 4: Set Spotify as Your Destination
Select Spotify as your destination and log in with your Spotify credentials. Free Your Music connects securely via Spotify's official API.
Step 5: Start the Transfer
Hit Begin Transfer and let Free Your Music do the work. The app uses smart matching to find the correct version of each song on Spotify, even when titles or artist names differ slightly between platforms.
You'll see a real-time progress bar showing:
- Songs matched and transferred
- Songs that couldn't be found (rare, but it happens)
- Total transfer progress
Most transfers complete in just a few minutes, even for large libraries with thousands of songs.
Step 6: Verify Your Spotify Library
Once the transfer is done, open Spotify and check your playlists. You'll find everything right where you'd expect it — organized in the same playlist structure you had on YouTube Music.
What Transfers — and What Doesn't
Free Your Music does an excellent job of moving your music, but it's important to know what carries over and what doesn't:
What transfers:
- Playlists — names, songs, and order are preserved
- Liked/saved songs — your favorites come with you
- Albums — saved albums transfer to your Spotify library
What doesn't transfer:
- Listening history — play counts and history don't carry over between platforms
- YouTube-exclusive content — some YouTube Music tracks (unofficial uploads, fan remixes, music videos without audio-only versions) may not have Spotify equivalents
- Playlist descriptions and cover art — these are platform-specific and won't migrate
- Downloads — you'll need to re-download songs for offline listening on Spotify
The vast majority of mainstream songs match perfectly. Free Your Music typically achieves a 95%+ match rate for standard music libraries.
Troubleshooting Common Issues
Running into problems? Here are quick fixes for the most common issues:
"Some songs weren't found"
This usually happens with YouTube Music uploads or very niche tracks that don't exist on Spotify. Check the transfer report for unmatched songs — you can search for them manually on Spotify to see if they're available under a different name.
"Transfer is stuck or slow"
Large libraries (5,000+ songs) can take a few extra minutes. Make sure your internet connection is stable and avoid closing the app during the transfer. If it's truly stuck, restart the app and resume — Free Your Music picks up where it left off.
"I can't connect my account"
Double-check that you're logging in with the correct Google or Spotify credentials. If you use two-factor authentication, make sure to approve the login prompt. Clearing your browser cache or trying a different browser can also help.
"Duplicate playlists"
If you run the transfer more than once, Free Your Music's smart duplicate detection prevents creating duplicates. But if you see any, simply delete the extras from Spotify.
Why Free Your Music Is the Best Tool for the Job
There are a few playlist transfer tools out there, but Free Your Music stands out for several reasons:
- High accuracy — smart song-matching technology finds the right track, even when metadata differs
- Speed — transfer thousands of songs in minutes, not hours
- Privacy-first — your data is never stored or shared with third parties
- 20+ platforms supported — if you ever switch again, Free Your Music has you covered
- Free tier available — transfer a limited number of songs at no cost to try it out before committing
Ready to Make the Switch?
Switching from YouTube Music to Spotify doesn't mean losing the playlists you've spent years building. With Free Your Music, you can move your entire music library in minutes — no manual work, no lost songs, no hassle.
Start your free transfer with Free Your Music and enjoy Spotify with all your favorite music already waiting for you.
Migrate from and to any music services


Most popular Apple Music transfers: