Playlist synchronization explained: Save 80% time in 2026
May 18, 2026

Hours spent rebuilding your music library disappear when you switch streaming services. You add songs to Spotify daily, but your Apple Music playlists stay frozen in time. Playlist synchronization automates these updates across platforms, cutting manual work by up to 80%. This guide explains how sync technology works, clears common misconceptions, and shows you how to implement it properly using proven playlist management guide strategies.
Table of Contents
- Introduction To Playlist Synchronization
- How Playlist Synchronization Works Technically
- Common Misconceptions About Playlist Synchronization
- Comparison: Playlist Transfer Vs. Playlist Synchronization
- Benefits And Practical Use Cases Of Playlist Synchronization
- Data Privacy, Security, And Limitations In Playlist Synchronization
- Best Practices For Using Playlist Synchronization Tools
- Discover Effortless Playlist Synchronization With Free Your Music
- Frequently Asked Questions About Playlist Synchronization
Key takeaways
| Point | Details |
|---|---|
| Automation efficiency | Playlist synchronization cuts manual rebuilding time by 80% using automated metadata matching algorithms. |
| Continuous vs. one-time | Synchronization provides ongoing updates across platforms, while transfer is a single migration event. |
| Security standards | OAuth 2.0 authentication protects user data without storing login credentials during sync processes. |
| Platform limitations | Perfect replication is rare due to catalog differences, with accuracy sometimes dropping to 70%. |
| Smart matching | Audio fingerprinting and fuzzy algorithms match tracks despite metadata variations across services. |
Introduction to playlist synchronization
Playlist synchronization keeps your music collections aligned across multiple streaming platforms without manual intervention. When you add a track to Spotify, synchronization tools automatically update your Apple Music, Tidal, or YouTube Music playlists with the same song. This matters for users managing multiple accounts, switching services, or sharing music across family members.
The typical music listener faces these challenges without synchronization:
- Lost playlists during platform switches
- Hours spent manually rebuilding collections
- Metadata inconsistencies causing duplicate or missing tracks
- Outdated playlists on secondary streaming accounts
- Frustration maintaining curated collections across services
These problems hurt your listening experience and waste valuable time. Synchronization solves this by treating playlist metadata as a universal language that translates across platforms. Understanding playlist management guide basics helps you grasp why metadata fields like artist name, album title, and track duration become critical during sync operations.
Globally, users subscribe to an average of 2.3 streaming services. Managing separate libraries creates friction that synchronization eliminates. The technology preserves playlist structure, song order, and organization while adapting to each platform's unique catalog and features. Following playlist transfer best practices ensures smooth sync operations.
How playlist synchronization works technically
Synchronization relies on metadata matching to identify identical tracks across different streaming catalogs. When you sync a playlist, the tool extracts metadata fields from each song: artist, album name, track title, duration, and release year. This data becomes a unique fingerprint for matching songs on the target platform.

Audio fingerprinting and metadata matching algorithms power accurate track identification even when metadata differs slightly. A song titled "Bohemian Rhapsody" on Spotify might appear as "Bohemian Rhapsody (Remastered)" on Apple Music. Advanced algorithms recognize these variations and create correct matches.
The technical process follows these steps:
- Extract metadata from source playlist tracks
- Generate audio fingerprints for each song
- Query target platform catalog using metadata and fingerprints
- Match tracks based on similarity scores and confidence thresholds
- Reconstruct playlist structure on target platform
- Apply continuous or scheduled updates to maintain alignment
Continuous synchronization monitors playlist changes in real time or at set intervals. Add a song to your Spotify playlist, and within minutes it appears on your synced Apple Music collection. This automation handles discrepancies caused by regional restrictions, catalog gaps, or metadata quality issues across platforms.
Algorithms adjust matching strategies based on available data quality. Poor metadata triggers fallback methods using audio fingerprints or alternative search parameters. Understanding playlist transfer challenges prepares you for situations where automated matching faces limitations. The cross-platform music transfer guide offers deeper technical insights into overcoming catalog differences.
Common misconceptions about playlist synchronization
Many users expect perfect playlist replication, but sync accuracy depends heavily on metadata completeness and catalog overlap, with matching sometimes dropping below 70%. Catalog differences between streaming services mean some tracks simply don't exist on every platform. Regional licensing restrictions further limit availability.
Key misconceptions to clear up:
- Perfect copies are guaranteed: Platform catalog variations typically cause 10 to 30% of tracks to remain unmatched during synchronization
- Manual work is still required: Automation reduces effort by 80%, though occasional manual verification helps catch edge cases
- Transfer and sync are identical: Transfer moves playlists once; synchronization maintains ongoing updates
- Services store your passwords: OAuth 2.0 standard authentication allows secure login without credential storage
- All platforms sync equally: Streaming services with comprehensive APIs enable better synchronization than platforms with limited access
Pro Tip: Test synchronization with a small playlist before syncing your entire library. This reveals potential matching issues and helps you adjust expectations based on your specific music collection.
Security concerns often arise during sync discussions. Reputable services never store login credentials because they use OAuth 2.0 protocols. You authorize the sync tool to access specific playlist data, and you can revoke this access anytime through your streaming service settings. Data transfers occur through encrypted connections, protecting your information during transit.
Understanding playlist transfer challenges helps set realistic goals. The playlist sharing guide explains how metadata limitations affect collaborative playlists differently than personal collections.
Comparison: playlist transfer vs. playlist synchronization
Choosing between transfer and synchronization depends on whether you need a one-time migration or ongoing updates. Transfer suits permanent platform switches, while synchronization fits multi-platform usage patterns.
| Feature | Playlist Transfer | Playlist Synchronization |
|---|---|---|
| Update frequency | One-time migration | Continuous or scheduled updates |
| Best for | Permanent platform switch | Multi-platform usage |
| Automation level | Initial setup only | Ongoing automated maintenance |
| User involvement | Configure once, verify results | Set preferences, minimal monitoring |
| Cost structure | Often one-time fee | Typically subscription based |
| Playlist modification | Manual updates needed | Automatic propagation of changes |
Transfer creates a snapshot of your playlists at migration time. Add songs afterward, and only the source playlist updates. Synchronization propagates these additions across all connected platforms automatically. This distinction matters when you actively curate playlists or frequently discover new music.
User control over sync behavior includes:
- Setting update frequency from real-time to weekly schedules
- Choosing which playlists to include or exclude from synchronization
- Defining conflict resolution rules when track availability differs
- Selecting bidirectional or unidirectional sync directions
- Configuring notification preferences for sync completion or errors
The trade-off involves simplicity versus automation power. Transfer offers straightforward one-time migration with no ongoing management. Synchronization requires initial configuration but delivers hands-free playlist maintenance. Consider your listening habits and platform usage patterns when deciding. Following playlist transfer best practices ensures success with either approach. The music library syncing guide explores advanced sync configurations.
Benefits and practical use cases of playlist synchronization
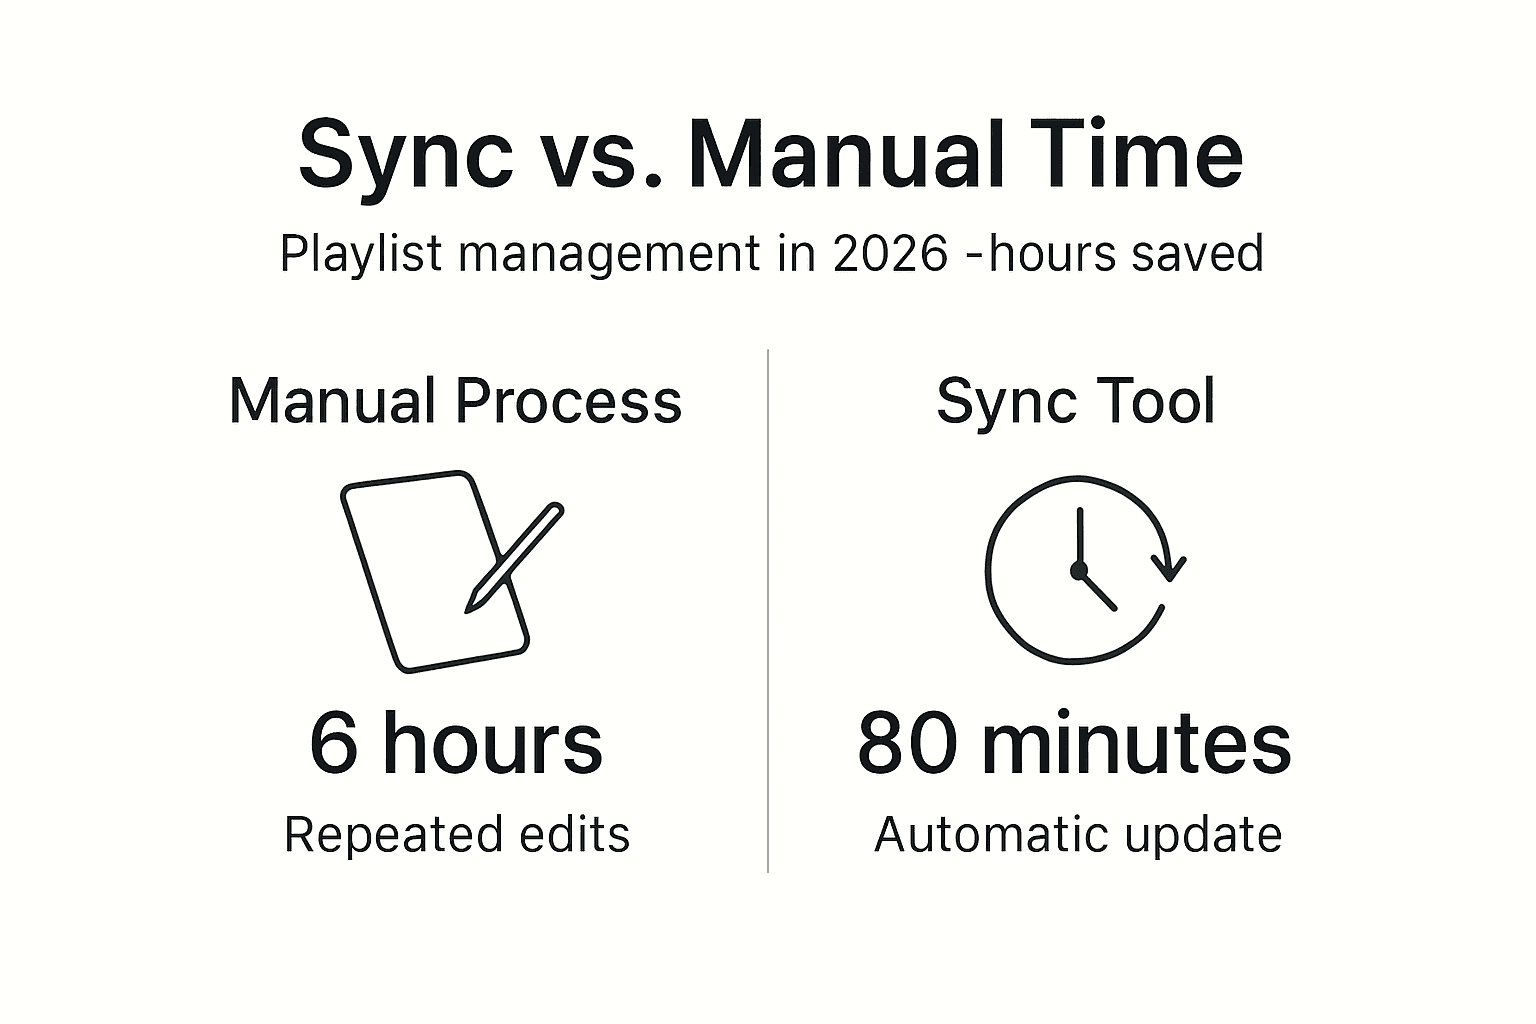
Automation reduces manual playlist rebuilding by up to 80%, saving hours each month for active music curators. This efficiency gain becomes critical when managing large libraries with hundreds of playlists and thousands of tracks. The time savings compound as your collection grows.
Real-world scenarios where synchronization provides value:
- Multi-platform users: Keep Spotify, Apple Music, and Tidal playlists identical while testing different streaming services
- Family accounts: Share curated playlists across family members using different platforms
- Platform switchers: Maintain your music library on both old and new services during transition periods
- Backup protection: Combine synchronization with cloud backup to prevent playlist loss from account issues
- Professional DJs: Sync performance playlists across platforms used in different venues or equipment setups
Pro Tip: Enable bidirectional synchronization for collaborative playlists. Changes made by any participant propagate to all connected platforms, keeping everyone's collection current.
The psychological benefit matters as much as time savings. Knowing your playlists stay current reduces anxiety about losing curated collections built over years. Your listening experience remains consistent regardless which streaming app you open. This peace of mind encourages platform exploration without commitment fear.
Statistics show automation cuts playlist management time from an average of 6 hours monthly to under 80 minutes for users with 50+ playlists. The smart music sharing methods guide reveals additional efficiency gains through collaborative sync strategies.
Data privacy, security, and limitations in playlist synchronization
OAuth 2.0 authentication standards ensure secure login to streaming services without exposing your passwords to sync tools. This protocol grants limited access permissions that you control through your streaming service account settings. Sync tools receive only the specific data needed for playlist operations.
Security measures protecting your data:
- No storage of user login credentials by reputable sync services
- Encrypted data transmission during playlist transfers
- Revocable access tokens you can disable anytime
- Platform-specific API restrictions limiting data access
- Regular security audits by established sync service providers
Sync accuracy faces realistic limitations based on catalog availability. Regional licensing restrictions mean tracks available in the United States might be missing in Europe or Asia. Metadata quality varies between platforms, affecting matching confidence. Exclusive releases or platform-specific content won't sync because they exist on only one service.
Expect these common limitations:
- 70 to 95% match rates depending on music genre and regional catalogs
- Missing tracks from indie artists with limited distribution
- Podcast episodes often excluded from synchronization
- Video content and music videos handled inconsistently
- Platform-specific features like lyrics or audio quality settings not transferred
Users should verify synchronized playlists after initial setup, then spot-check periodically. Manual intervention occasionally fixes mismatches or adds unavailable tracks through alternative versions. The music streaming privacy tips guide explains additional security considerations for playlist management.
Best practices for using playlist synchronization tools
Selecting the right synchronization tool requires evaluating several critical factors. Track matching accuracy determines how many songs successfully sync. Platform support ensures compatibility with your streaming services. Sync frequency options provide flexibility matching your usage patterns.
- Research tool capabilities before committing. Compare match rates, supported platforms, and pricing structures across multiple services.
- Configure sync preferences carefully during initial setup. Choose update frequency, playlist selection, and conflict resolution rules.
- Enable cloud backup features for playlist protection. This safeguards against sync errors or account issues.
- Verify synchronized playlists after first sync. Manually check for missing tracks or incorrect matches.
- Update sync applications regularly. Software updates often improve matching algorithms and fix bugs.
- Monitor sync logs periodically. Error messages reveal issues needing attention before they compound.
Pro Tip: Use fuzzy matching settings when available. This feature catches tracks with slight metadata differences, reducing missing songs in your synced playlists.
Troubleshooting common sync issues:
- Missing tracks: Check if songs exist on target platform catalog and verify metadata accuracy
- Duplicate entries: Review matching sensitivity settings and adjust thresholds
- Failed syncs: Confirm OAuth permissions remain active and internet connection is stable
- Outdated playlists: Increase sync frequency or trigger manual updates
- Wrong track versions: Manually specify preferred versions after initial sync
Evaluate tools based on their fuzzy matching algorithms. Services using advanced audio fingerprinting technology achieve higher accuracy than basic metadata comparison. Test with diverse playlist genres because classical music, international tracks, and remixes challenge matching algorithms differently than mainstream pop.
The playlist transfer best practices guide offers additional configuration tips. Explore music library transfer tips for handling large collections efficiently.
Discover effortless playlist synchronization with Free Your Music
Managing music across multiple streaming platforms becomes simple with the right tools. Free Your Music specializes in seamless playlist synchronization and transfer, supporting Spotify, Apple Music, Tidal, YouTube Music, Amazon Music, and many other services. Secure OAuth 2.0 authentication protects your data while advanced matching algorithms maximize track accuracy.
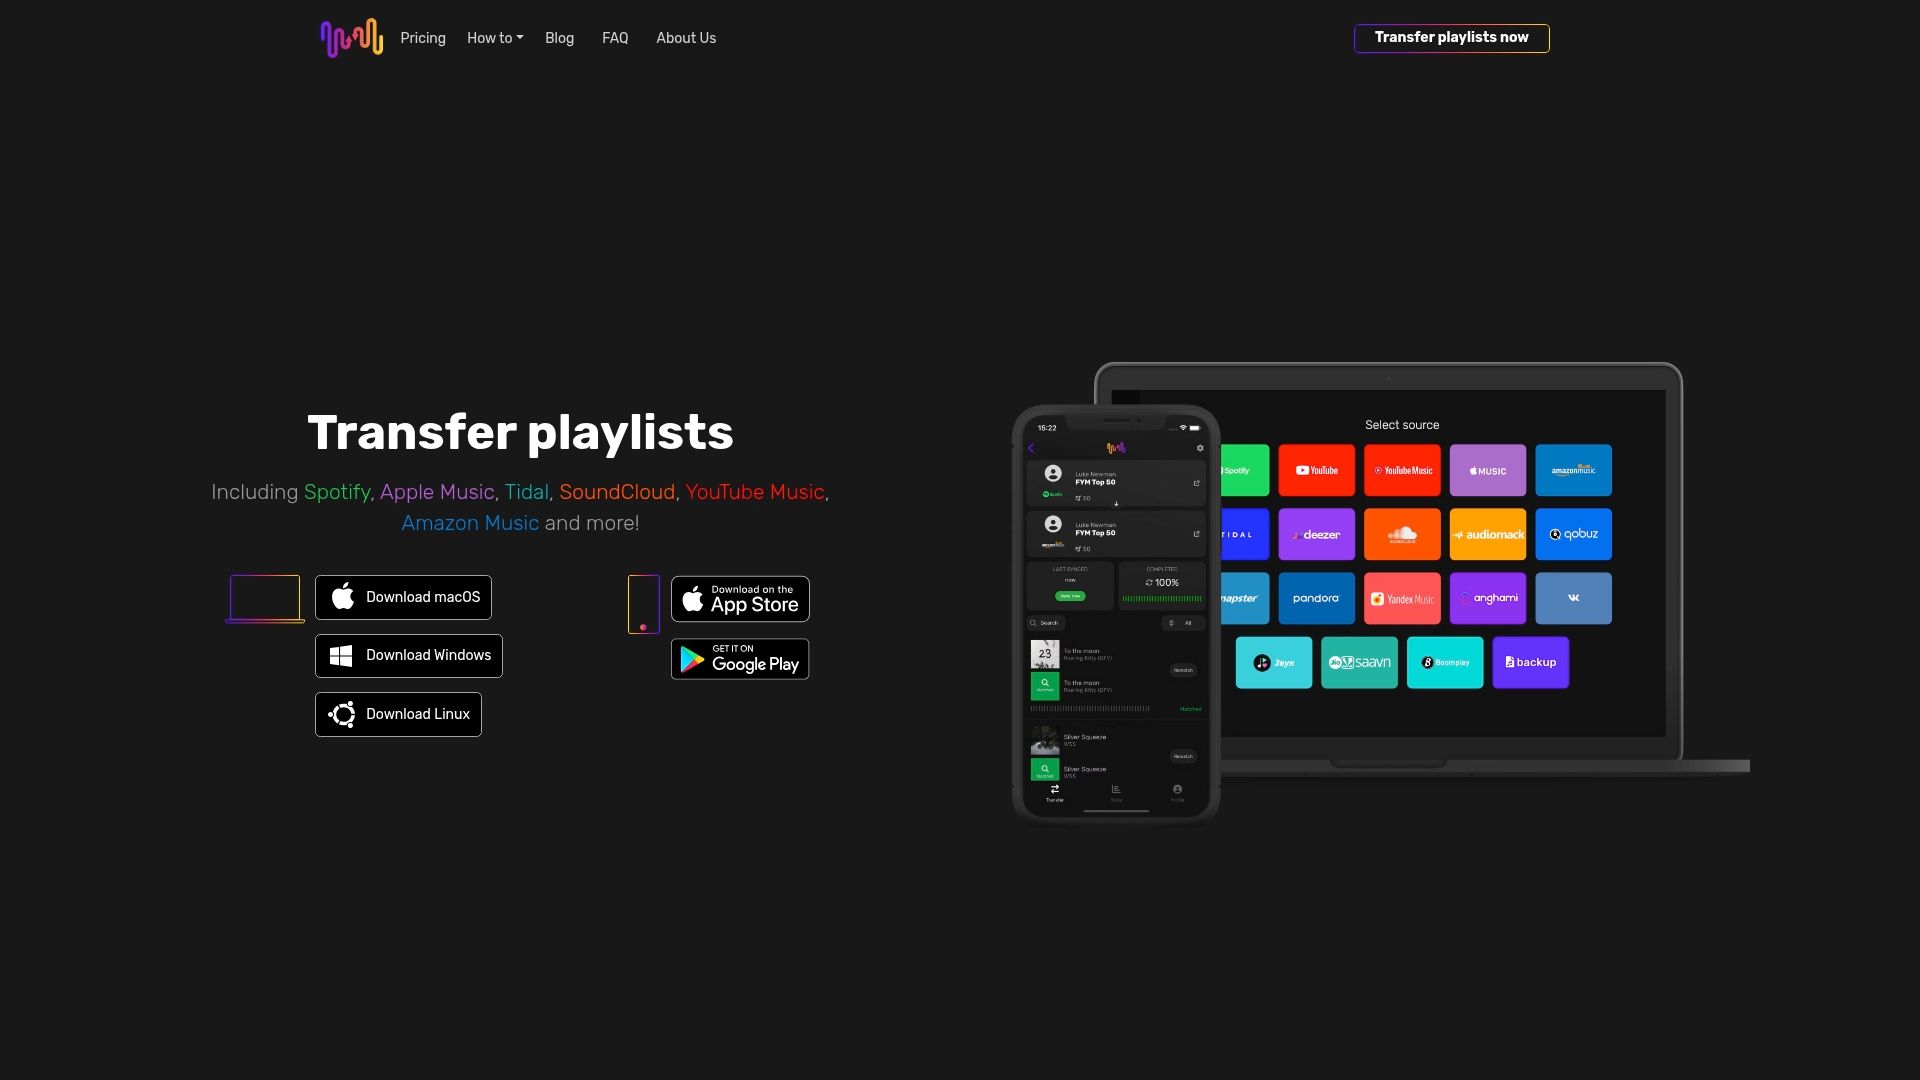
The platform offers flexible sync scheduling, bidirectional updates, and cloud backup protection for your playlists. Desktop applications for macOS, Windows, and Linux work alongside mobile apps for Android and iOS, giving you access wherever you manage music. Comprehensive guides including the playlist transfer best practices guide and best playlist transfer app comparison help you optimize your sync strategy.
Try Free Your Music with confidence thanks to their customer-friendly refund policy. Start streamlining your music library synchronization today and reclaim hours spent on manual playlist management.
Frequently asked questions about playlist synchronization
What is the difference between playlist transfer and playlist synchronization?
Playlist transfer moves your music collection once from one platform to another, creating a snapshot at migration time. Playlist synchronization maintains ongoing updates, automatically propagating changes across all connected streaming services whenever you add or remove tracks.
Which streaming platforms support playlist synchronization tools?
Most major services including Spotify, Apple Music, Tidal, YouTube Music, Amazon Music, Deezer, and Pandora support synchronization through third-party tools. Platform compatibility depends on API availability and access permissions granted by each streaming service.
How secure is my data during playlist synchronization?
Reputable sync services use OAuth 2.0 authentication, which means they never store your passwords or login credentials. You grant limited access permissions that you can revoke anytime through your streaming service settings. Data transfers occur through encrypted connections protecting your information.
Can I sync playlists if some tracks are unavailable on the target platform?
Yes, synchronization works even when tracks are missing from the target catalog. The tool matches available songs and logs unavailable tracks for your review. You can manually add alternative versions or accept partial playlist replication based on catalog limitations.
How often should I update or sync my playlists for best results?
Sync frequency depends on how actively you modify playlists. Daily curators benefit from real-time or hourly synchronization, while casual listeners work well with weekly updates. Most tools let you configure separate schedules for different playlists based on usage patterns.
Recommended
- Free Your Music - Music Library Syncing Explained: Seamless Playlist Transfer
- Free Your Music - Understanding Playlist Transfer Best Practices for Users
- Free Your Music - The Best Duet Songs of All Time
- Free Your Music - Understanding Best Practices in Playlist Migration
- EcomEye - Bulk AI Product Lister for E-commerce Automation
- Shopify Page Automation 2026: Boost SEO 70% & Avoid Penalties
Migrate from and to any music services


Most popular Apple Music transfers: