Step by Step Playlist Move for Multiple Platforms
May 18, 2026

Most American DJs and music lovers juggle playlists across platforms, only to discover that moving songs between services is rarely smooth. With thousands of tracks stored on Spotify, Apple Music, and Tidal, losing even a single favorite can be frustrating. More than 60 percent of music fans use multiple streaming apps, making an efficient, secure transfer solution essential. This guide delivers practical steps to help every American enthusiast keep their music organized and accessible wherever they listen.
Table of Contents
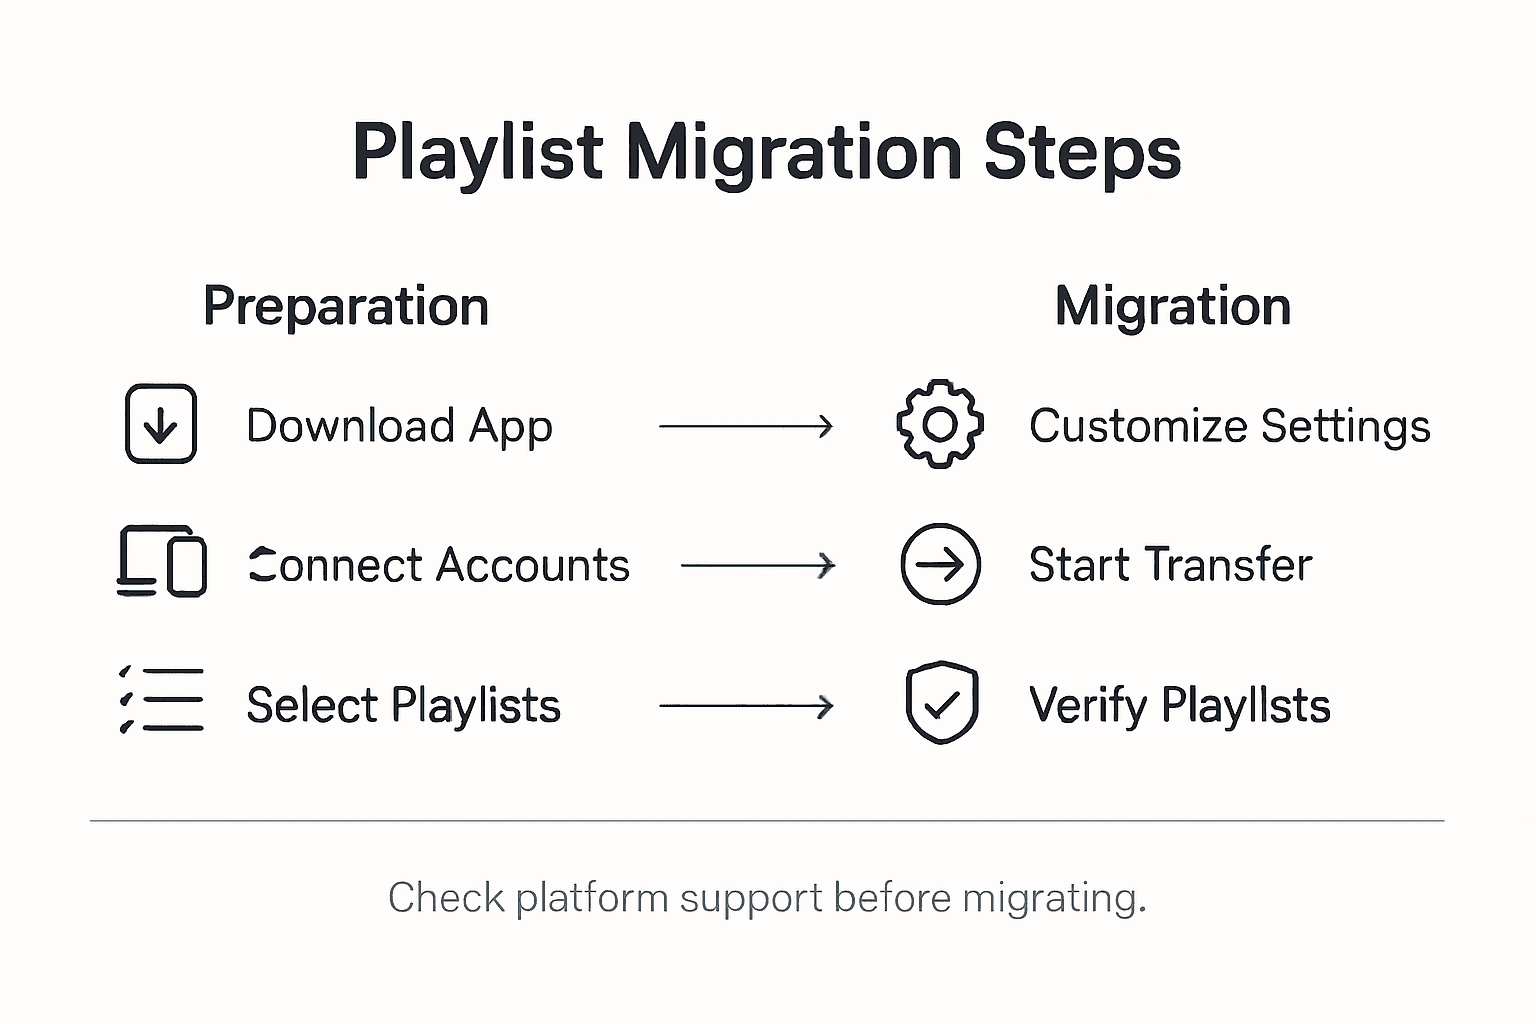
- Step 1: Download and Install Free Your Music App
- Step 2: Connect and Authorize Streaming Accounts
- Step 3: Select Playlists for Migration
- Step 4: Customize Transfer Settings
- Step 5: Start and Monitor the Playlist Move
- Step 6: Verify and Organize Transferred Playlists
Quick Summary
| Key Point | Explanation |
|---|---|
| 1. Download the Free Your Music App | Visit the official website to download the app for your device, ensuring compatibility and security. |
| 2. Connect Streaming Accounts | Authorize your streaming services in the app to enable playlist transfer while safeguarding your personal information. |
| 3. Select Playlists to Transfer | Choose which playlists you want to migrate, checking for availability and potential licensing issues during selection. |
| 4. Customize Transfer Settings | Set preferences for exact track matches, skipping unavailable songs, and handling duplicates for a tailored migration. |
| 5. Verify and Organize Playlists | After transfer, review and modify playlists to ensure accuracy and satisfaction, creating a better listening experience. |
Step 1: Download and Install Free Your Music App
Ready to move your music playlists across platforms without losing a single track? This step will walk you through downloading and installing the Free Your Music application on your preferred device. Whether you are using a smartphone, tablet, or computer, the process is straightforward and designed to get you started quickly.
Begin by visiting the official Free Your Music download page, which offers installers for multiple operating systems including Windows, macOS, Linux, Android, and iOS. Select the version matching your device to ensure compatibility. The download process involves clicking the appropriate download button for your platform, which will automatically start the installer file. For desktop platforms, you will download an executable file that guides you through installation. Mobile users can access the app through their device's official app store Google Play Store or Apple App Store.
Once downloaded, run the installer and follow the on-screen prompts. Most installations require accepting the terms of service, choosing an installation directory, and confirming your preferences. The entire process typically takes less than five minutes, after which the app will be ready to transfer your music playlists seamlessly across different streaming services.
Pro tip: Always download the app directly from the official Free Your Music website to ensure you receive the most recent and secure version of the application.
Step 2: Connect and Authorize Streaming Accounts
Now that you have downloaded the Free Your Music app, it is time to connect and authorize your streaming accounts. This critical step allows the app to securely access and transfer your music playlists across different platforms, giving you complete control over your music library.
The connection process begins by opening the Free Your Music app and navigating to the account authorization section. Each streaming service requires a unique authentication method designed to protect your personal information. Click on the streaming service you want to connect first—such as Spotify, Apple Music, or Tidal—and you will be redirected to that platform's official login page. Enter your existing account credentials, which will prompt a permissions request. This request will ask you to approve the app's access to read your playlists and perform transfers.
After successfully connecting your first streaming service, you can proceed to add additional music platforms. The app supports multiple simultaneous account connections, allowing you to create comprehensive transfer routes between different services. Carefully review the permissions you are granting and ensure you are comfortable with the app's access level. The entire authorization process typically takes less than three minutes per streaming service, providing a quick and secure method to consolidate your music library.
Pro tip: Always use unique and strong passwords for each streaming service to maintain maximum account security during the authorization process.
Here's an overview of supported streaming platforms and their typical account connection method:
| Streaming Service | Type of Account Authentication | Compatible Device Platforms |
|---|---|---|
| Spotify | OAuth login via web browser | Windows, Mac, Linux, Android, iOS |
| Apple Music | Apple ID and two-factor authentication | macOS, iOS, Windows |
| Tidal | Standard username and password login | Windows, Mac, Android, iOS |
| Amazon Music | Amazon login with verification | Windows, Mac, Android, iOS |
| YouTube Music | Google account sign-in | Android, iOS, Web |
Step 3: Select Playlists for Migration
With your streaming accounts now connected, you are ready to choose which playlists you want to transfer between platforms. This crucial step allows you to customize your music migration experience and ensure only the playlists you want are moved.
Playlist selection in Free Your Music is designed to be intuitive and user friendly, giving you complete control over which musical collections make the journey. After opening the app, you will see a comprehensive list of playlists from your connected streaming services. Each playlist will be displayed with its name, number of tracks, and origin platform. Simply check the boxes next to the playlists you want to transfer. The app allows you to select multiple playlists across different services simultaneously, making the process efficient and straightforward.

As you select your playlists, the app provides real time information about potential transfer challenges. Some tracks might not be available on the destination platform due to licensing restrictions or regional differences. Free Your Music will highlight these potential issues, allowing you to make informed decisions about which playlists to migrate. You can choose to transfer playlists partially or completely, depending on your preferences and the availability of tracks across platforms.
Pro tip: Review your playlist selections carefully and consider creating a backup of your most important playlists before initiating the transfer process.
Step 4: Customize Transfer Settings
Now that you have selected your playlists, it is time to fine tune your music migration experience. This step allows you to control exactly how your playlists will be transferred between streaming platforms.
Advanced transfer settings provide granular control over your music migration process, ensuring maximum accuracy and preservation of your musical collections. Within the app, you will find multiple customization options. First, choose your track matching preferences. You can opt for exact matches only or allow the app to find similar tracks when direct matches are unavailable. This setting helps maintain playlist integrity across different streaming services with varied music catalogs.
The app offers additional powerful customization features like skipping tracks that cannot be transferred, automatically syncing playlists in real time, and preserving original playlist ordering. You can also set preferences for handling duplicate tracks, selecting whether you want to keep all versions or consolidate them. These settings give you unprecedented control over how your music libraries are migrated, ensuring that your listening experience remains seamless and personalized across different streaming platforms.
Pro tip: Preview your transfer settings before executing the migration to ensure you are comfortable with how tracks will be handled across different streaming services.
The table below summarizes advanced playlist transfer settings and their impact:
| Setting Option | Purpose | Effect on Playlist Transfer |
|---|---|---|
| Exact Match Only | Preserves precise track selection | May omit tracks not found |
| Allow Similar Matches | Expands transfer to similar songs | Increases playlist completeness |
| Skip Unavailable Tracks | Avoids failed transfers for missing songs | Retains only transferable tracks |
| Preserve Playlist Order | Keeps original song sequence | Ensures consistent listening experience |
| Handle Duplicates | Merges or splits duplicate tracks | Reduces clutter or increases variety |
Step 5: Start and Monitor the Playlist Move
With all your settings configured, you are now ready to initiate the playlist migration process. This critical step transforms your music library across different streaming platforms with precision and ease.
The playlist transfer process includes real-time progress tracking and status updates to keep you informed throughout the migration. Click the start button and watch as the app begins moving your selected playlists. A comprehensive progress bar will display the transfer status, showing how many tracks have been successfully moved, which are pending, and if any tracks encountered issues during migration. The app provides transparent information about tracks that cannot be transferred, allowing you to make informed decisions about your music library.
As the transfer progresses, you will see detailed information about each playlist migration. The app handles variations between streaming platforms intelligently, matching tracks or providing alternatives when exact matches are unavailable. Some playlists might transfer quickly, while others with more complex track selections could take slightly longer. Be patient and allow the app to work through any potential challenges, ensuring the most accurate transfer possible.
Pro tip: Keep your internet connection stable during the transfer and avoid closing the application to prevent any potential interruption in the playlist migration process.
Step 6: Verify and Organize Transferred Playlists
Now that your playlists have been transferred, it is time to review and fine tune your newly migrated music collections. This crucial step ensures that your musical experience remains seamless across different streaming platforms.
Effective playlist organization helps maintain a clean and enjoyable music library, allowing you to quickly navigate your favorite tracks. Begin by reviewing each transferred playlist carefully. Check for any missing tracks, unexpected substitutions, or potential errors during the transfer process. Most music streaming platforms allow you to compare the original and new playlists side by side, making it easy to spot any discrepancies.
Take this opportunity to reorganize and refine your playlists. Some tracks might have been replaced with similar versions or alternative recordings, so listen through and make manual adjustments as needed. You can rename playlists, remove unwanted tracks, or create new playlists that combine the best elements from your original collections. The goal is to create a streamlined, personalized music library that works perfectly across your chosen streaming platforms.
Pro tip: Create a backup of your original playlists before making extensive modifications, ensuring you can always revert to your initial music collection if needed.
Simplify Your Playlist Transfers Across Streaming Platforms
Transferring playlists between multiple streaming services can be a daunting task filled with challenges like lost tracks, mismatched songs, and time-consuming manual work. The article "Step by Step Playlist Move for Multiple Platforms" highlights these pain points and shows how careful playlist selection, account authorization, and transfer customization are critical to preserving your music library's integrity and personalized listening experience. You want a solution that guarantees accurate track matching, preserves playlist order, handles duplicates, and saves you from the frustration of rebuilding collections from scratch.
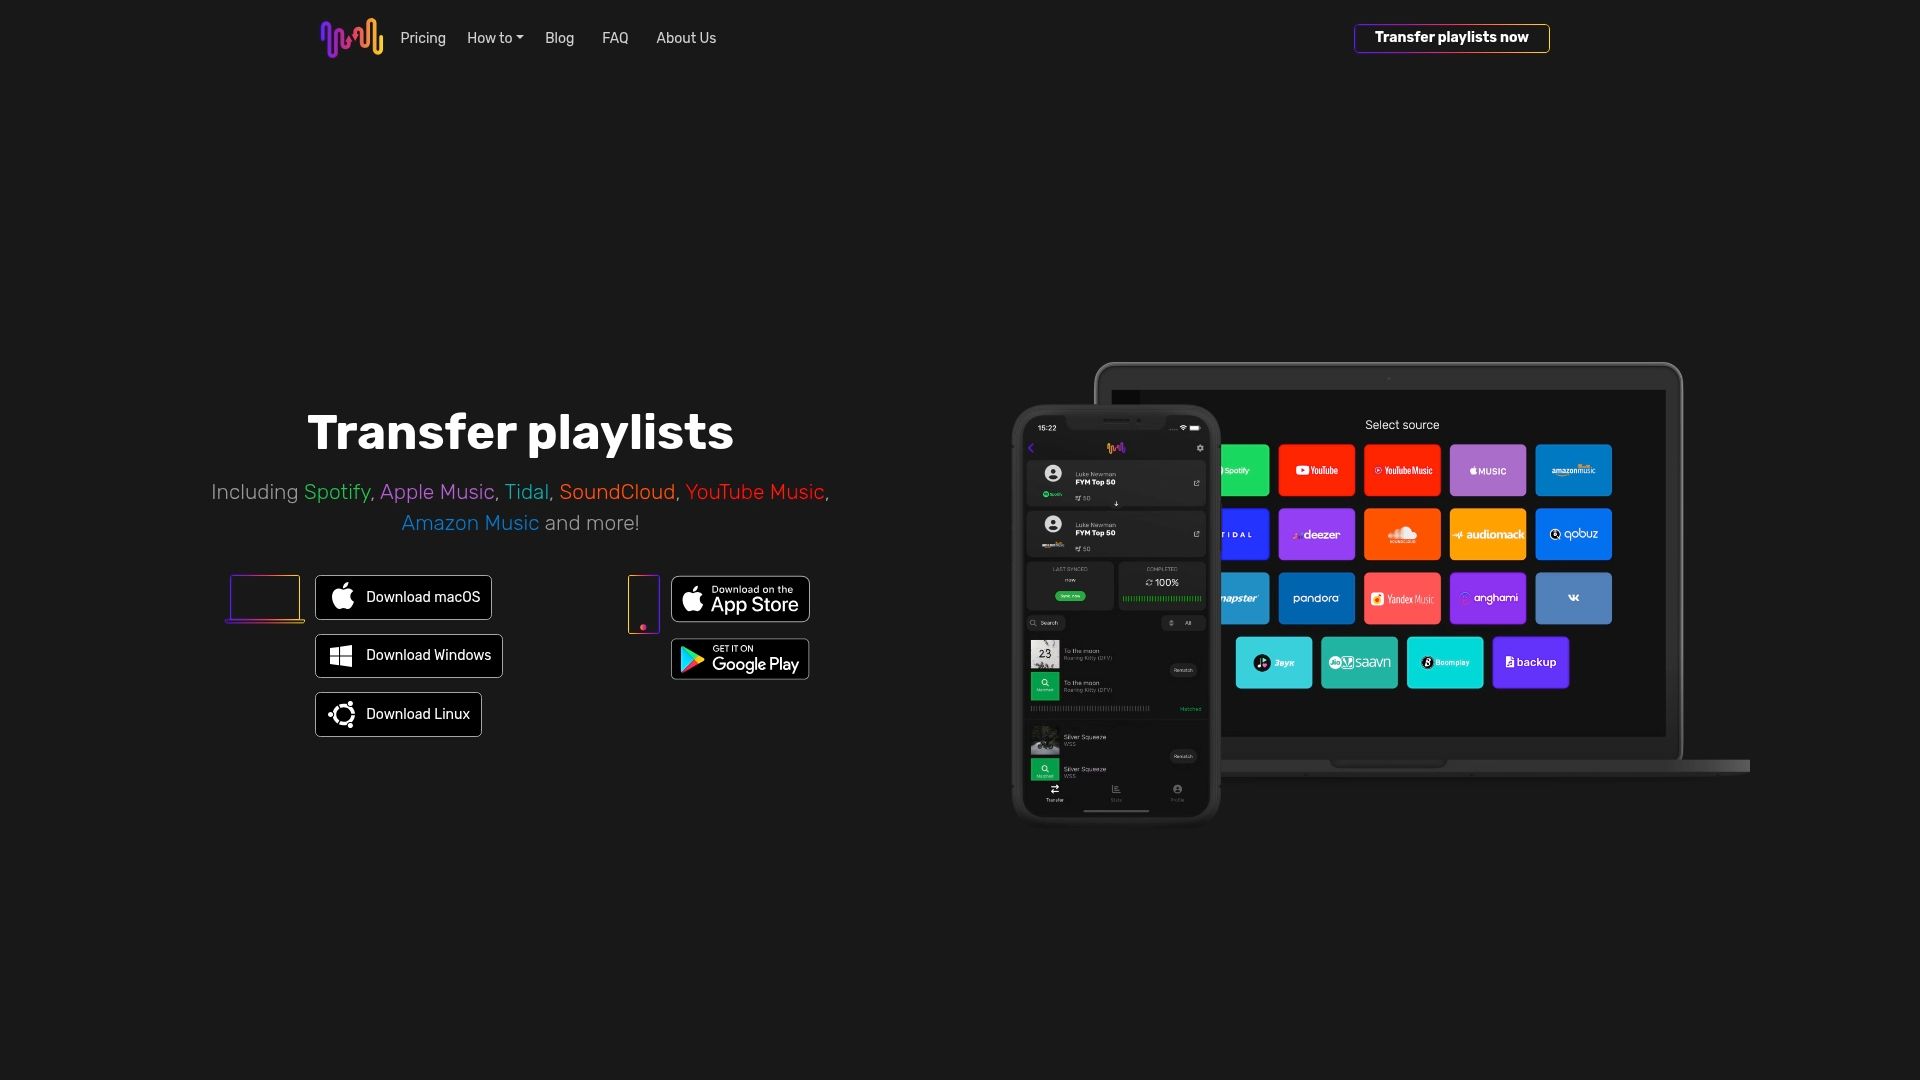
Experience seamless playlist migration today with Free Your Music. Our platform supports easy connections to Spotify, Apple Music, Tidal, YouTube Music, Amazon Music, and more. You get automated syncing, cloud backup, and multi-account handling—all designed to simplify your music transition without risking data loss or time wasted. Don’t wait until your playlists become hard to manage or your favorite tracks get lost in the shuffle. Visit Free Your Music now to start your effortless playlist transfer and enjoy your music exactly how you want across all your devices.
Find out more about how to connect your streaming accounts securely and learn the benefits of customizing your transfer settings for the best possible music migration experience.
Frequently Asked Questions
How can I download and install the Free Your Music app?
To download and install the Free Your Music app, visit the official Free Your Music download page and select the version for your device's operating system. Click the download button, run the installer, and follow the on-screen prompts to complete the installation within five minutes.
What streaming accounts can I connect to Free Your Music?
Free Your Music supports popular streaming accounts such as Spotify, Apple Music, Tidal, Amazon Music, and YouTube Music. Open the app, navigate to the account authorization section, and connect your desired streaming services within just a few minutes each.
How do I select which playlists I want to transfer?
Once your accounts are connected, the app displays a list of your playlists from each service. Simply check the boxes next to the playlists you want to migrate, and the app allows you to transfer multiple playlists in one go for a more efficient process.
Can I customize the settings for transferring my playlists?
Yes, the app provides advanced transfer settings allowing you to control how your playlists are migrated. Adjust settings to match tracks exactly, skip unavailable tracks, or preserve the original playlist order to suit your preferences.
What should I do if some tracks don't transfer during the migration?
If some tracks cannot be transferred due to licensing or availability issues, the app notifies you of these challenges. Review the transfer results after migration to identify missing tracks and decide if you want to replace them with similar options or exclude them completely.
How can I verify my transferred playlists after migration?
After the migration process, review each of your transferred playlists for missing tracks or errors. Compare your original playlists with the new ones to ensure accuracy, and make any necessary adjustments to create a seamless listening experience.
Recommended
Migrate from and to any music services


Most popular Apple Music transfers: