How to Export Apple Music Playlist Seamlessly
July 8, 2026
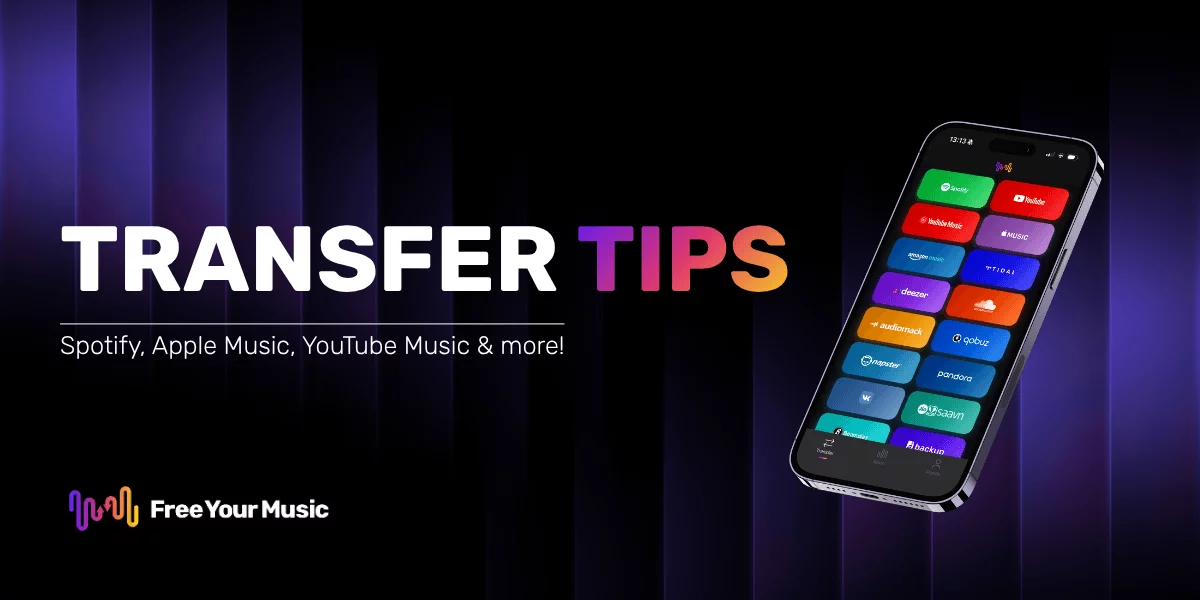
Transferring music playlists between streaming services can feel overwhelming, especially when you want every track to arrive safely. With over 60 million songs available on Apple Music alone, keeping your library intact during a switch matters to music lovers everywhere. This guide walks you through each essential step for securely moving your playlists, preserving your song order, and making the process stress free from start to finish.
Table of Contents
- Step 1: Prepare Your Apple Music Account for Export
- Step 2: Download and Install Free Your Music App
- Step 3: Connect Apple Music and Choose Playlists
- Step 4: Select Destination Service and Begin Transfer
- Step 5: Verify Exported Playlist Structure and Songs
Quick Summary
| Key Point | Explanation |
|---|---|
| 1. Verify Apple Music Subscription | Ensure you have an active Apple Music or iTunes Match subscription for a smooth transfer process. |
| 2. Back Up Your Music Library | Create a backup of your entire music library to avoid losing data during playlist migration. |
| 3. Use Free Your Music for Transfer | Download and install the Free Your Music app for an easy and efficient playlist transfer experience. |
| 4. Choose Destination Service Carefully | Make sure to select the correct streaming service and confirm account credentials before transferring playlists. |
| 5. Verify Transferred Playlists | After the transfer, check the structure and song details to ensure accuracy and completeness in the new platform. |
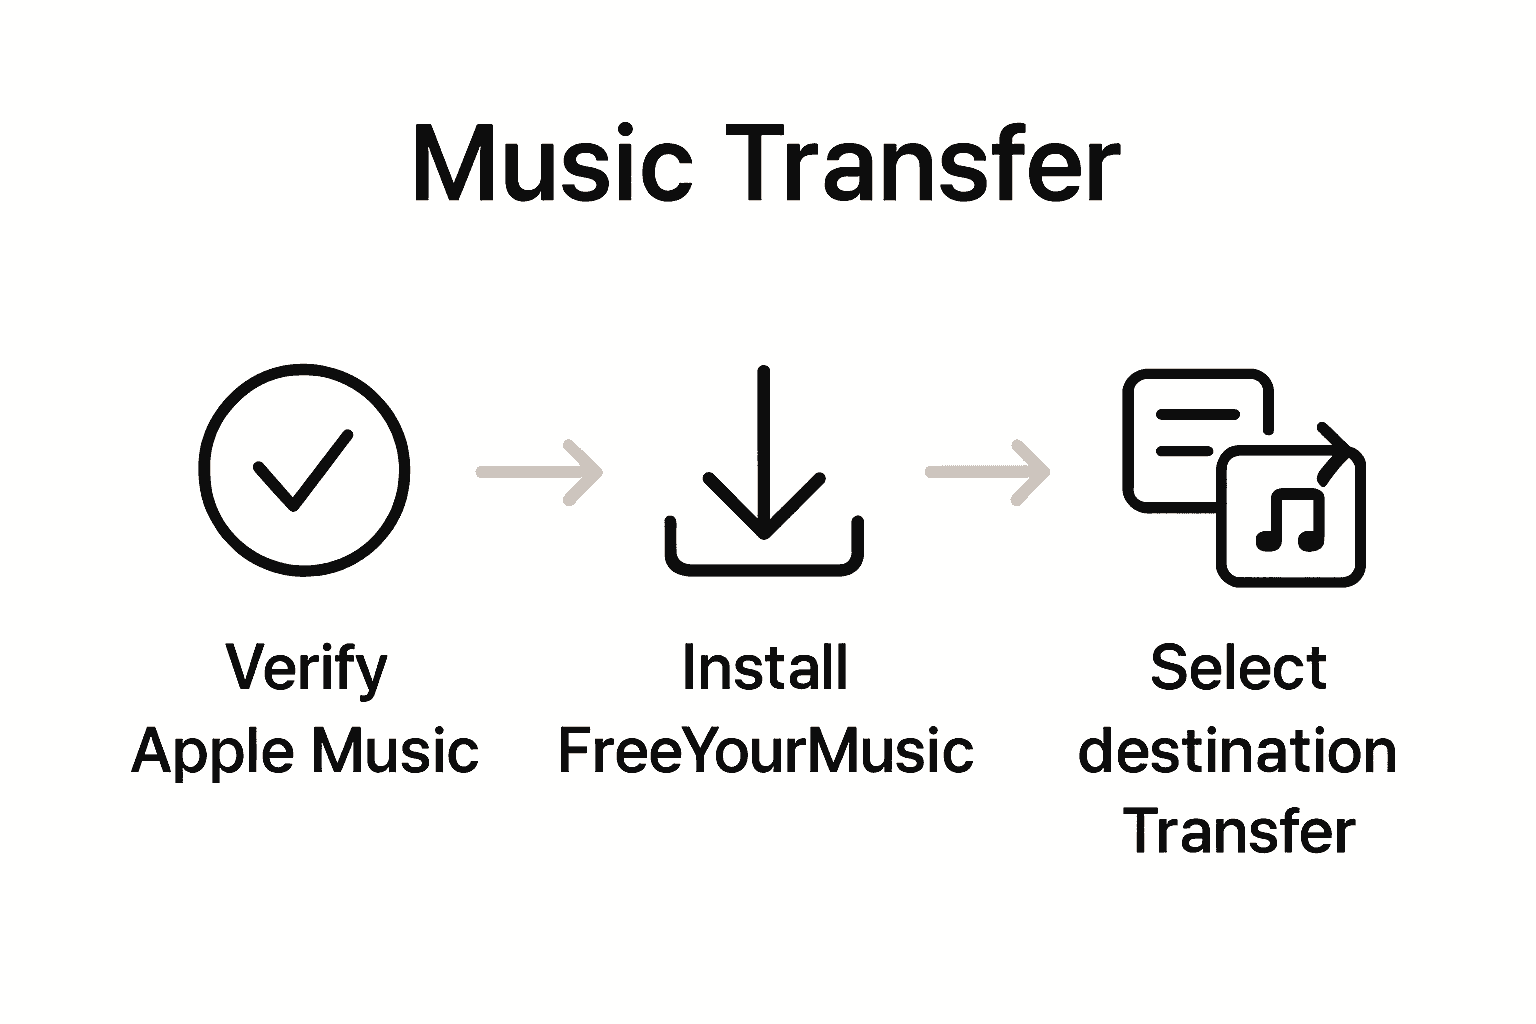
Step 1: Prepare Your Apple Music Account for Export
Before you can transfer your Apple Music playlists to another service, you need to prepare your account strategically. This step ensures a smooth export process and prevents potential data loss during migration. According to Apple Support, the first critical requirement is verifying you have an active Apple Music or iTunes Match subscription.
To get started, sign into your Apple Account and access the Data and Privacy settings. Double check that you are logged into the correct account where your primary music library exists. Ensure your subscription is current and that you have full access to your music library. Apple Support recommends opening the Music app on your device and confirming all your playlists are synchronized and visible in the sidebar.
One key preparation tip is backing up your entire music library before initiating any export process. This provides a safety net in case anything unexpected occurs during playlist migration. By taking these preparatory steps methodically, you set yourself up for a seamless and stress free playlist transfer experience.
For more insights into music library transfers, check out our music library transfer tips.
Step 2: Download and Install Free Your Music App
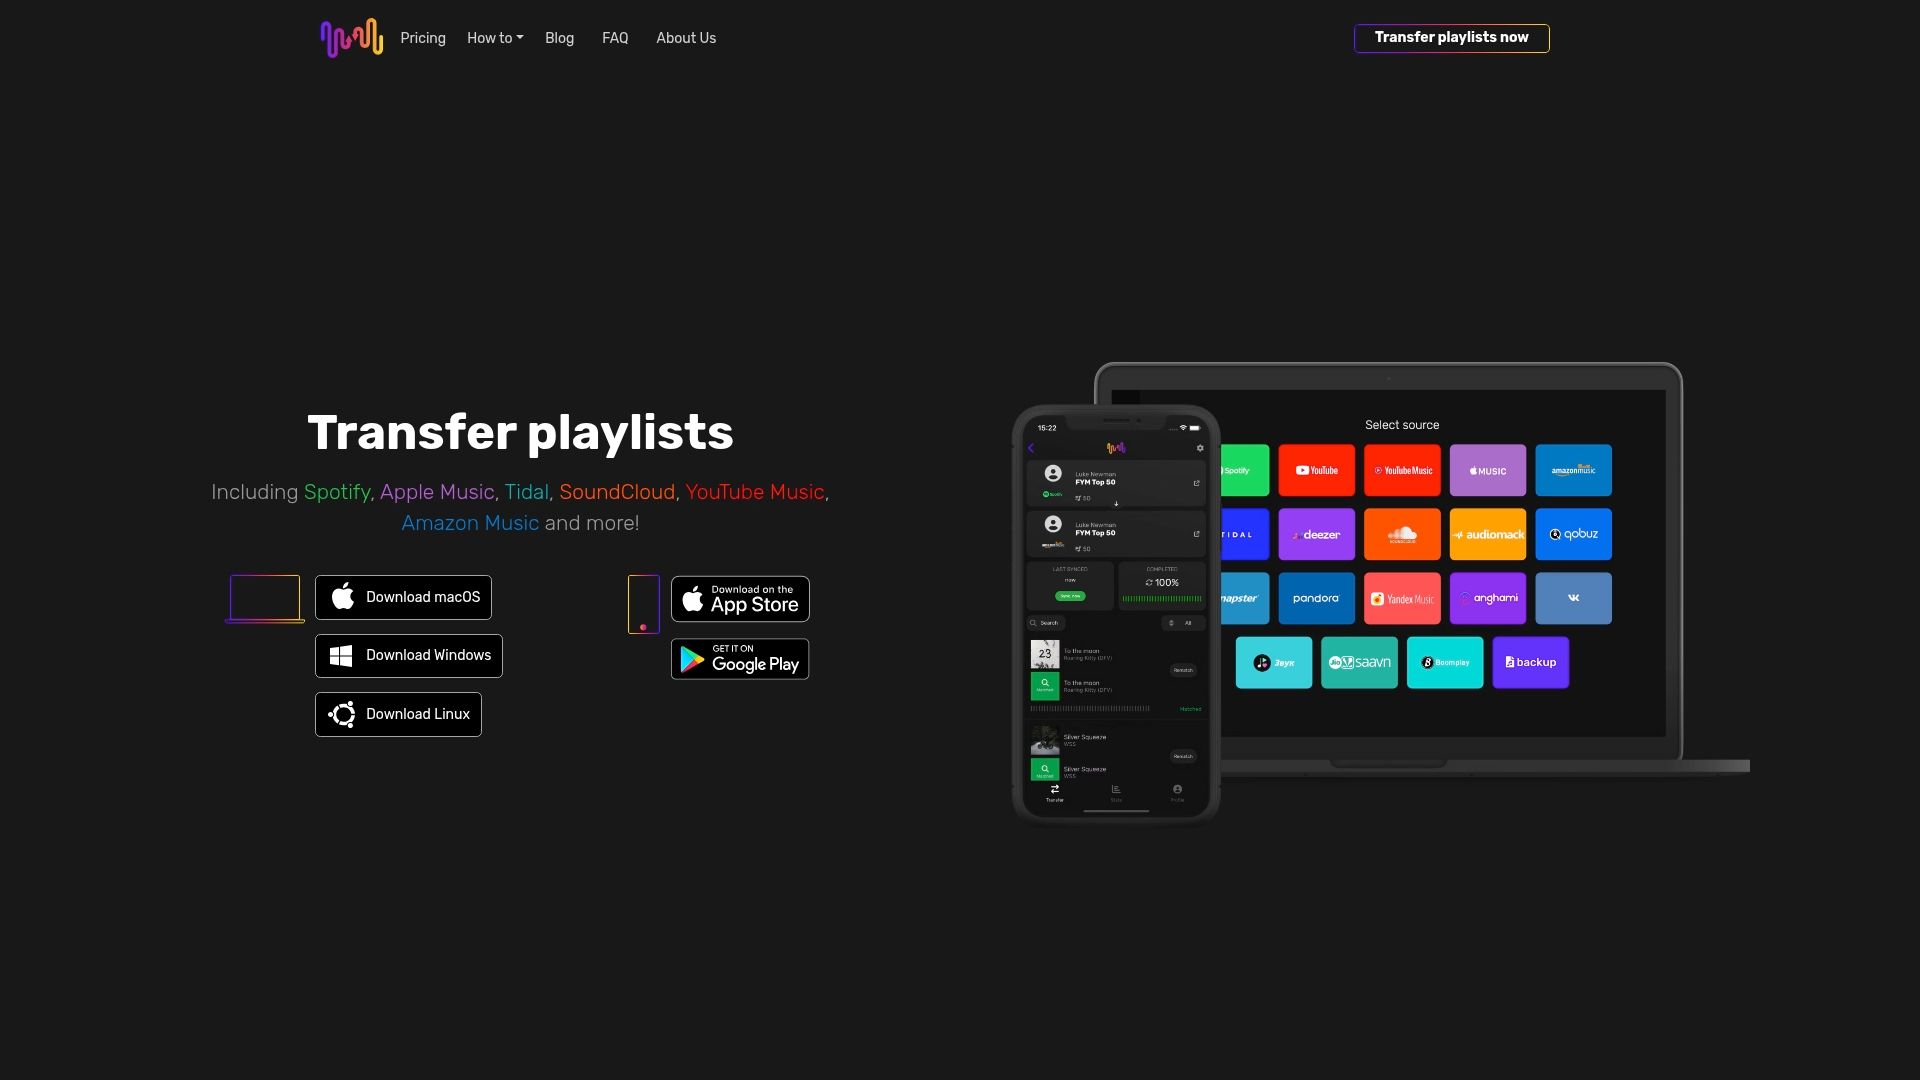
Now that you have prepared your Apple Music account, it is time to download and install the Free Your Music application that will help you seamlessly transfer your playlists. This step transforms your music migration from a complex task to a straightforward process. When exploring music transfer solutions, you will find Free Your Music on Setapp offers a convenient installation pathway for users across multiple platforms.
To get started, visit the official Free Your Music website and select the appropriate version for your operating system. The application supports multiple platforms including macOS, Windows, Linux, Android, and iOS. Download the installer and run it on your device. During installation, you will be prompted to create an account or log in with existing credentials. Be sure to choose the installation path carefully and allow necessary permissions for the app to access your music libraries.
One crucial tip is to ensure you have a stable internet connection during the download and installation process. This helps prevent any potential interruptions that could compromise the installation. Once installed, launch the application and verify your account settings. You are now ready to begin the exciting journey of transferring your music playlists across different streaming platforms.

Ready to explore more about music transfer technologies? Check out our innovative tool for music conversion for additional insights.
Step 3: Connect Apple Music and Choose Playlists
With the Free Your Music application installed, you are now ready to connect your Apple Music account and select the playlists you want to transfer. This crucial step bridges your existing music library with new possibilities. Understanding how to make a playlist across different platforms can help you optimize your music migration strategy.
Open the Free Your Music application and navigate to the account connection section. You will be prompted to log in to your Apple Music account using your existing credentials. After successful authentication, the application will scan and display all available playlists in your library. Take your time to review each playlist carefully. You can select individual playlists or choose to transfer your entire music collection. Pay attention to playlist size and ensure you have sufficient storage space on your destination platform.
A helpful tip is to create a backup of your selected playlists before initiating the transfer. While Free Your Music is designed to preserve playlist integrity, having an additional backup provides an extra layer of security. Once you have reviewed and selected your playlists, click the transfer button and let the application work its magic. Depending on the number and size of your playlists, the transfer process might take a few minutes.
Ready to explore more playlist transfer techniques? Check out our guide on exporting Spotify playlists to Apple Music for additional insights into cross platform music management.
Step 4: Select Destination Service and Begin Transfer
Now you are at the most exciting part of your music migration journey: selecting your destination streaming service and initiating the playlist transfer. The Free Your Music application provides a seamless platform for moving your carefully curated playlists across different music streaming services. When exploring effortless playlist transfers, you will discover a world of musical flexibility.
In the Free Your Music application, you will see a comprehensive list of supported streaming platforms. Popular options include Spotify, Tidal, Amazon Music, YouTube Music, and many others. Carefully review the destination service and ensure you are logged into the correct account. Some platforms might require additional permissions or authentication. Take a moment to verify your destination account credentials and storage capacity before proceeding with the transfer.
A critical tip during this process is to maintain a stable internet connection. Interruptions can potentially compromise your playlist transfer, so consider using a wired connection or a strong wifi signal. Once you have selected your destination service and confirmed your account, click the transfer button. The application will begin mapping and transferring your playlists while preserving their original order and metadata. Depending on the number of songs and playlists, this process might take several minutes.
Want to learn more about cross platform music management? Check out our guide on exporting Spotify playlists to Apple Music for additional insights into seamless music migration.
Step 5: Verify Exported Playlist Structure and Songs
With your playlists successfully transferred, it is crucial to verify the exported playlist structure and ensure all your songs have been accurately migrated. Apple Support recommends carefully checking the imported playlist to confirm that the song order and information remain intact during the transfer process.
Open the destination music streaming service and navigate to the newly transferred playlists. Methodically review each playlist by comparing the total number of tracks, their sequence, and individual song details. Pay special attention to any potential discrepancies such as missing tracks, incorrect metadata, or changes in playlist ordering. Most music transfer applications like Free Your Music aim to preserve the original playlist structure, but occasional variations can occur depending on song availability across different platforms.
A helpful tip is to create a quick side by side comparison between your original Apple Music playlist and the newly transferred version. Check for any significant differences in song metadata, album artwork, or track duration.
 If you notice any inconsistencies, most transfer services provide options for manual adjustments or playlist refinement. By taking a few extra minutes to verify your playlist transfer, you can ensure a seamless music listening experience across your new streaming platform.
Want to dive deeper into understanding playlist structures? Check out our guide on understanding music playlist structure for more comprehensive insights.
Make Your Apple Music Playlist Export Easy and Stress Free
Struggling with exporting your Apple Music playlists without losing song order or important details can be frustrating. The article guides you through verifying your Apple Music subscription and backing up your playlists before export. But why stop at preparation when you can transfer your playlists effortlessly? FreeYourMusic.com offers a powerful solution designed to handle exactly these challenges. It ensures your playlists move intact between Apple Music and other streaming platforms like Spotify, Tidal, and YouTube Music while preserving every track and metadata.
Take control of your music migration today by using Free Your Music for seamless playlist transfers and accurate syncing. Don't risk losing your carefully curated songs or spending hours rebuilding your music library. Visit Free Your Music now and experience the easiest way to export your Apple Music playlists with confidence and speed. Learn more about how it works and join thousands of users who trust the platform to keep their music collection safe and sound.
Frequently Asked Questions
How do I prepare my Apple Music account for exporting playlists?
Before exporting your Apple Music playlists, ensure your account has an active Apple Music or iTunes Match subscription. Log into your Apple account, check your subscription status, and confirm that all your playlists are synchronized in the Music app.
What steps should I follow to download and install the Free Your Music app?
To download Free Your Music, visit the official website and choose the version that matches your operating system. After downloading, run the installer and follow the prompts to create an account or log in with your existing credentials to begin.
How can I connect Apple Music and choose my playlists for transfer?
Open the Free Your Music app, navigate to the account connection section, and log in to your Apple Music account. Once authenticated, review and select the playlists you want to transfer, remembering to back them up for extra security.
What should I consider when selecting a destination service for my exported playlists?
When choosing a destination service, ensure you are logged into the correct account on the selected platform. Double-check the service's storage capacity and any additional permissions needed before initiating the transfer for a smooth process.
How do I verify that my playlists were correctly transferred?
After transferring your playlists, check the newly created playlists in the destination service. Compare the total number of tracks and their order with your original playlist to confirm that everything is accurate and complete.
What should I do if some songs are missing or metadata is incorrect after the transfer?
If you notice missing songs or incorrect metadata, most transfer applications offer options to manually adjust your playlists. Take a few minutes to correct any discrepancies to ensure your listening experience is seamless.
Recommended

Migrate from and to any music services


Most popular Apple Music transfers: