Transferring Playlists for Families Across Platforms Easily
May 18, 2026

Over 60 percent of American families juggle music libraries across several streaming platforms, often struggling with tangled playlists and lost tracks. When each person relies on their own set of songs, keeping favorites organized can test anyone’s patience. This guide offers clear steps to help families worldwide, including every American household, transfer and protect their treasured playlists without chaos, so everyone stays in tune together.
Table of Contents
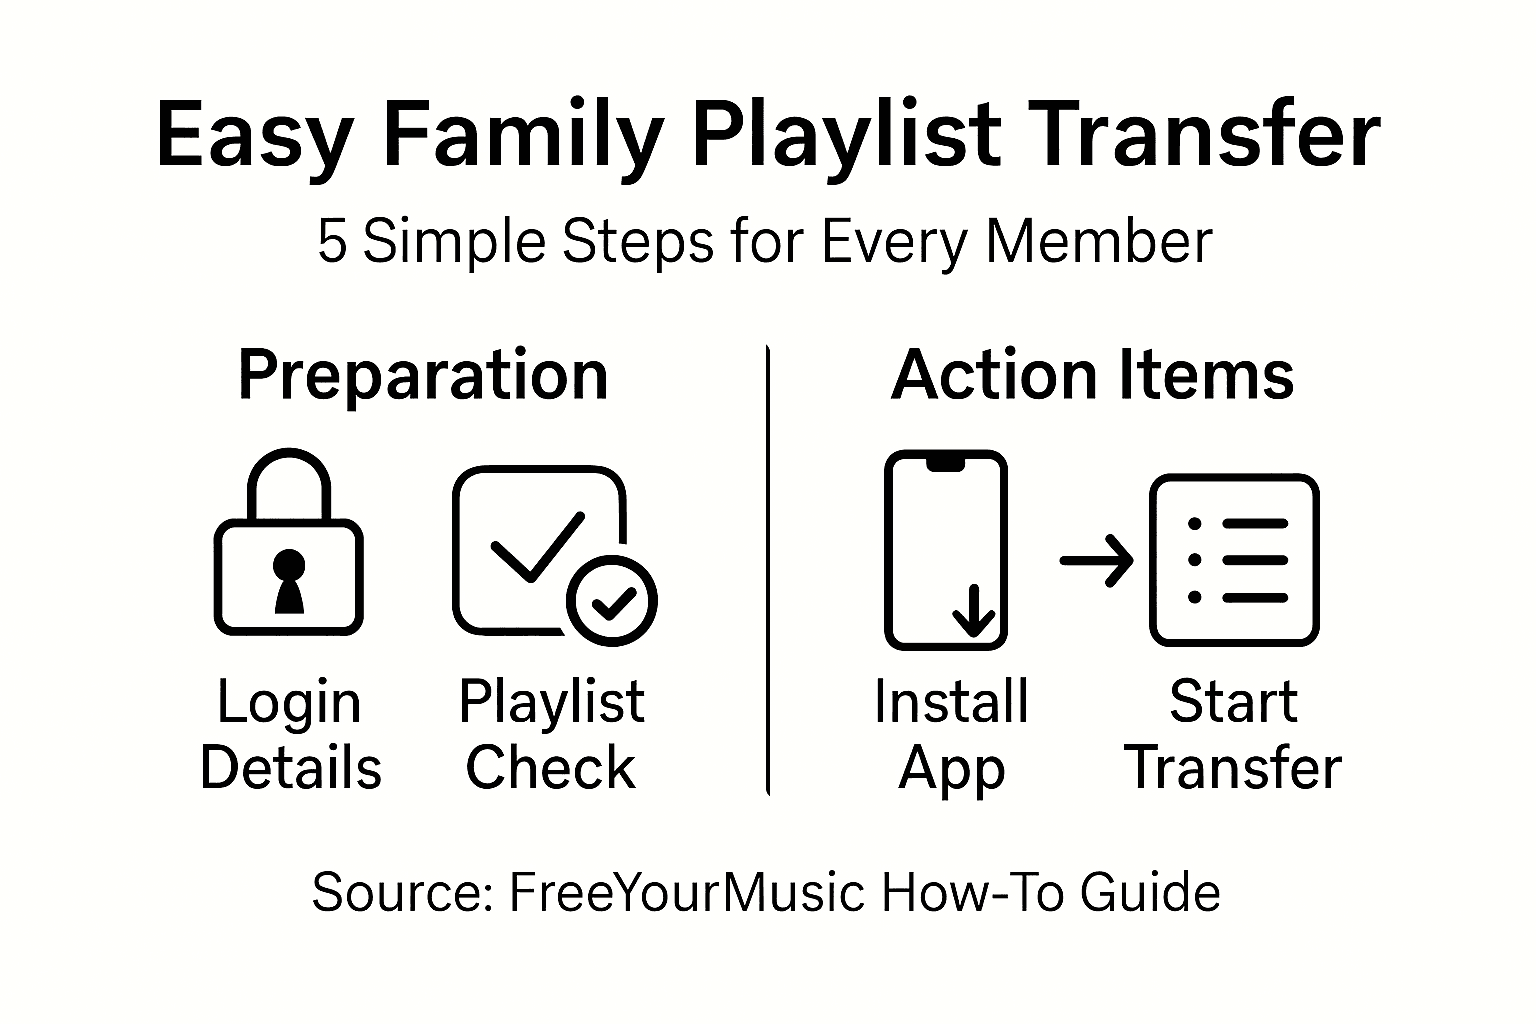
- Step 1: Prepare Family Accounts And Streaming Services
- Step 2: Install Free Your Music On All Needed Devices
- Step 3: Select Playlists And Choose Target Platforms
- Step 4: Start Transfer And Monitor Progress
- Step 5: Verify Family Playlists And Confirm Success
Quick Summary
| Key Point | Explanation |
|---|---|
| 1. Gather Family Streaming Info | Compile usernames, passwords, and current subscription status for all accounts. This ensures smooth access during the transfer process. |
| 2. Install Free Your Music App | Download and install Free Your Music on all family devices to facilitate playlist migration. Ensure compatibility with each device. |
| 3. Select Playlists to Transfer | Review and choose which playlists to move, ensuring all unique collections are noted for preservation during migration. |
| 4. Monitor Transfer Progress | Initiate the transfer and track its progress to catch potential errors or missing tracks. Collaboration helps verify successful migration. |
| 5. Verify Playlist Success | Check each transferred playlist for accuracy in content and order. Encourage personal reviews to confirm all favorites are intact. |
Step 1: Prepare Family Accounts and Streaming Services
Moving your music playlists across streaming platforms starts with solid account preparation. Before diving into transfers, you want a smooth experience where no family member gets left behind with their favorite tracks. Reviewing account details carefully helps prevent potential migration headaches.
First, gather login credentials for every streaming service account in your family. Make a secure spreadsheet or password manager entry that tracks each person's username, password, and associated email. Verify that everyone can successfully log in to their current accounts before beginning the transfer process. Check that payment methods are current and accounts are in good standing to avoid unexpected interruptions during playlist migration.
Each family member should review their existing playlists and note any unique or special collections they want to preserve. Some playlist transfers might require manual review or additional steps depending on song availability across different platforms. Take screenshots or make backup lists of playlist contents as an extra precaution against potential data loss during transfer.
Here's a summary of essential streaming service account details families should confirm before migrating playlists:
| Account Detail | Why It Matters | Recommended Action |
|---|---|---|
| Username/Email | Ensures correct account access | Verify for each family member |
| Password | Required for login and authentication | Store securely, test before moving |
| Subscription Status | Avoids interruptions during transfer | Confirm renewal/payment is current |
| Playlist Inventory | Protects favorite music collections | Backup or note special playlists |
Pro Tip: Create a shared family document tracking login details and playlist inventory to streamline your music migration process and ensure no favorite tracks get left behind.
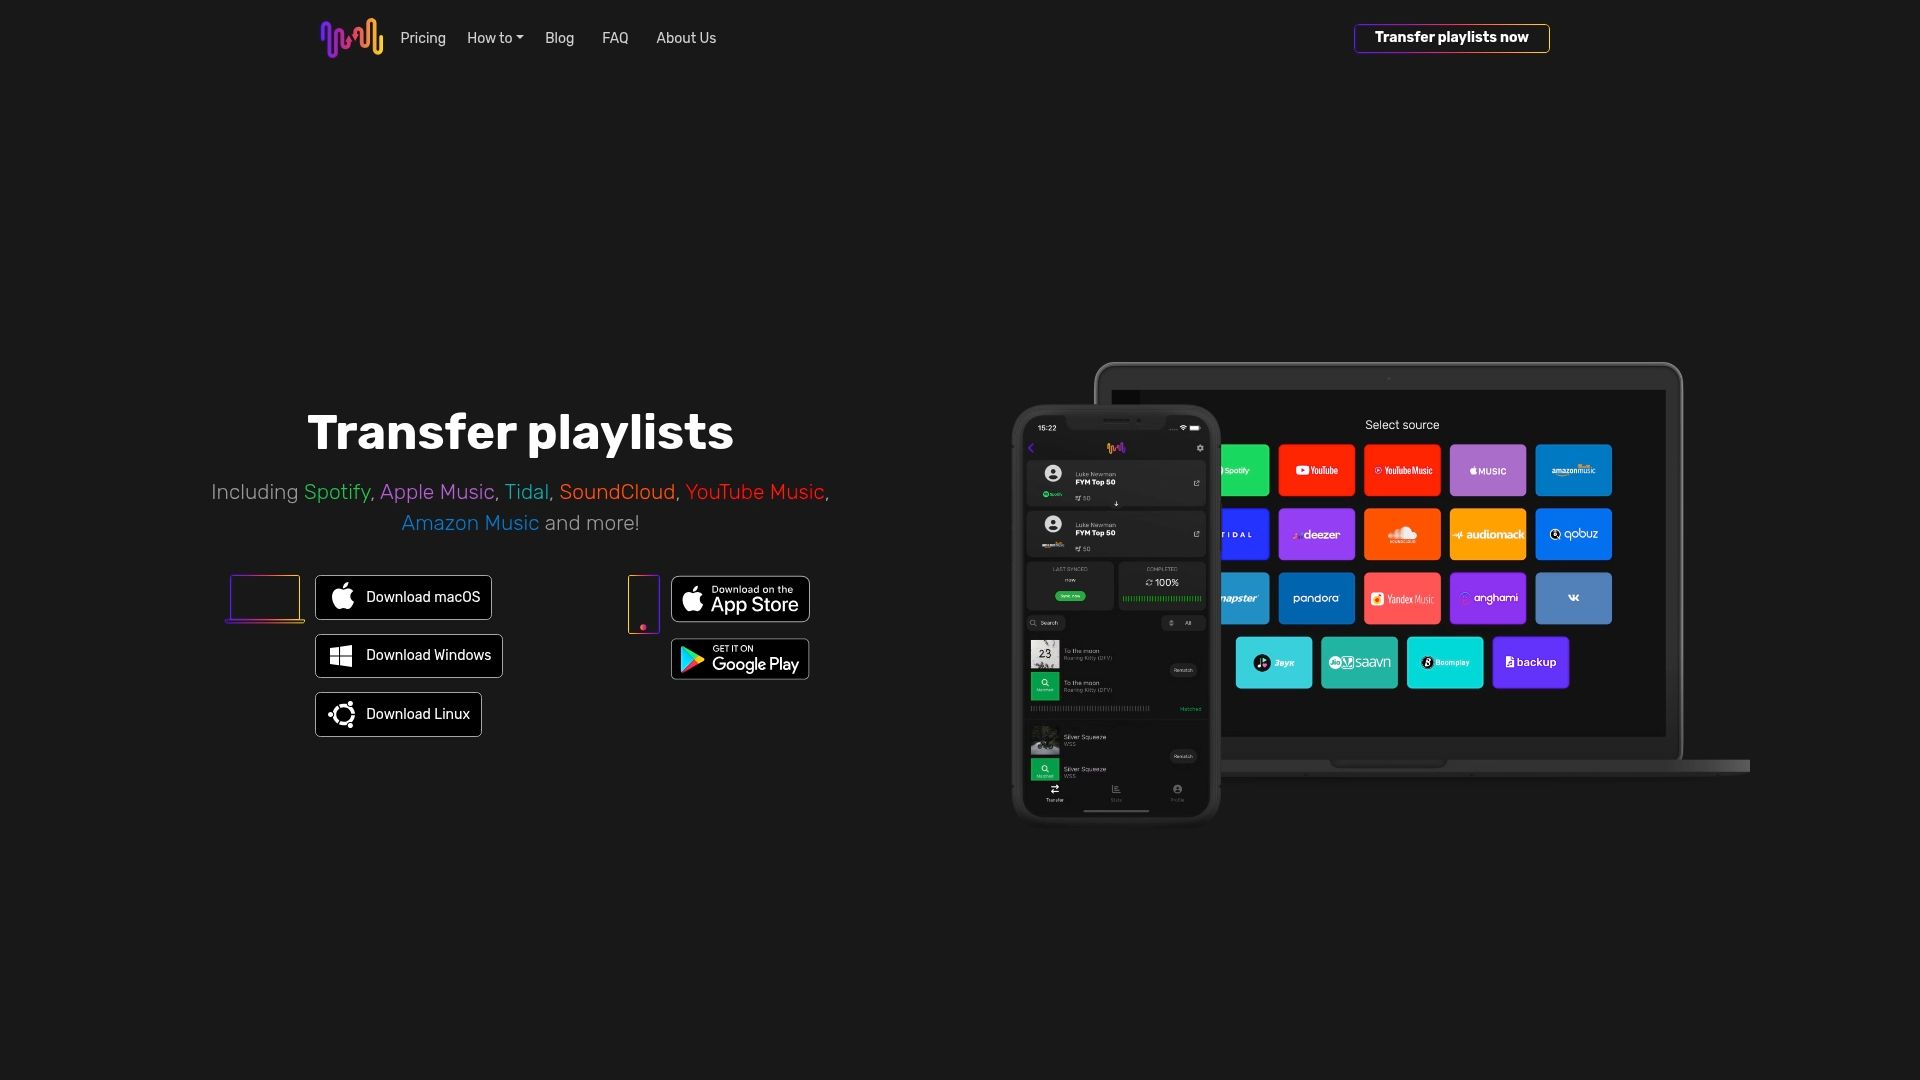
Step 2: Install Free Your Music on All Needed Devices
Preparing to transfer your family's music collections means getting the right software installed on every device. Downloading the latest version across all your smartphones, tablets, and computers ensures a seamless migration experience.
Start by visiting the official Free Your Music website and downloading the application compatible with each family member's operating system. Whether you are using Windows, macOS, iOS, Android, or Linux, the tool supports multiple platforms. Download and install the app on each device, making sure to use the same account credentials you prepared in the previous step. Pay attention to device compatibility and select the appropriate version for each family member's specific device.
After installation, launch the app on each device and log in with the account credentials you previously established. Take a moment to verify the connection and ensure the app recognizes your existing streaming service accounts. This preliminary check will help prevent any potential synchronization issues during the playlist transfer process.

Pro Tip: Install Free Your Music on a shared family device to help less tech-savvy members complete their music transfers with ease.
Below is a quick comparison of features supported by Free Your Music across different device platforms:
| Device Platform | Installation Complexity | Supported Streaming Services | User Experience Impact |
|---|---|---|---|
| Windows | Easy | Major platforms supported | Seamless for most users |
| macOS | Straightforward | Wide compatibility | Quick setup for families |
| iOS | App Store required | All popular services | Mobile transfers enabled |
| Android | Google Play required | Extensive support | Simple for tech novices |
| Linux | Manual steps possible | Select services available | Advanced users preferred |
Step 3: Select Playlists and Choose Target Platforms
Transferring your family's music collection starts with carefully selecting which playlists you want to move and identifying the destination streaming platforms. Mapping playlists to new platforms requires strategic planning to ensure your favorite tracks make the journey smoothly.
Open the Free Your Music application and navigate to the playlist selection screen. Here, you will see a comprehensive list of all your existing playlists from your current streaming service. Review each playlist carefully, checking the number of tracks and noting any potential exclusives or rare recordings. Select the playlists you want to transfer by checking the corresponding boxes. Pay special attention to unique or personally curated collections that might have sentimental value or rare tracks not easily replaced.
Next, choose your target streaming platforms by clicking on the destination service icons. Consider each family member's preferred music platform and ensure compatibility. Some platforms might have slightly different song libraries, so the app will automatically show you potential matches and discrepancies. If certain tracks are unavailable on the target platform, the app will typically provide alternative suggestions or highlight missing songs.
Pro Tip: Create a spreadsheet tracking which playlists are being transferred to help you keep organized during the migration process.
Step 4: Start Transfer and Monitor Progress
With your playlists and platforms selected, you are now ready to initiate the actual music transfer process. Tracking transfer progress carefully ensures you do not lose any precious musical memories during migration.
Click the start transfer button in the Free Your Music application and watch the progress screen closely. The app will display a detailed breakdown showing how many tracks are being transferred, how many have successfully moved, and any potential issues with specific songs. Pay attention to notifications about tracks that might not transfer due to licensing restrictions or availability differences between platforms. Some songs might require manual intervention or replacement if they are not available on the destination streaming service.
As the transfer progresses, consider having multiple family members log in to verify their respective playlists are migrating correctly. This collaborative approach helps catch any potential errors early and ensures everyone's music collections remain intact. The application typically provides real time updates and percentage completion indicators to help you monitor the entire process from start to finish.
Pro Tip: Keep your devices connected to stable internet during the entire transfer process to prevent unexpected interruptions or partial migrations.
Step 5: Verify Family Playlists and Confirm Success
The final stage of your music migration journey involves carefully confirming that every playlist transferred successfully. Comparing original and new playlists ensures your family's musical memories remain intact and perfectly preserved.
Open each streaming service account and methodically review the transferred playlists. Check the total number of tracks, playlist ordering, and track sequence to confirm they match the original collections. Play several songs from different playlists to verify audio quality and confirm no unexpected changes occurred during transfer. Pay special attention to any unique or rare tracks that might have been problematic during migration. If you notice any discrepancies, use the Free Your Music application's troubleshooting features to address missing or misplaced songs.
Encourage each family member to personally review their playlists and report any inconsistencies. This collaborative verification approach helps catch subtle issues that might have been missed during the initial transfer. Create a shared document where family members can note any tracks that did not transfer correctly, allowing you to manually add or replace songs as needed.
Pro Tip: Create backup screenshots of your original playlists before and after transfer as a personal reference and insurance against potential data loss.
Simplify Your Family Music Transfers with Free Your Music
Transferring playlists across streaming platforms can be challenging for families juggling multiple accounts, different devices, and unique playlist collections. The article highlights key pain points like managing login credentials, ensuring playlist integrity, and overcoming platform song availability differences. Free Your Music offers a trusted solution that automates these complex steps, preserving playlist structure and song order while supporting multiple accounts and devices seamlessly.
Experience effortless playlist migration today by choosing a platform designed to handle large music libraries, auto-sync across services, and secure your family’s favorite tracks. Don’t wait until the next streaming change disrupts your music flow. Discover how easy transferring your playlists can be at Free Your Music. Start simplifying your family’s music journey now with Free Your Music’s easy setup and powerful transfer tools ready for macOS, Windows, Linux, Android, and iOS.
Frequently Asked Questions
How do I prepare family accounts before transferring playlists?
To prepare family accounts, gather login credentials for each streaming service account, including usernames and passwords. Create a secure document to track this information and verify that each family member can access their accounts before starting the transfer.
What steps should I follow to install the necessary software for transferring playlists?
Start by downloading the latest version of the appropriate application on each family member's devices, including smartphones and computers. Make sure everyone uses the same account credentials for a smooth setup and verify that the app recognizes all existing accounts.
How can I select which playlists to transfer and choose the target platforms?
Open the app and review your existing playlists, then select the ones you wish to move by checking the boxes next to them. Choose the target platforms for each family member, ensuring compatibility and keeping track of any unique or rare tracks that might require special attention.
What should I do to monitor the progress of the playlist transfer?
Initiate the transfer process in the app and closely monitor the progress screen. Pay attention to the number of tracks transferred and any notifications regarding potential issues, so you can address them promptly during the migration.
How do I verify the success of the transferred playlists?
After the transfer is complete, check each streaming account to confirm that the playlists match the originals in terms of track order and quality. Encourage family members to review their playlists and document any discrepancies to ensure that all favorites have been preserved.
Recommended
- Free Your Music - 7 Smart Music Sharing Methods for Playlist Management
- Free Your Music - What Is Playlist Sharing? Complete User Guide
- Free Your Music - What Is Seamless Playlist Transfer? Complete Overview
- Free Your Music - Understanding Playlist Transfer Best Practices for Users
- The Ultimate Family Game Night: Tips for an Unforgettable Evening - The World Game
Migrate from and to any music services


Most popular Apple Music transfers: